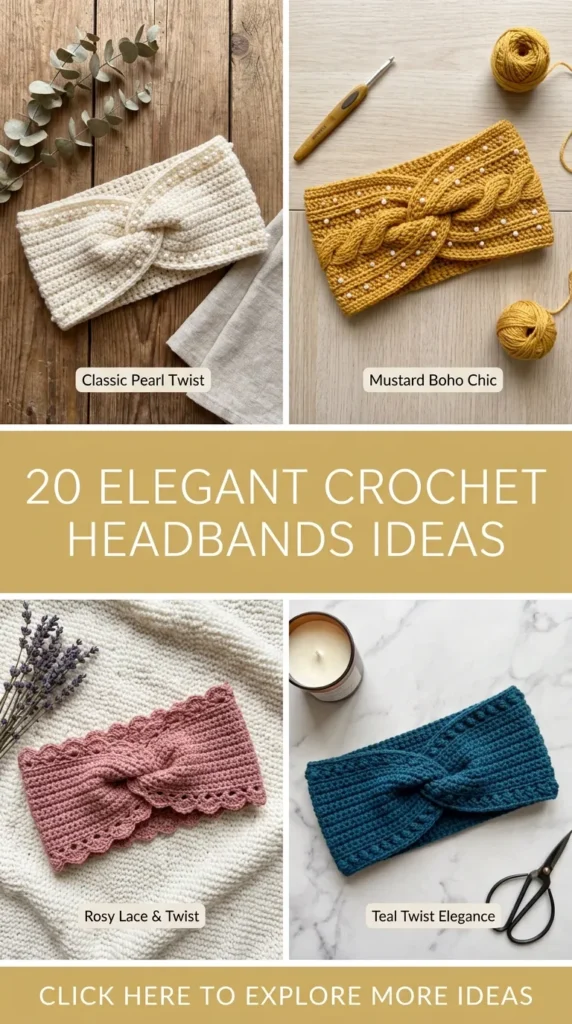
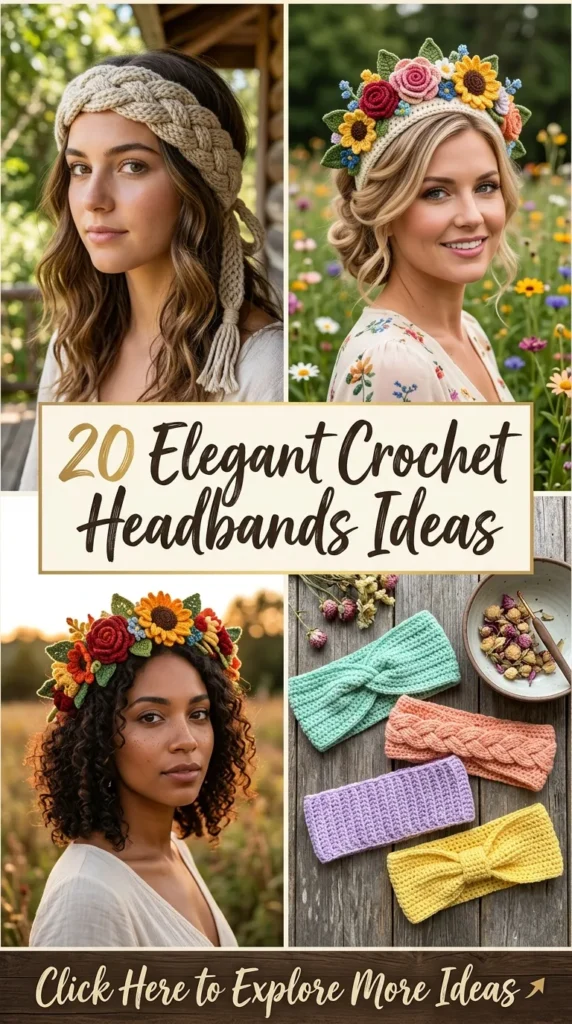
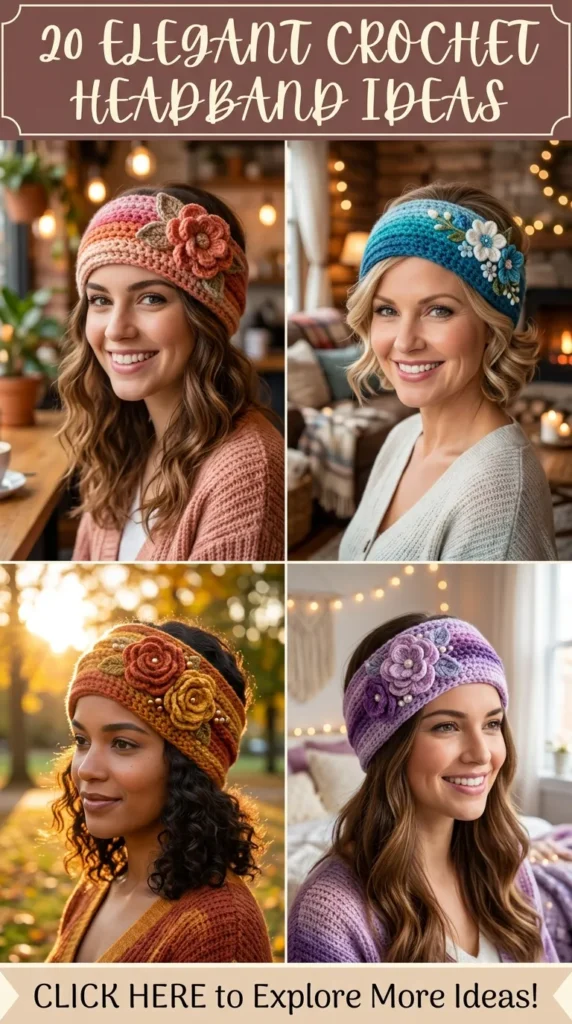
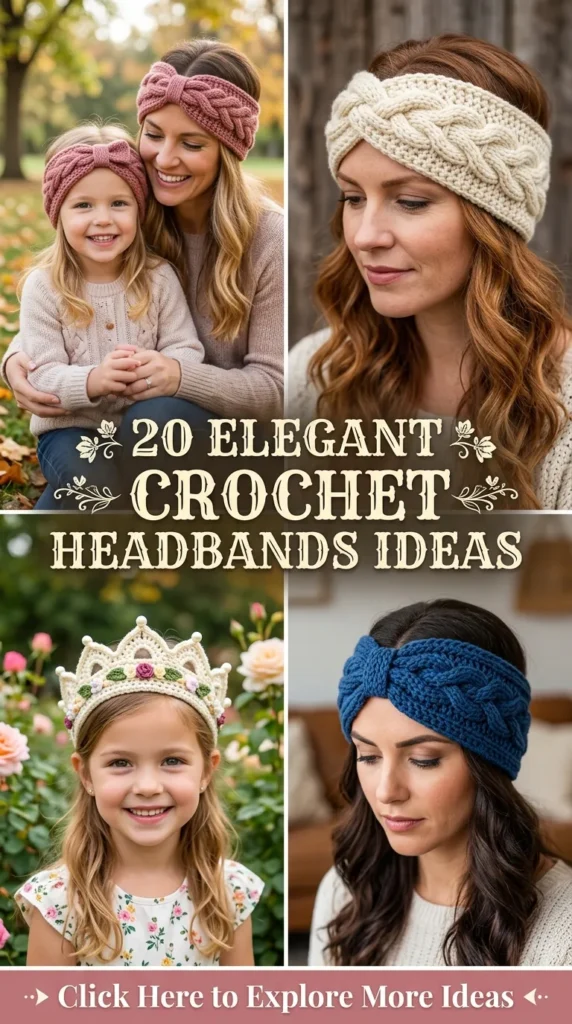
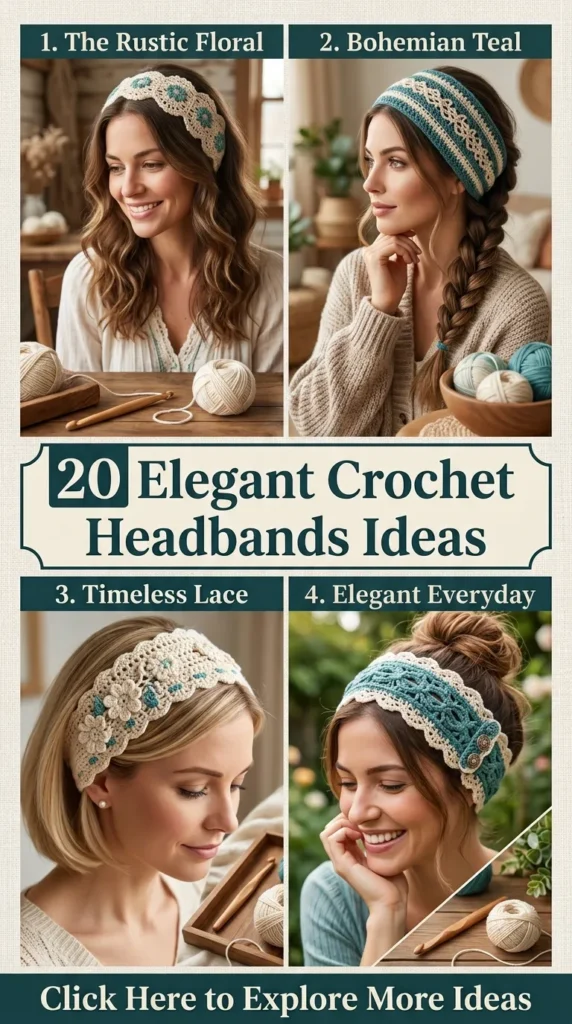
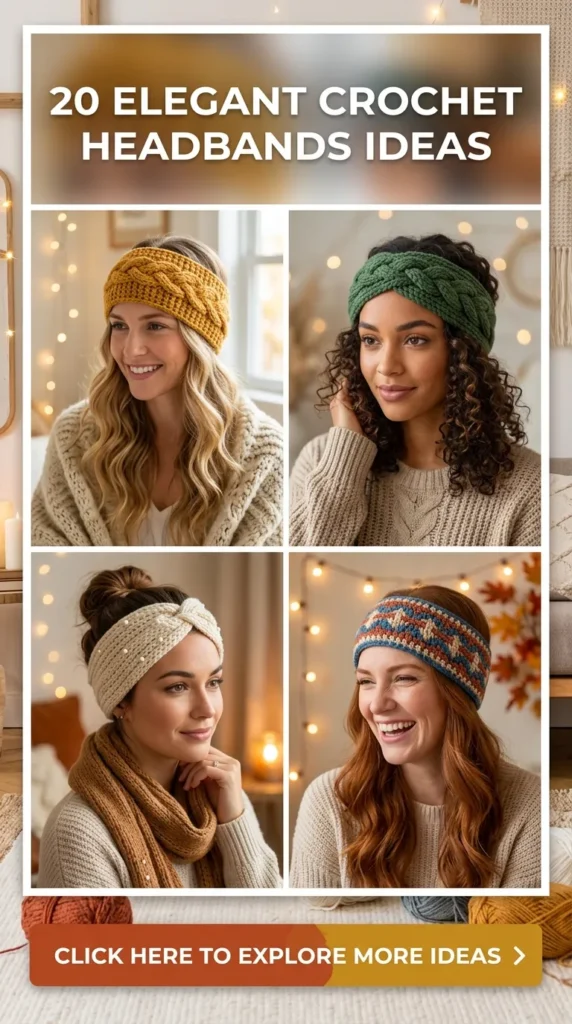
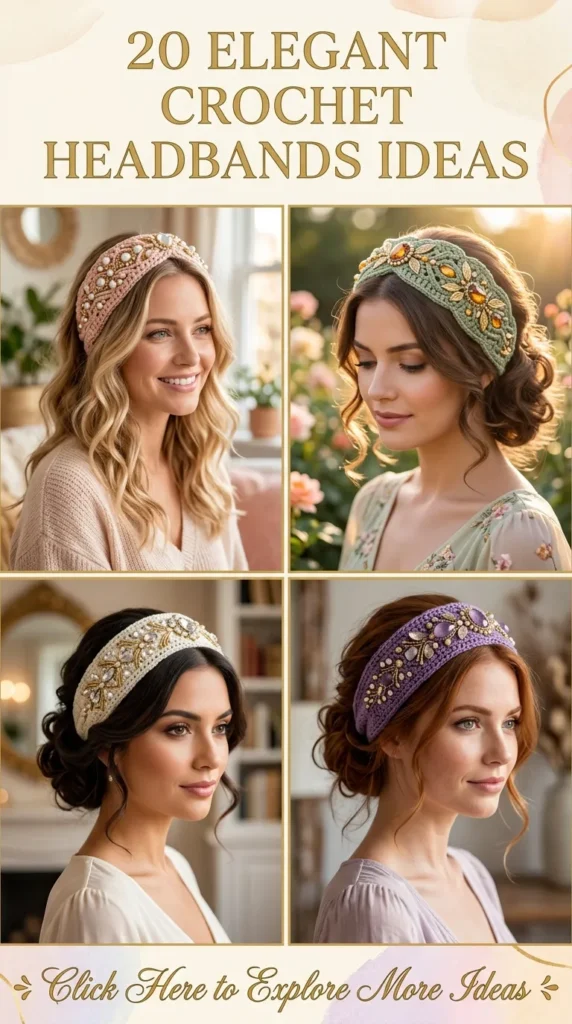
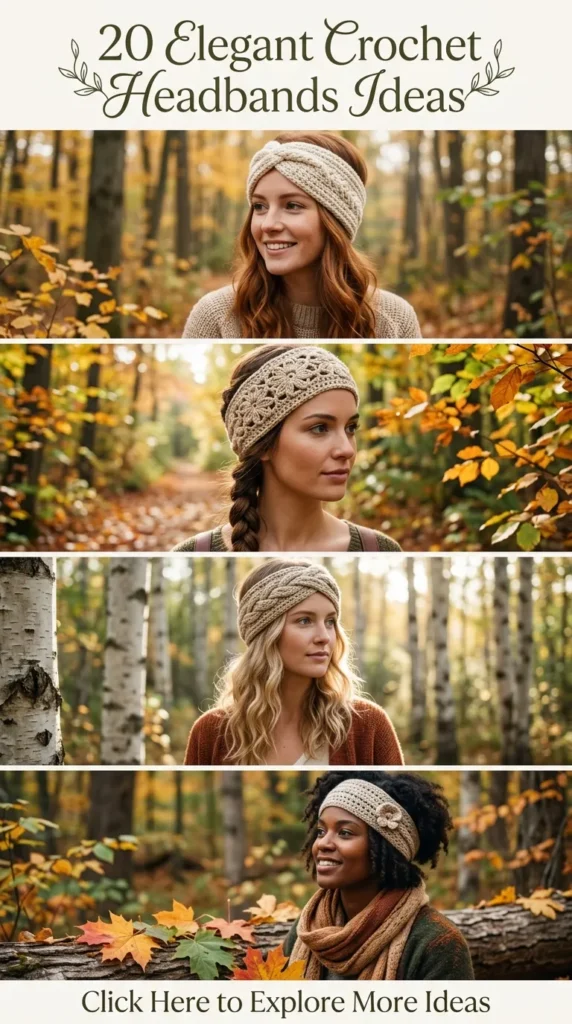
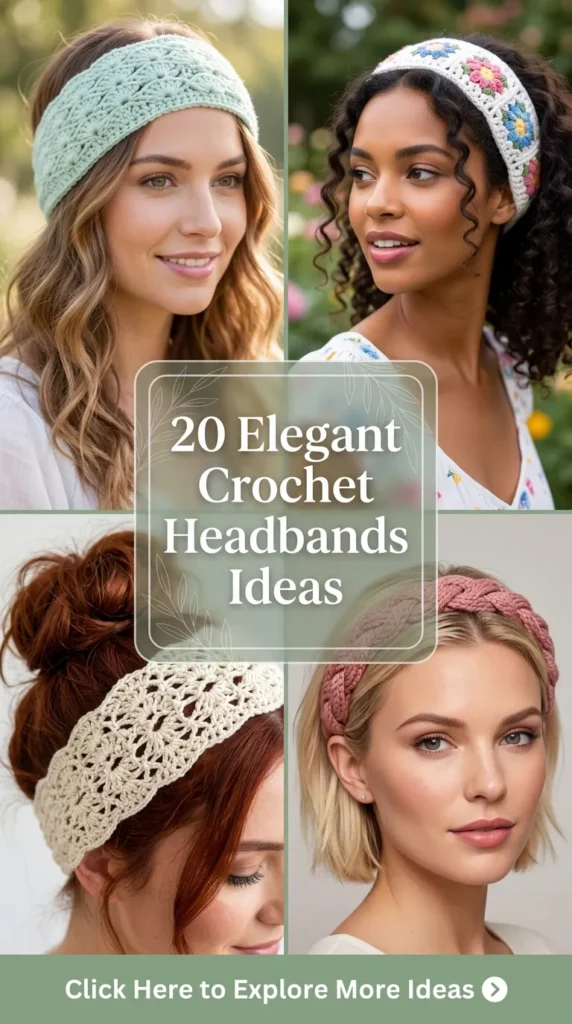
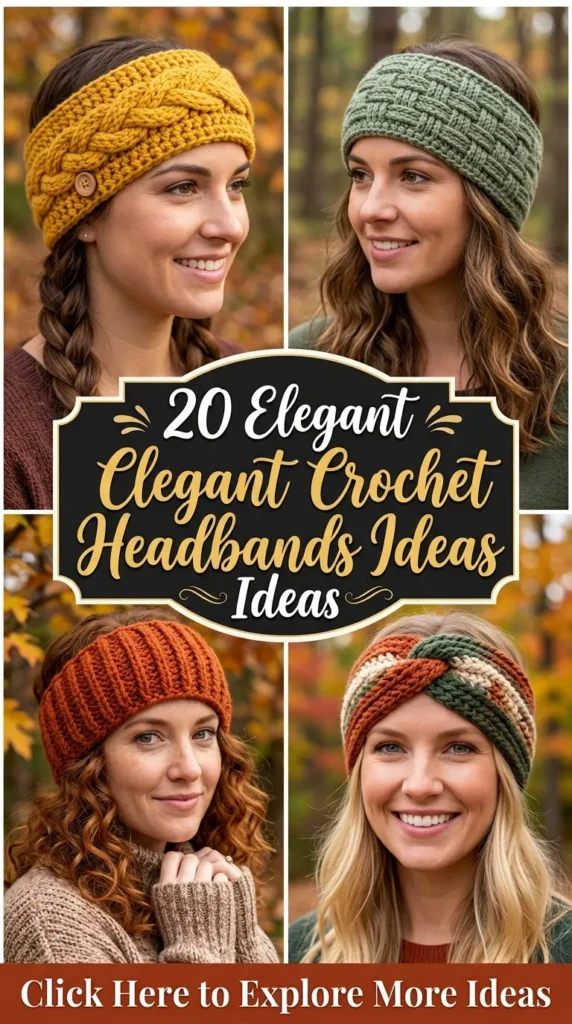
Crochet headbands have transitioned from simple, functional ear warmers into iconic fashion statements across social platforms like Pinterest. Blending cozy texture with artistic flair, these handmade accessories offer endless possibilities for customization, catering to every aesthetic—from vintage cottagecore romance and boho festival chic to sleek urban minimalism and opulent bridal elegance.
Whether you are looking for a quick, satisfying weekend craft project, searching for beautiful handmade gift inspirations, or populating an artisanal shop catalog, this comprehensive guide explores 20 elegant and aesthetic crochet headband ideas. Each concept includes detailed design explanations, step-by-step crafting guidance, styling variations, and exact supply lists.
1. Vintage Lacy Floral Crown Headband
What This Idea Means
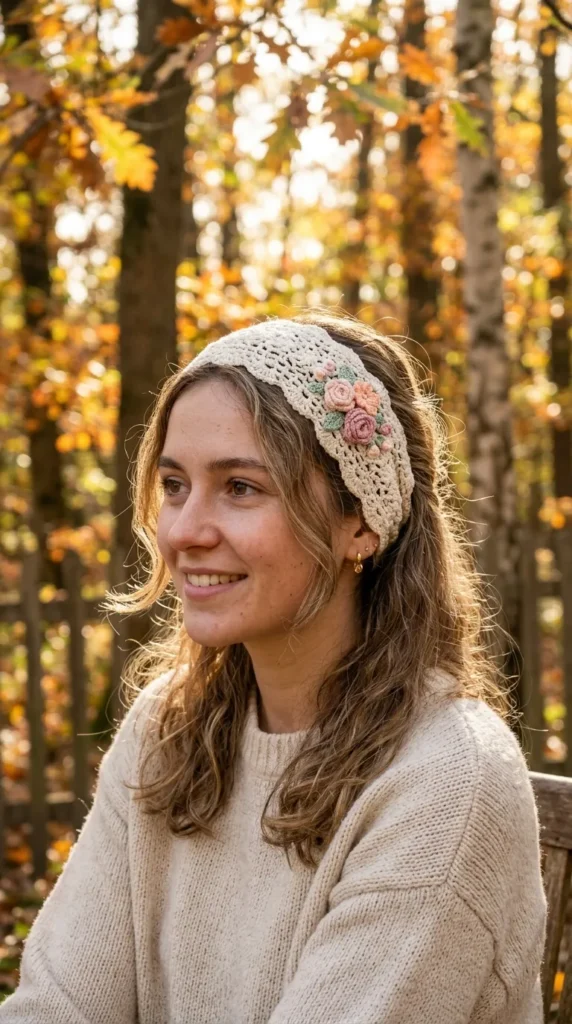
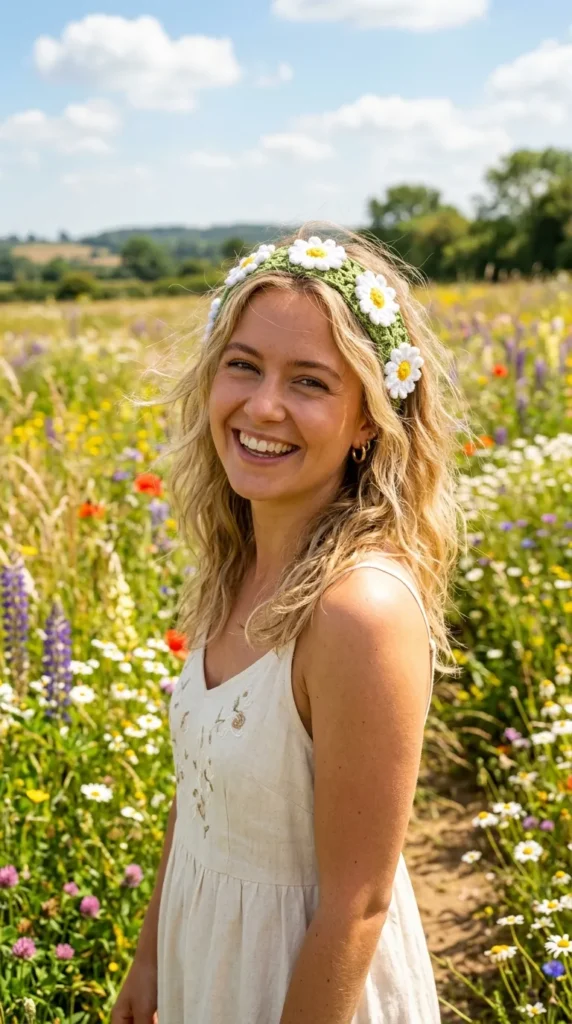
The Vintage Lacy Floral Crown Headband captures the whimsical essence of cottagecore fashion. Featuring delicate, openwork lace stitch patterns adorned with small, individually crocheted three-dimensional floral appliques, this headband functions like a soft, wearable crown. It offers a romantic, nostalgic aesthetic that pairs effortlessly with flowing linen dresses, loose braids, and sun-drenched outdoor photography.
How to Make It
- Foundation Base: Chain a length equivalent to your head circumference minus 2 inches for stretch (typically 45–50 chains using fine yarn). Join with a slip stitch to form a loop, taking care not to twist the chain.
- Lace Pattern Body: Work a 4-row repeat of arching lace stitches. Combine double crochet (dc), chain spaces (ch-sp), and picot stitches to create a delicate trellis structure.
- Flower Appliques: Using a contrasting or complementary fine yarn, create 5 to 7 small roses or daisies using a magic ring, single crochet (sc), half double crochet (hdc), and double crochet petal loops.
- Assembly: Hand-sew the floral appliques along one side edge of the headband using a tapestry needle and matching yarn, spacing them symmetrically or clustering them asymmetrically near the temple.
- Edging: Finish both outer edges of the headband with a delicate shell stitch (5 dc in one stitch, skip 2 stitches, sc in next stitch).
Tips and Variations
- Yarn Selection: Use 100% mercerized cotton yarn for sharp stitch definition and a slight natural sheen.
- Pearl Center Details: Sew a small freshwater pearl or glass seed bead into the center of each crocheted flower for added elegance.
- Variation: Instead of a continuous loop, finish the ends with long, braided ties so the headband can be bound in a bow at the nape of the neck.
Needs to Make That Thing
- Fingering weight (Category 1) or Sport weight (Category 2) mercerized cotton yarn
- 2.75 mm or 3.25 mm crochet hook
- Fine tapestry needle and sharp embroidery scissors
- Small decorative pearls or glass beads (optional)
- Sewing needle and color-matched thread
2. Cable Knit Twist Knot Ear Warmer
What This Idea Means
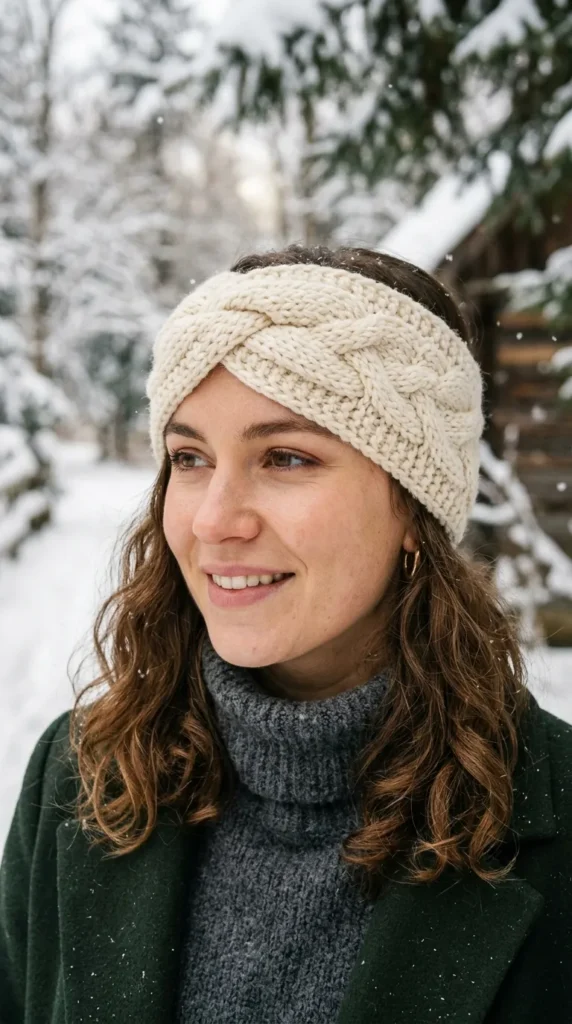
Combining cozy winter warmth with sophisticated texture, the Cable Knit Twist Knot Ear Warmer replicates complex knitted cables using advanced crochet stitches. The focal point is a seamless front twist knot that breaks up the horizontal lines, adding dimensional volume above the forehead. This piece fits squarely into warm, chic winter aesthetics and pairs beautifully with oversized coats, scarves, and cold-weather layers.
How to Make It
- Foundation Strip: Chain 20 to 24 stitches using a aran or bulky weight yarn to create a band approximately 4.5 to 5 inches wide.
- Cable Stitch Pattern: Work in rows using front post double crochet (fpdc) and front post treble crochet (fptc) crossed over back post double crochet (bpdc) stitches to build 2 or 3 distinct raised cable braids along the length.
- Work Length: Continue the cable pattern until the band measures approximately 19 to 20 inches when unstretched.
- The Twist Join: Fold the rectangle in half so the short ends meet. Slide the left edge into the center fold of the right edge, creating an interlocking “sandwich” layer (4 layers total).
- Seaming: Single crochet or slip stitch across all 4 layers firmly. Turn the headband inside out to reveal the perfectly concealed front twist knot.
Tips and Variations
- Tension Control: Keep post stitches loose to ensure the cable texture remains flexible rather than stiff.
- Fleece Lining: Hand-sew a strip of soft fleece on the inner band to protect delicate foreheads from wool scratchiness and increase wind resistance.
- Variation: Omit the twist for a wide, classic flat athletic ear-warmer band featuring centered cable panels.
Needs to Make That Thing
- Aran (Category 4) or Bulky (Category 5) wool blend yarn
- 5.5 mm or 6.0 mm crochet hook
- Tapestry needle
- Measuring tape
- Fleece fabric strip for lining (optional)
3. Pearl-Embellished Velvet Ribbon Headband
What This Idea Means
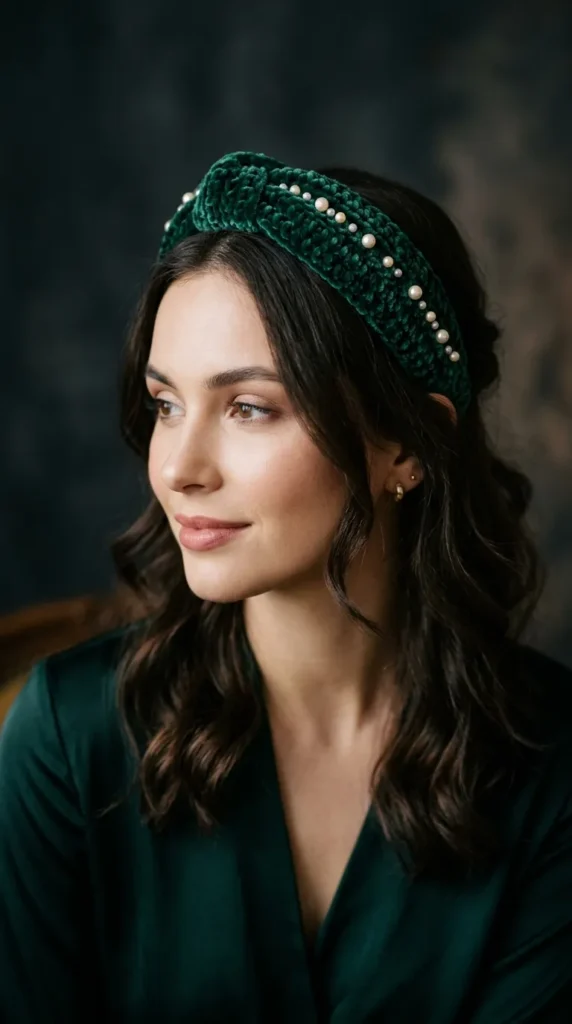
This design merges lush tactile luxury with classic glamor. Crafted from velvety yarn and embellished with pearl beads, the Pearl-Embellished Velvet Ribbon Headband brings evening-wear sophistication into the world of handmade accessories. The rich sheen of velvet catches light softly, while pearl accents offer contrast, making it an exceptional accessory for holiday gatherings, formal events, or dramatic portrait sessions.
How to Make It
- Pre-Beading: String 30 to 40 faux pearls onto your velvet yarn before beginning your foundation chain using a collapsible wire eye needle.
- Base Structure: Chain 12 stitches to create a 3-inch wide band. Work in simple half double crochet (hdc) through the back loops only (BLO) to generate a supple, flexible ribbing.
- Placing Pearls: Every 4th row, slide a pearl up to the hook and lock it into place on the front face of the headband with a tight single crochet.
- Sizing: Continue repeating the ribbed row sequence and pearl placement until the length comfortably circles the crown.
- Finishing: Fasten off leaving a 12-inch tail. Weave the two short ends together using a invisible mattress stitch.
Tips and Variations
- Yarn Handling: Velvet yarn can shed if pulled too roughly; work with light, steady tension and avoid over-working stitches.
- Pearl Sizing: Use 6 mm or 8 mm faux glass pearls for a substantial, elegant weight.
- Variation: Substitute pearls with iridescent crystal beads for a glittering, frosted winter ice effect.
Needs to Make That Thing
- Velvet bulky yarn (Category 5)
- 5.0 mm crochet hook
- 6mm or 8mm faux pearls with wide drill holes
- Collapsible wire bead threader
- Tapestry needle with a wide eye
4. Bohemian Wide Bandana Headwrap
What This Idea Means
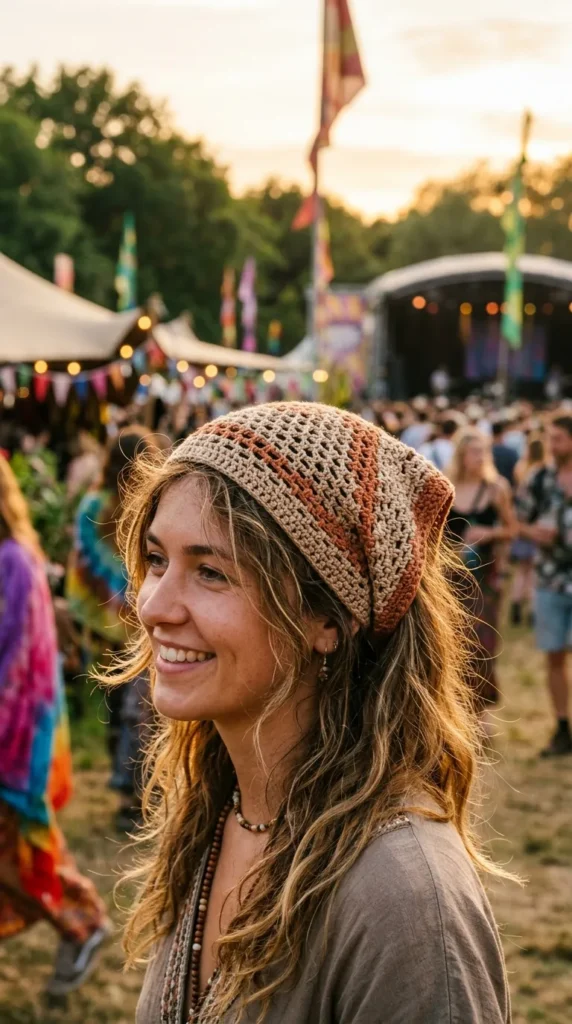
Inspired by 1970s festival style, the Bohemian Wide Bandana Headwrap provides full-coverage charm with a lightweight, breathable structure. Utilizing geometric mesh, granny square clusters, or moss stitches, this wide kerchief-style wrap protects hair from summer breezes while adding an artistic, earthy vibe to everyday outfits.
How to Make It
- Triangle Construction: Start at the narrow back point with a magic ring. Work outward in expanding rows using double crochet groups (3 dc, ch 2, 3 dc) to form an isosceles triangle.
- Pattern Expansion: Increase 1 cluster at each side edge every row until the top edge reaches approximately 14 to 16 inches wide.
- Top Edge Band: Work 3 rows of dense single crochet across the flat upper edge of the triangle to create a sturdy forehead band.
- Tie Straps: At each corner of the top band, chain 40 to 50 stitches, then slip stitch back down the chain to build strong, flexible ties.
- Lower Point Accent: Attach a handmade yarn tassel or wooden beads to the bottom triangle point for authentic boho weight and movement.
Tips and Variations
- Fibers: Stick to linen, bamboo, or unmercerized cotton yarn to maintain breathability in warm weather.
- Color Blocking: Switch yarn colors every two rows to create a striking retro rainbow or ombre earth-tone palette.
- Variation: Work a delicate picot or scallop border along the two angled sides of the triangle for an ornamental finish.
Needs to Make That Thing
- DK weight (Category 3) cotton or linen blend yarn
- 3.75 mm or 4.0 mm crochet hook
- Decorative wooden beads (optional)
- Scissors and tapestry needle
5. Modern Ribbed Minimalist Ear Warmer
What This Idea Means
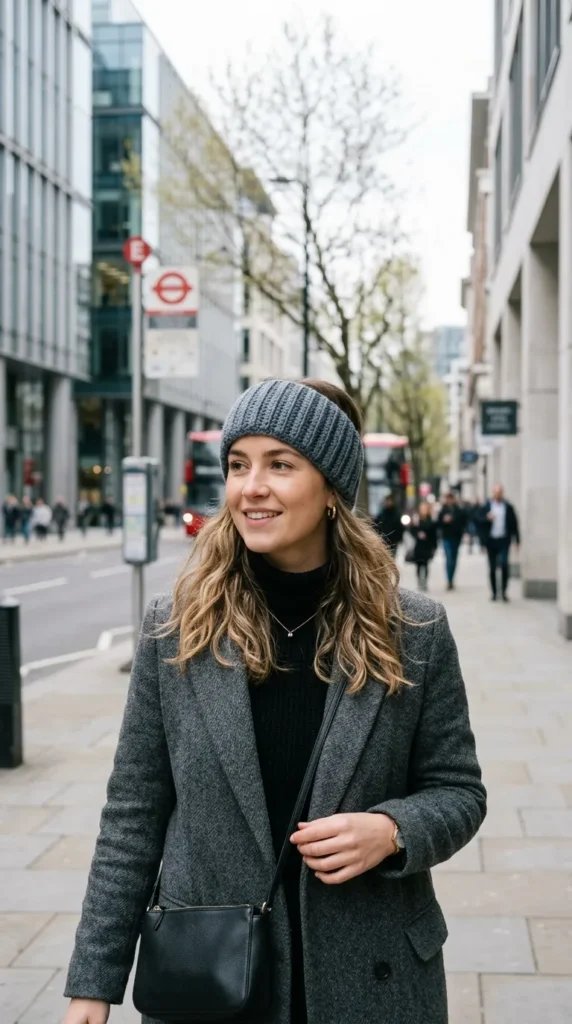
The Modern Ribbed Minimalist Ear Warmer caters to sleek, contemporary tastes. Characterized by clean vertical ridge lines that mimic knitted ribbing, this design focuses on pure structure, subtle texture, and neutral colorways. It is an everyday urban essential that pairs effortlessly with tailored winter coats, athleisure wear, and minimalist wardrobes.
How to Make It
- Foundation Chain: Chain 18 to 22 stitches using a smooth worsted weight yarn (creating a 4-inch wide strip).
- Stitch Pattern: Work in rows of half double crochet in the third loop (also known as the camel stitch or back horizontal bar). This pushes the front two loops forward, creating a crisp, raised knit-like ridge.
- Repeat: Continue working rows until the total length matches the target head circumference (minus 1.5 inches for snug elasticity).
- Seam Connection: Join the two short ends flat using a slip stitch join through outer loops only to keep the seam virtually invisible.
- Weave Ends: Secure all yarn tails firmly inside the interior ridges.
Tips and Variations
- Yarn Choice: Select acrylic-wool blends with high stitch elasticity so the ribbing springs back cleanly after stretch.
- Color Schemes: Stick to minimalist neutrals—oatmeal, slate gray, cream, camel, or charcoal.
- Variation: Add a subtle leather or cork branding tag folded over the bottom edge for a refined store-bought look.
Needs to Make That Thing
- Worsted weight (Category 4) wool/acrylic blend yarn
- 5.0 mm or 5.5 mm crochet hook
- Faux leather folded logo tag (optional)
- Tapestry needle and scissors
6. Shell Stitch Scalloped Headband
What This Idea Means
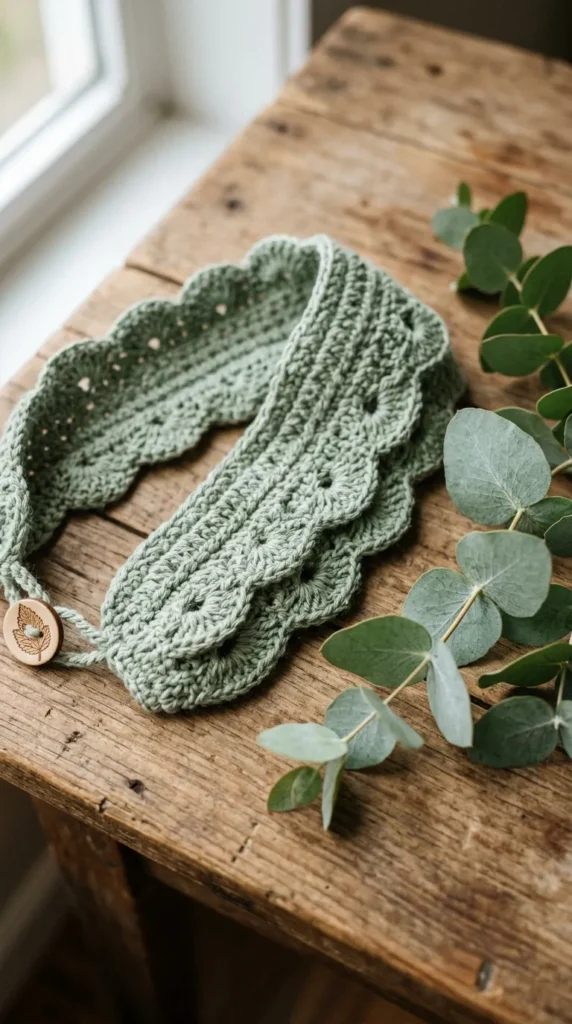
The Shell Stitch Scalloped Headband uses classic fan motifs to create soft wave textures along its length. The outer scalloped edges give this accessory a gentle, vintage feel that looks sophisticated against any hair color. It balances decorative detail with practical functionality, making it a favorite for outdoor garden parties and spring styling.
How to Make It
- Foundation Base: Chain a multiple of 6 plus 1 to fit the crown measurement comfortably.
- Center Mesh: Work 2 central rows of simple double crochet and chain-1 spaces to create a sturdy center spine.
- Shell Border (Top): Along the top edge of the spine, work 5 double crochets in one stitch, skip 2 stitches, and single crochet in the next stitch to construct a continuous scalloped wave.
- Shell Border (Bottom): Rotate the work 180 degrees and repeat the exact shell pattern along the opposite side of the central spine.
- Closure: Connect the ends using a seamless join, or add a small fabric-covered elastic hair band at the base for an adjustable, non-slip fit.
Tips and Variations
- Two-Color Accent: Work the central spine in a neutral shade and the outer shell scallops in a contrasting vibrant color.
- Elastic Integration: Single crochet directly around an elastic ponytail band at the back nape to ensure maximum comfort without tight pressure points.
- Variation: Insert a tiny seed bead into the center dc stitch of each 5-dc shell for subtle shimmer.
Needs to Make That Thing
- Sport weight (Category 2) or DK weight (Category 3) cotton yarn
- 3.5 mm crochet hook
- Standard elastic ponytail holder
- Tapestry needle and measuring tape
7. Daisy Chain Summer Hairband
What This Idea Means
Embodying playful nostalgia, the Daisy Chain Summer Hairband features individual crocheted white-and-yellow daisies joined continuously as you work. This eye-catching, colorful accessory brings joy to summer outfits, picnics, and festival wear. It radiates a youthful, hand-crafted charm that stands out visually on Pinterest boards.
How to Make It
- First Daisy Center: With bright yellow yarn, make a magic ring, work 12 single crochets inside, and slip stitch to close. Fasten off yellow.
- Petals: Join crisp white yarn. In the first stitch, chain 3, 2 double crochet, chain 3, slip stitch in same stitch (forms 1 petal). Repeat around to create 12 distinct petals.
- Continuous Joining: As you complete the 3rd and 9th petals of subsequent daisies, join them to the side petals of the adjacent daisy using a single crochet join.
- Band Assembly: Repeat until you have a chain of 8 to 10 interconnected daisies spanning the top of the head.
- Back Strap: Attach green yarn to both free ends of the daisy chain. Crochet a narrow 4-row band of single crochet (or long braided cord ties) to bridge the back nape gap.
Tips and Variations
- Yarn Crispness: Mercerized cotton works best here to keep daisy petals flat and crisp without curling.
- Blocking: Lightly steam-block the completed daisy strip with an iron held 2 inches away to flatten the flower petals before adding the back strap.
- Variation: Swap the white yarn for soft pastel pinks or lilacs to create a cherry blossom chain.
Needs to Make That Thing
- DK weight cotton yarn in Yellow, White, and Green (or Leaf Shadow)
- 3.25 mm crochet hook
- Steam iron for wet/steam blocking
- Tapestry needle and scissors
8. Twisted Velvet Turban Headband
What This Idea Means
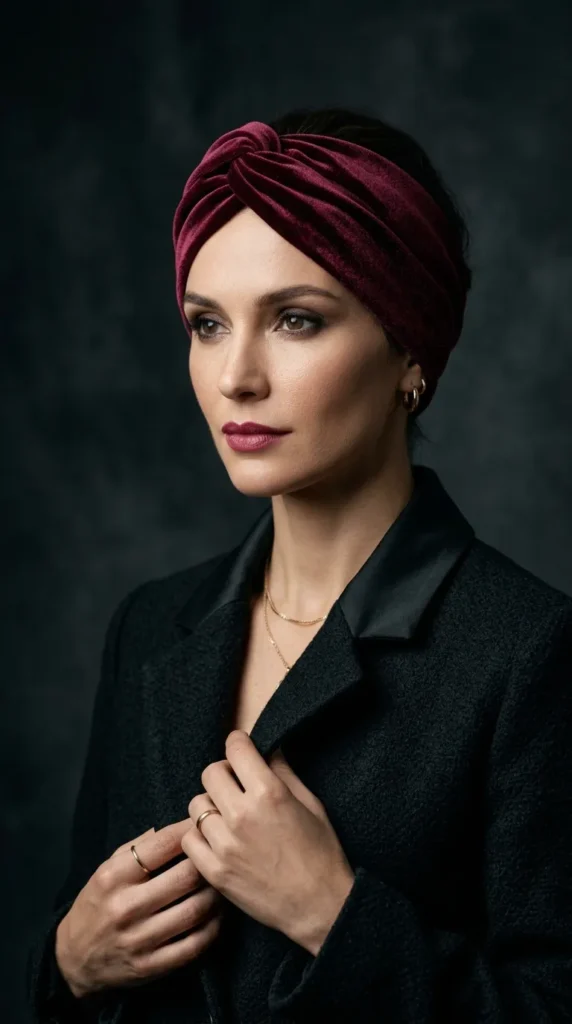
Exuding old-Hollywood glamour and vintage sophistication, the Twisted Velvet Turban Headband pairs rich plush textures with a classic cross-front turban shape. The deep shadows and shimmering highlights of plush velvet yarn make simple stitches look lavish, creating a head-turning accessory suitable for formal wear or elevated streetwear.
How to Make It
- Main Rectangular Strip: Using lush plush velvet yarn, chain 16 stitches (approx. 5 inches wide).
- Textured Body: Work in half double crochet in the back loop only (BLO) to build a thick, stretchy ribbed texture. Continue for 20 inches.
- Turban Twist Formation: Lay the finished strip flat. Take short end A and short end B. Twist end B by 180 degrees (one full half-turn).
- Assembly: Bring the short ends together face-to-face and seam them together securely using a whip stitch with matching yarn.
- Shaping: Flip the band right-side out; the half-twist creates an elegant, self-draping turban knot on top.
Tips and Variations
- Rich Jewel Tones: Select deep emerald green, royal navy, wine red, or rich mustard shades to highlight the velvety texture.
- Width Adjustments: Make the band wider (up to 7 inches) for maximum ear coverage and a bolder turban silhouette.
- Variation: Add a sparkling crystal brooch centered directly on the front knot for vintage evening elegance.
Needs to Make That Thing
- Velvet/Chenille bulky yarn (Category 5)
- 6.0 mm crochet hook
- Vintage brooch or rhinestone jewel center (optional)
- Wide-eye tapestry needle
- Scissors
9. Tunisian Honeycomb Stitch Headwrap
What This Idea Means
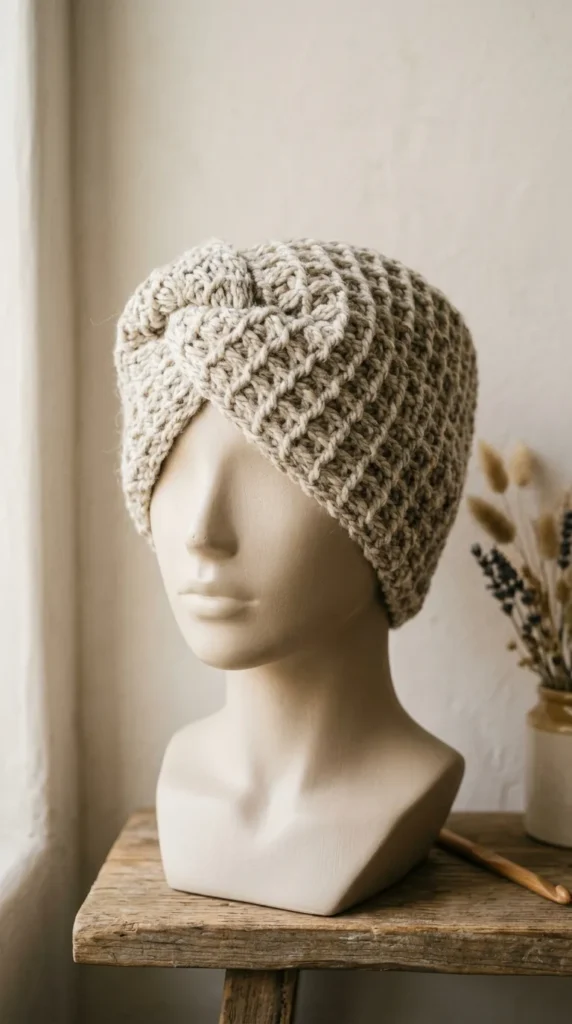
The Tunisian Honeycomb Stitch Headwrap offers a unique, waffle-like geometric texture that appears woven rather than crocheted. Utilizing Tunisian crochet techniques, this headwrap is thick, dense, and exceptionally warm. It provides high-end visual interest and structural stability that won’t warp or stretch out of shape over time.
How to Make It
- Setup: Use a Tunisian crochet hook. Chain 14 stitches with a smooth worsted wool yarn.
- Forward & Return Passes: Work a foundation row of Tunisian Simple Stitch (TSS).
- Honeycomb Pattern Row 1: Alternating across the forward pass, work 1 Tunisian Simple Stitch (TSS), 1 Tunisian Purl Stitch (TPS). Complete standard return pass.
- Honeycomb Pattern Row 2: Offset the stitches: work 1 TPS, 1 TSS across the forward pass. Complete standard return pass.
- Repeat & Seam: Alternate Rows 1 and 2 until the band reaches 19 inches. Bind off cleanly and seam the short ends together using a flat mattress stitch.
Tips and Variations
- Hook Size: Always select a Tunisian hook 1 to 1.5 mm larger than recommended for standard crochet with your yarn to avoid curling edges.
- Colorwork: Use a variegated yarn for the purl stitches and a solid dark yarn for the simple stitches to make the honeycomb pop visually.
- Variation: Finish the long outer edges with a row of single crochet in a contrasting metallic thread.
Needs to Make That Thing
- Worsted weight (Category 4) wool yarn
- 6.0 mm Tunisian crochet hook (flexible cable hook optional for small widths)
- Tapestry needle and measuring tape
10. Graceful Picot Lace Bridal Headband
What This Idea Means
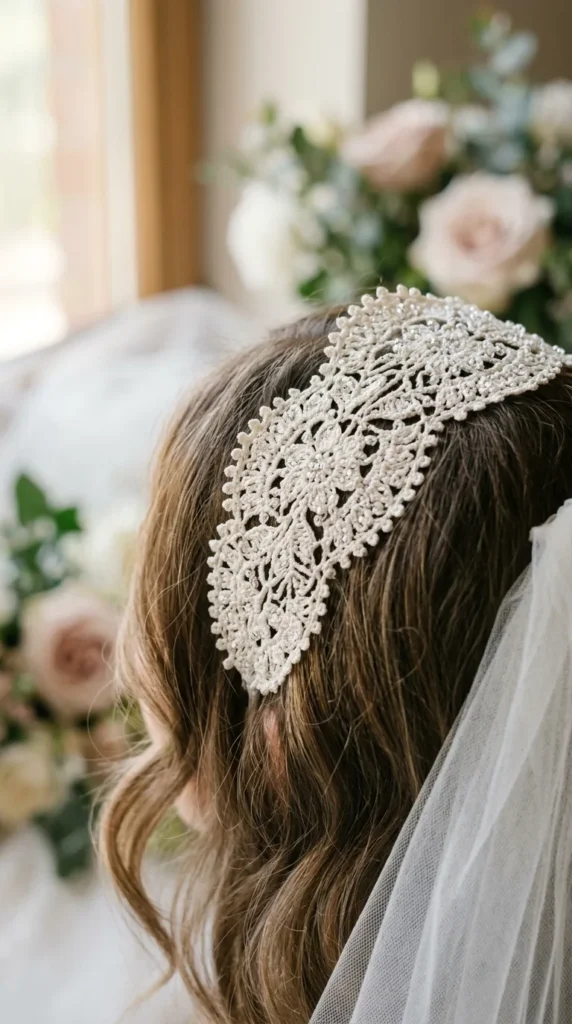
Designed for special occasions, weddings, or formal celebrations, the Graceful Picot Lace Bridal Headband embodies delicacy and ethereal charm. Crafted with ultra-fine thread and adorned with tiny picot points, this thin, crown-like band adds understated luxury to updos and soft bridal curls.
How to Make It
- Core Foundation: Chain 80 to 100 stitches using fine lace weight crochet thread.
- Row 1: Work a clean row of single crochet across the entire chain to build a stable base line.
- Row 2 (Lace Trellis): Chain 5, skip 2 stitches, sc in next stitch across the length to create light arching loops.
- Row 3 (Picot Edge): In each chain-5 loop, work 3 sc, picot stitch (ch 3, sl st in 1st ch), 3 sc.
- Ribbon Ties: Attach 1/4-inch white silk satin ribbons to both ends of the finished band to tie under the hair at the base of the neck.
Tips and Variations
- Stiffening: Lightly brush the back of the finished lace with a fabric stiffening solution or diluted white PVA glue so the delicate picot points hold their shape crisply.
- Bead Insertion: Thread micro glass seed beads onto the picot points during row 3 for catching candlelight.
- Variation: Craft in metallic gold or silver thread for holiday galas and milestone events.
Needs to Make That Thing
- Size 10 or Size 20 Mercerized Cotton Crochet Thread (White, Ivory, or Champagne)
- 1.5 mm or 1.75 mm steel crochet micro-hook
- Thin silk satin ribbon (1 yard)
- Fabric stiffener solution
- Fine sewing needle and scissors
11. Two-Tone Braided Crown Headband
What This Idea Means
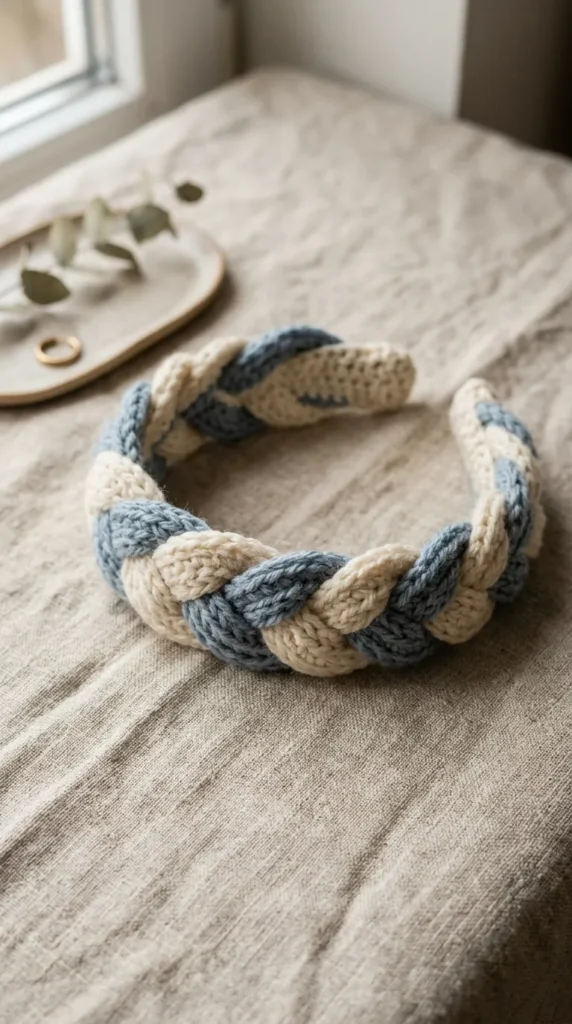
This technique involves crocheting individual long, narrow cords and weaving them together into a thick, three-dimensional plait. The Two-Tone Braided Crown Headband plays with contrasting or tonal colors to emphasize the woven structure, delivering a chic, Scandinavian-inspired hair accessory that looks intricate and modern.
How to Make It
- Crochet Three Cords: Using two complementary yarn colors (e.g., Cream and Sage Green), crochet three separate long I-cords or simple 3-stitch wide single crochet strips measuring 22 inches each.
- Anchor Top: Pin or clamp the top ends of all three strips together securely on a blocking board or heavy cushion.
- Plaiting: Plait the three strips firmly and evenly down their entire length, maintaining equal tension to keep the braid uniform.
- Anchor Bottom: Sew or slip stitch the bottom three ends together flat once the braid is complete.
- Final Seam: Join the top anchored end and bottom anchored end together, wrapping a small 1-inch crocheted band around the joint to hide the seam cleanly.
Tips and Variations
- Cord Consistency: Keep stitch counts and tension identical across all three strips so the braid does not twist unevenly.
- Color Ideas: Try three shades of a single color family (e.g., dusty rose, blush, and deep mauve) for a sophisticated ombre effect.
- Variation: Use four strands for a wider, flatter 4-strand woven plait.
Needs to Make That Thing
- DK or Worsted weight yarn in two or three coordinating colors
- 4.0 mm crochet hook
- Safety pins or blocking board for holding strands during braiding
- Tapestry needle and scissors
12. Sunburst Granny Square Bandana Headband
What This Idea Means
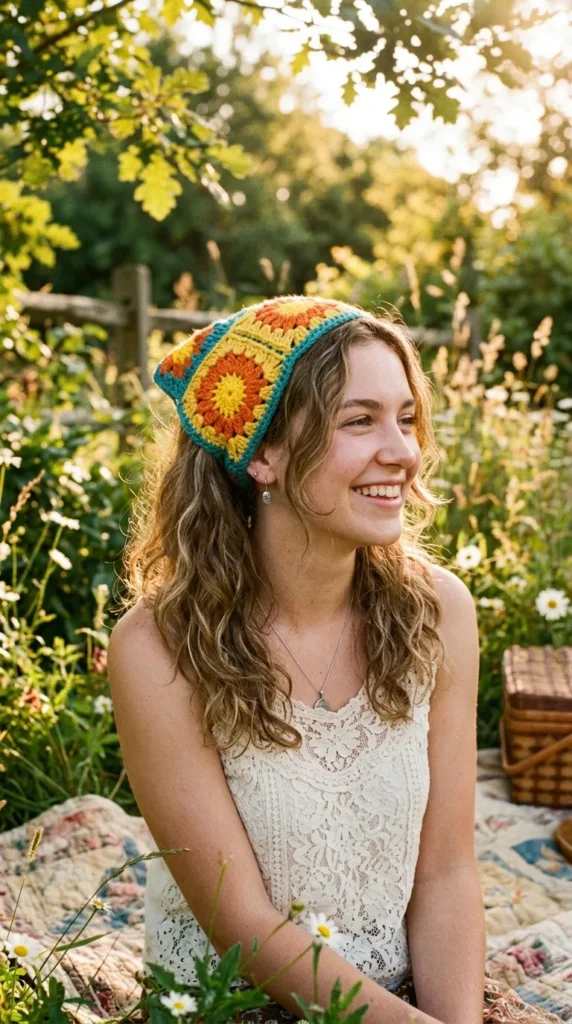
Combining the iconic charm of traditional granny squares with practical bandana styling, this design features sunburst flower motifs joined diagonally. The Sunburst Granny Square Bandana Headband sits right at the intersection of retro 70s nostalgia and modern cottagecore fashion, ideal for warm sunny days and creative everyday wear.
How to Make It
- Make Motifs: Crochet 3 or 4 sunburst granny squares (center ring, puff stitch sunburst ring, 16-dc ring, and squarer corner framing).
- Block Motifs: Steam-block all squares so they are perfectly uniform in size (approx. 3.5×3.5 inches each).
- Join Diagonal Strip: Join the squares corner-to-corner diagonally using a flat slip-stitch join to create a zig-zag band.
- Fill Triangles: Work half-granny triangles along one long side to level the forehead edge into a flat line.
- Band & Ties: Crochet a continuous border along the top edge, extending long chain straps from both ends to secure the wrap around the head.
Tips and Variations
- Color Pops: Use dark charcoal or cream for the outer border row to frame vibrant yellow and orange flower centers.
- Yarn Type: Use breathable cotton or soft acrylic yarns that hold motif shape without sagging.
- Variation: Extend the back point down further by adding a second row of squares for a fuller bandana hair covering.
Needs to Make That Thing
- Worsted or DK weight yarn in 3 to 4 contrasting colors
- 4.0 mm or 4.5 mm crochet hook
- Blocking mats and T-pins
- Tapestry needle and scissors
13. Rustic Leaf Motif Headband
What This Idea Means
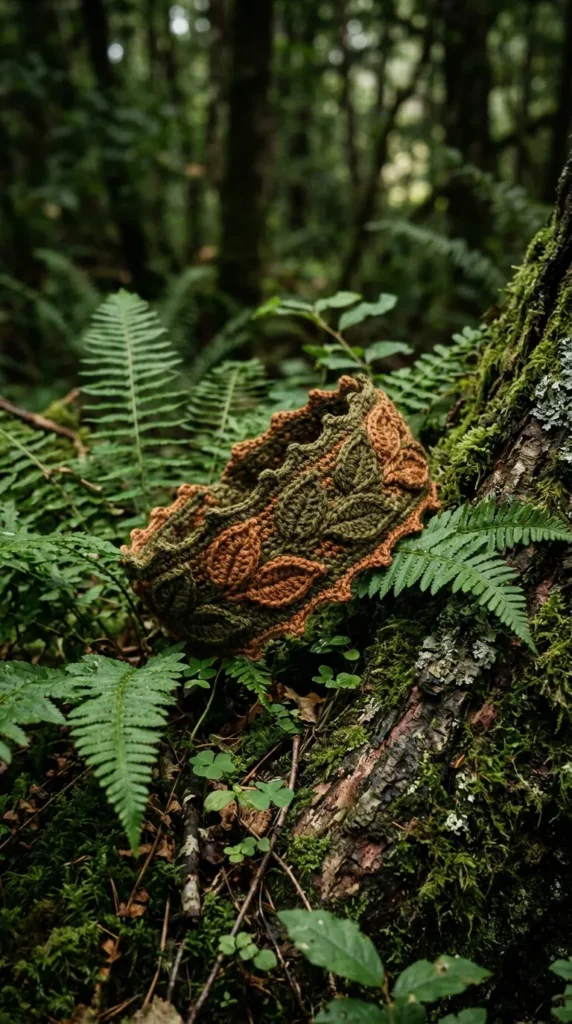
Inspired by woodland natural beauty, the Rustic Leaf Motif Headband features cascading, interconnected leaf shapes that wrap around the head like a botanical laurel wreath. It provides an organic, artistic look that appeals to lovers of nature-inspired fashion, forestcore styles, and outdoor autumnal photography.
How to Make It
- Central Vine Chain: Chain a length equal to the target head circumference.
- Leaf Construction: Working along the chain, sl st, sc, hdc, dc, tr, picot, tr, dc, hdc, sc, sl st into a 5-chain space to construct a tapered leaf silhouette.
- Opposing Leaves: Rotate the chain 180 degrees and work matching leaf shapes along the underside, staggering them slightly to mirror natural vines.
- Stem Structure: Work a row of dense slip stitches down the central spine chain to give the headband structure and prevent over-stretching.
- Closure: Finish with a small wooden button on one end and a hidden chain-loop closure on the other.
Tips and Variations
- Yarn Tones: Select rich olive greens, rust oranges, golden mustard, or deep forest green yarns.
- Blocking: Spray-block the leaves thoroughly with water and pin each leaf point out flat until fully dry.
- Variation: Sew small red wooden beads onto the vine intersections to resemble winter holly berries.
Needs to Make That Thing
- Sport or DK weight wool/cotton yarn in earthy green or autumnal tones
- 3.5 mm crochet hook
- Small wooden button (15 mm)
- Blocking pins and foam mat
- Tapestry needle
14. Alpine Stitch Winter Headwrap
What This Idea Means
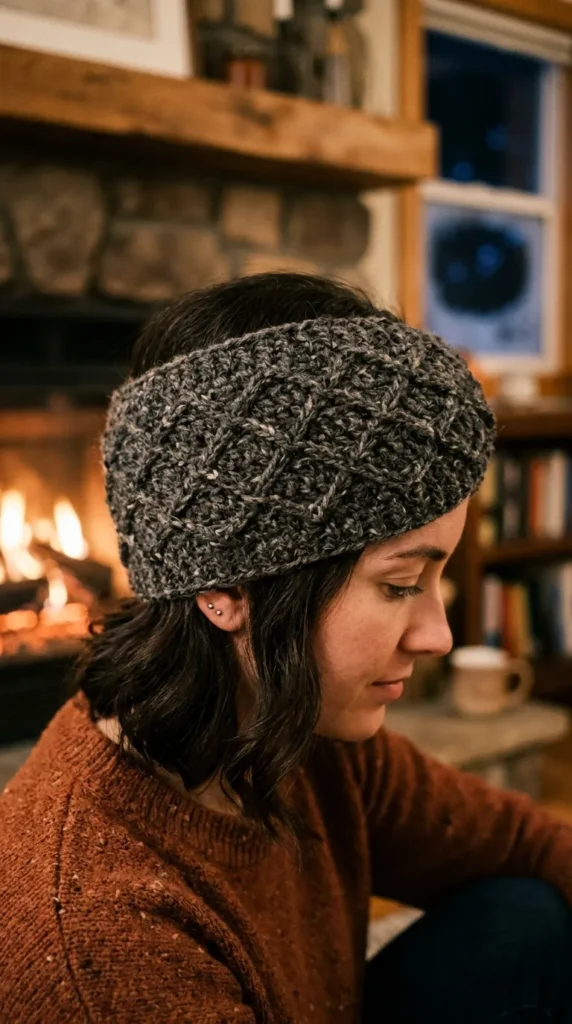
The Alpine Stitch Winter Headwrap features a rich, diamond-like woven texture created by alternating front post treble crochets with standard stitches. The resulting fabric is dense, heavily textured, and exceptionally wind-resistant, providing optimal ear protection during chilly autumn and winter months.
How to Make It
- Foundation Row: Chain an even number of stitches (e.g., 18 stitches for a 4.5-inch wide band). Work 1 row of single crochet.
- Alpine Row 1: Work alternating 1 dc, 1 front post treble crochet (fptc) into the sc two rows below.
- Alpine Row 2: Work a full row of plain single crochet across the back.
- Alpine Row 3: Offset the post stitches: 1 fptc into sc two rows below, 1 dc.
- Seaming: Continue alternating Rows 1–3 for 19 inches. Seam the short ends flat or assemble into a crossover knot.
Tips and Variations
- Texture Highlight: Solid neutral colors or subtle heathered yarns show off the complex diamond weave far better than busy variegated yarns.
- Width Flexibility: Make it extra wide (6 inches) to double as a full neck cowl when pulled down.
- Variation: Line the interior with faux-fur fabric for extreme arctic cold weather protection.
Needs to Make That Thing
- Aran weight (Category 4) tweed or wool yarn
- 5.0 mm or 5.5 mm crochet hook
- Tapestry needle
- Measuring tape
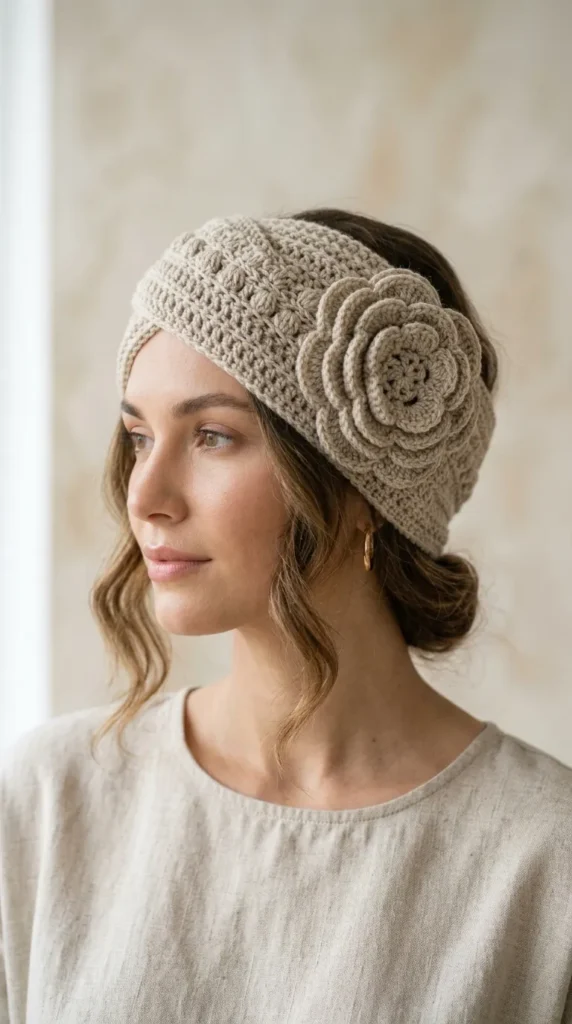
15. Elegant Rosette Accent Headwrap
What This Idea Means
This style centers around a single, dramatic focal point: a large, multi-layered crocheted rose blossom mounted asymmetrically over a simple, wide ribbed band. The Elegant Rosette Accent Headwrap offers timeless feminine style that effortlessly elevates simple coats and casual knitwear.
How to Make It
- Base Headband: Crochet a classic 4-inch wide ribbed headwrap using half double crochet through the back loops only for 19 inches. Seam flat into a circle.
- Rosette Strip: Chain 50. Work 1 row of dc. In the next row, work * (3 dc, ch 2, 3 dc) in every second stitch * to create a long scalloped serpentine ribbon.
- Form Rose: Coil the scalloped ribbon tightly in a spiral onto itself, letting the petals fan outward naturally. Secure the coiled base firmly using a tapestry needle and strong thread.
- Attachment: Position the completed rose 2 inches to the side of the headband’s front seam and sew it down securely.
- Leaves (Optional): Crochet 2 small green leaf motifs and tuck them behind the rosette base before sewing.
Tips and Variations
- Flower Dimension: Use a slightly finer yarn weight for the flower than the headband base so the rosette feels light and sculptural rather than bulky.
- Detachable Option: Sew a broach pin to the back of the rose so it can be removed for washing or transferred to coats and bags.
- Variation: Replace the single large rose with three small cascading flower buds.
Needs to Make That Thing
- Worsted weight yarn for headband base; DK weight for rose
- 4.5 mm and 3.5 mm crochet hooks
- Brooch pin clip (optional)
- Tapestry needle and strong sewing thread
16. Chiffon-Ribbon Interlaced Headband
What This Idea Means
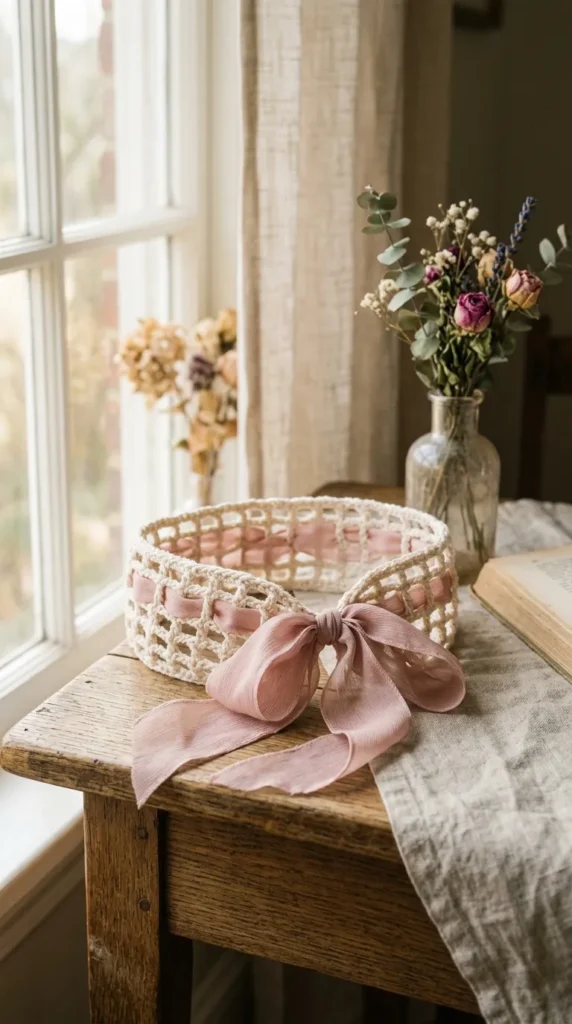
Mixing fiber arts with haberdashery textiles, this technique crafts an openwork mesh frame through which a sheer chiffon or satin ribbon is threaded. The Chiffon-Ribbon Interlaced Headband adds soft romantic movement, allowing you to tie a flowing bow at the back of the head.
How to Make It
- Mesh Base: Chain 12. Work in file grid stitch (1 dc, ch 1, skip 1 st) across the row to form a ladder-like mesh strip measuring 16 inches long.
- Edging: Single crochet around all four sides of the mesh strip, adding a delicate picot at each corner.
- Ribbon Threading: Cut a 1.5-yard piece of 1-inch wide sheer chiffon ribbon. Thread it under and over the central mesh bars along the length.
- Bow Styling: Leave equal tail lengths of chiffon ribbon extending past both ends of the crocheted mesh.
- Application: Place the crocheted mesh over the crown and tie the ribbon tails into a loose, elegant bow at the nape of the neck.
Tips and Variations
- Ribbon Contrast: Pair a cream or oat crochet mesh with soft pastel pink, navy, or wine-red chiffon ribbon.
- Ribbon Care: Singe the ribbon cut ends very briefly with a lighter flame to prevent fraying.
- Variation: Swap chiffon for velvet ribbon during autumn and winter seasons.
Needs to Make That Thing
- DK weight cotton or bamboo yarn
- 3.75 mm crochet hook
- 1.5 yards of 1-inch wide sheer chiffon or satin ribbon
- Tapestry needle and scissors
- Lighter (for ribbon edge sealing)
17. Star Stitch Retro Headband
What This Idea Means
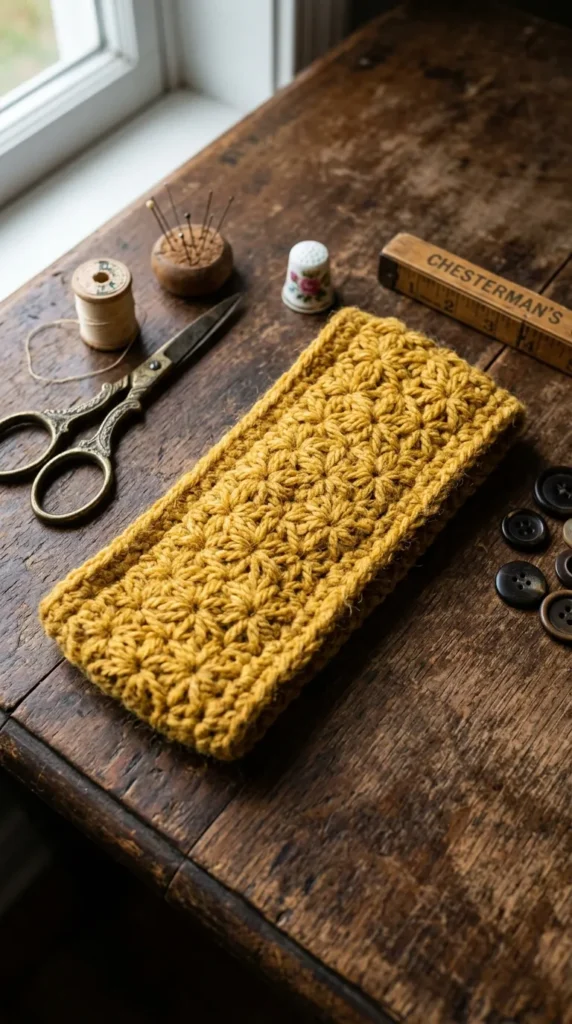
The Star Stitch Retro Headband uses one of crochet’s most captivating traditional stitch patterns. The star stitch creates small, 5-spoked floral star bursts that form a smooth, thick, and flat geometric fabric. It delivers a vintage 1920s appearance that feels refined, warm, and distinctly artisanal.
How to Make It
- Foundation: Chain an odd number of stitches (e.g., 17 stitches for a 3.5-inch band).
- Star Row (Forward): Pick up loops across 6 chains, yarn over and pull through all 6 loops, ch 1 (forms the eye of the star). Repeat across row. End with 1 hdc in last st.
- Return Row: Work 2 single crochets into the “eye” of each star across the row to complete the star shapes.
- Repeat: Alternate Star Row and Return Row until headband length reaches 19 inches.
- Join: Slip stitch short ends together, keeping star alignment continuous across the seam.
Tips and Variations
- Yarn Smoothness: Use a smooth, multi-ply spun yarn to avoid splitting when pulling through the 6 loops required for each star stitch.
- Two-Tone Stars: Change yarn colors every two rows so star tops contrast with their base rings.
- Variation: Add a retro button band closure using two vintage brass buttons at the back nape.
Needs to Make That Thing
- Worsted weight (Category 4) smooth merino or acrylic yarn
- 5.0 mm crochet hook
- Tapestry needle and tape measure
- Decorative vintage buttons (optional)
18. Oversized Chunky Wool Headband
What This Idea Means
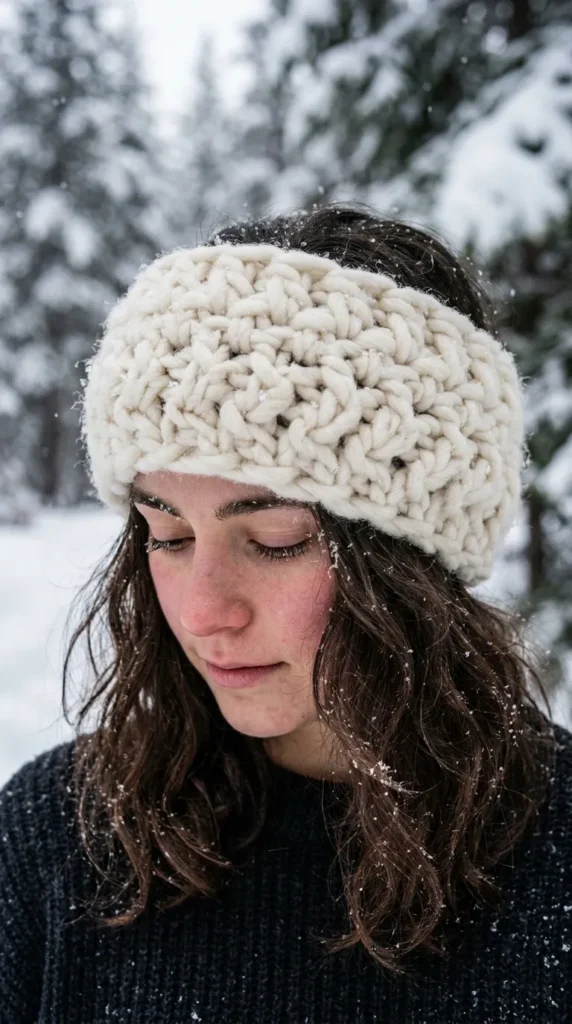
Designed for high visual impact and ultimate cold-weather warmth, the Oversized Chunky Wool Headband uses super-bulky roving wool yarn. The oversized, exaggerated stitches create a striking fashion profile popular in winter street style and cozy Pinterest aesthetic photography.
How to Make It
- Foundation: Using a large crochet hook and super-bulky yarn, chain 8 stitches (creates a wide 5.5-inch headband).
- Simple Stitches: Work simple single crochet or half double crochet in the back loops only across all rows.
- Speedy Construction: Due to the thick yarn weight, complete only 22–25 rows until the piece reaches 19 inches (takes less than 30 minutes).
- Twist or Flat: Join short ends using a large tapestry needle and whip stitch.
- Fluff & Shape: Gently hand-shape and fluff the thick wool loops for balanced volume.
Tips and Variations
- Yarn Quality: Choose high-quality wool roving or chenille jumbo yarn so the accessory remains soft against the forehead.
- Quick Gifting: This is the fastest pattern to craft, making it an exceptional choice for last-minute holiday gift-making.
- Variation: Leave the band un-seamed and use a giant 30mm wooden toggle button for closure.
Needs to Make That Thing
- Super Bulky (Category 6) or Jumbo (Category 7) Wool/Roving Yarn
- 9.0 mm or 10.0 mm large crochet hook
- Large jumbo plastic tapestry needle
- Measuring tape and scissors
19. Delicate Bead-Crocheted Slim Alice Band
What This Idea Means
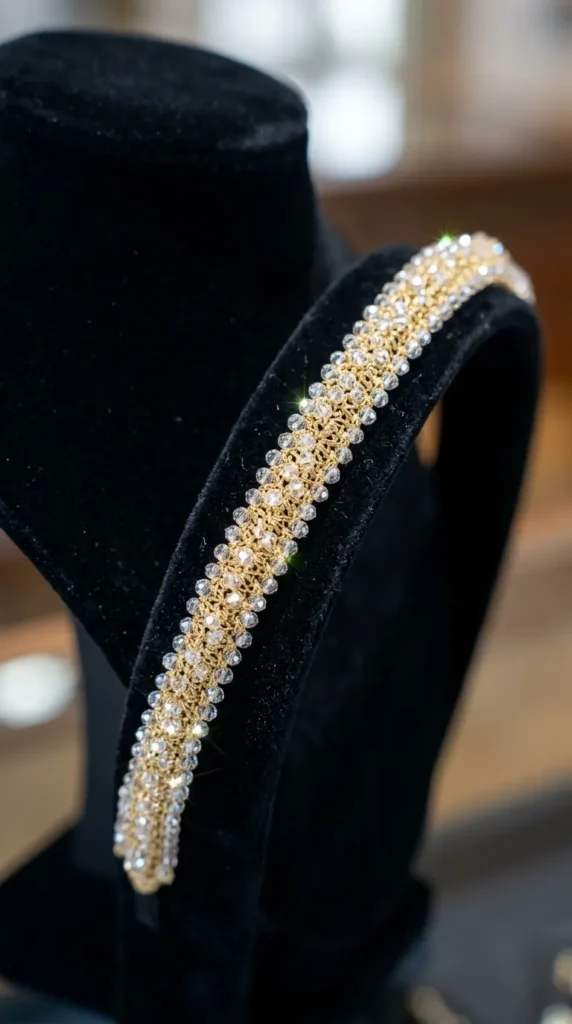
Unlike soft fabric headwraps, this design wraps a delicate bead-crocheted lace strip over a rigid internal plastic or metal Alice headband frame. The result is a structured, delicate accessory that slides effortlessly into loose hair, offering subtle sparkle and polished elegance.
How to Make It
- Pre-Strung Beads: String 100 small seed beads onto fine crochet thread.
- Crochet Strip: Chain 6. Work single crochet stitches, sliding a bead into every second stitch to form a narrow 0.75-inch beaded ribbon measuring 15 inches long.
- Frame Preparation: Take a plain 0.75-inch blank plastic Alice headband frame. Apply a thin strip of double-sided craft tape along its top surface.
- Mounting: Press the crocheted beaded strip firmly along the taped headband frame, centering it carefully.
- Edge Wrapping: Using matching thread, wrap neatly around the inner ends of the plastic band to lock the crochet trim down securely.
Tips and Variations
- Adhesive Quality: Use high-tack craft tape or clear jewelry glue (such as E6000) to ensure the crochet work stays glued to the plastic frame permanently.
- Bead Selection: Metallic gold, translucent crystal, or iridescent seed beads offer maximum elegance.
- Variation: Add small wire-wrapped crystal branches along the sides for a tiara effect.
Needs to Make That Thing
- Size 10 Cotton Crochet Thread
- 1.5 mm steel crochet hook
- Small seed beads (Size 6/0 or 8/0)
- Blank 0.75-inch plastic or metal Alice headband frame
- Strong jewelry glue or heavy-duty double-sided craft tape
20. Gothic Romantic Black Lace Headwrap
What This Idea Means
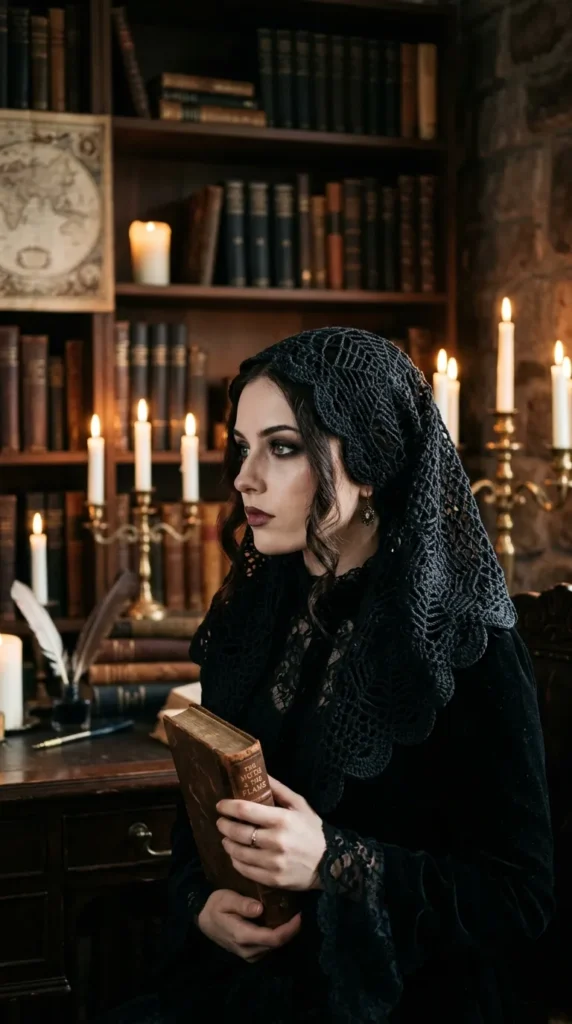
Channeling dark academia and Victorian romanticism, the Gothic Romantic Black Lace Headwrap features dramatic black openwork motifs, intricate spiderweb-inspired lace framing, and subtle scalloped borders. It provides a striking, moody aesthetic that adds dramatic flair to dark fashion and alternative styles.
How to Make It
- Center Mesh: Using deep black mercerized cotton yarn, chain 16. Work a 3-inch wide band in fine Solomon’s knot or V-stitch lace for 18 inches.
- Border Trellis: Work around the entire rectangular border with arching chain-5 loops to frame the interior lace.
- Gothic Scallops: In every outer chain loop, work a dramatic fan stitch: 1 dc, ch 1, 1 dc, ch 1, 1 tr, picot, 1 tr, ch 1, 1 dc, ch 1, 1 dc.
- Under-Lining (Optional): Hand-sew a dark burgundy or nude satin fabric backing under the center lace panel to make the black lace geometry pop visually.
- Fastening: Attach black velvet ribbon ties or a heavy dark vintage button to secure the band at the nape.
Tips and Variations
- Lighting for Black Yarn: Always work with black yarn under strong, direct desk lamps to see fine stitch loops clearly.
- Color Pop: Add small dark red teardrop glass beads dangling from the lower picot points along the forehead.
- Variation: Craft in deep blood-red or dark violet yarn for an equally dramatic moody aesthetic.
Needs to Make That Thing
- Fingering weight (Category 1) deep black mercerized cotton yarn
- 2.5 mm or 3.0 mm crochet hook
- Black velvet ribbon or dark vintage button
- Tapestry needle and sharp scissors
- Bright working light source