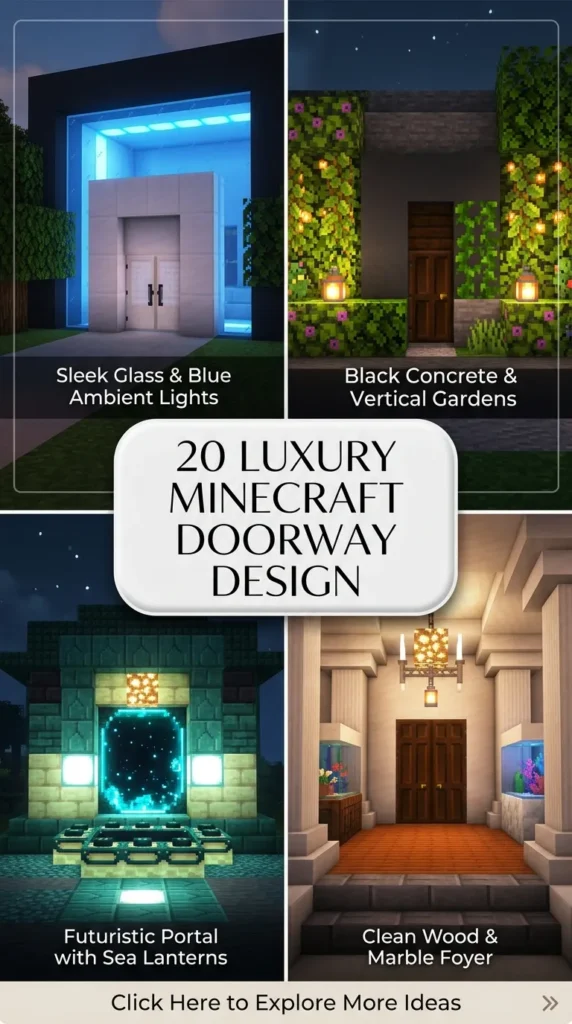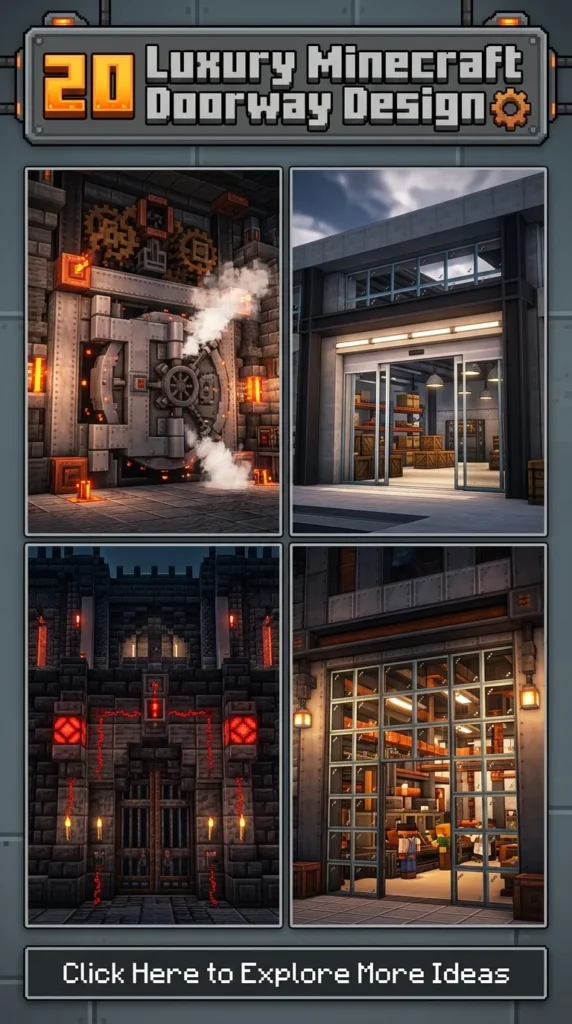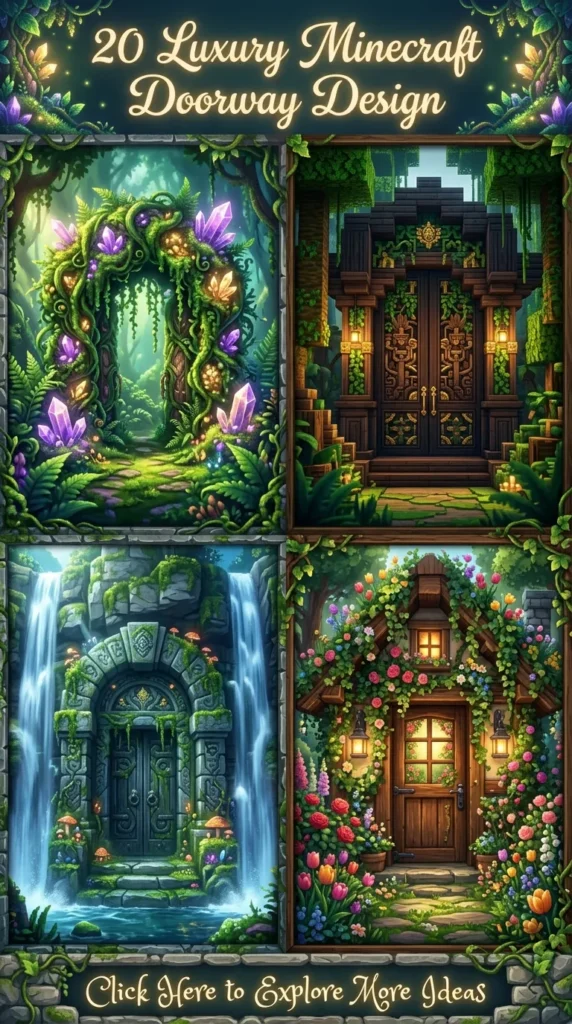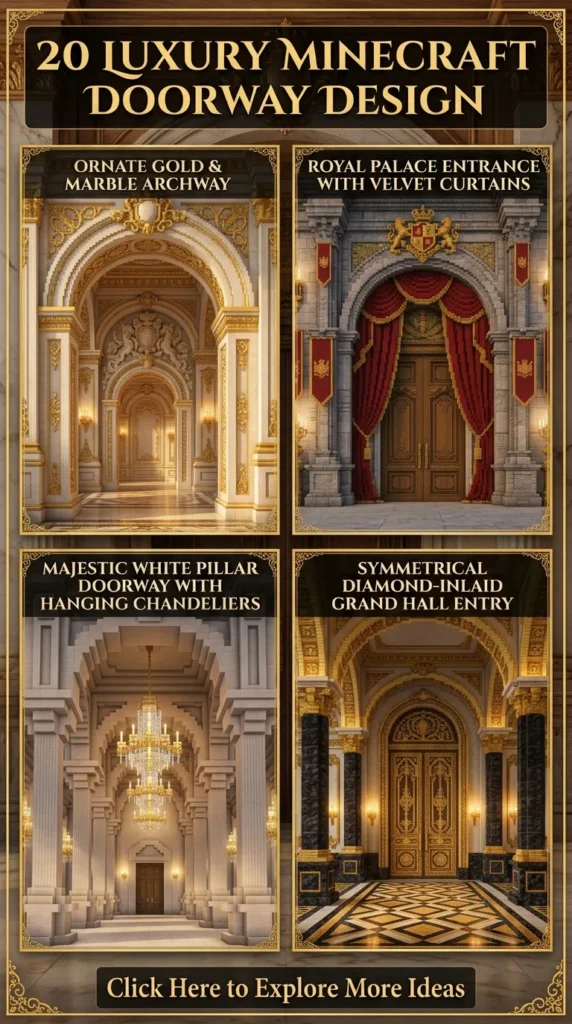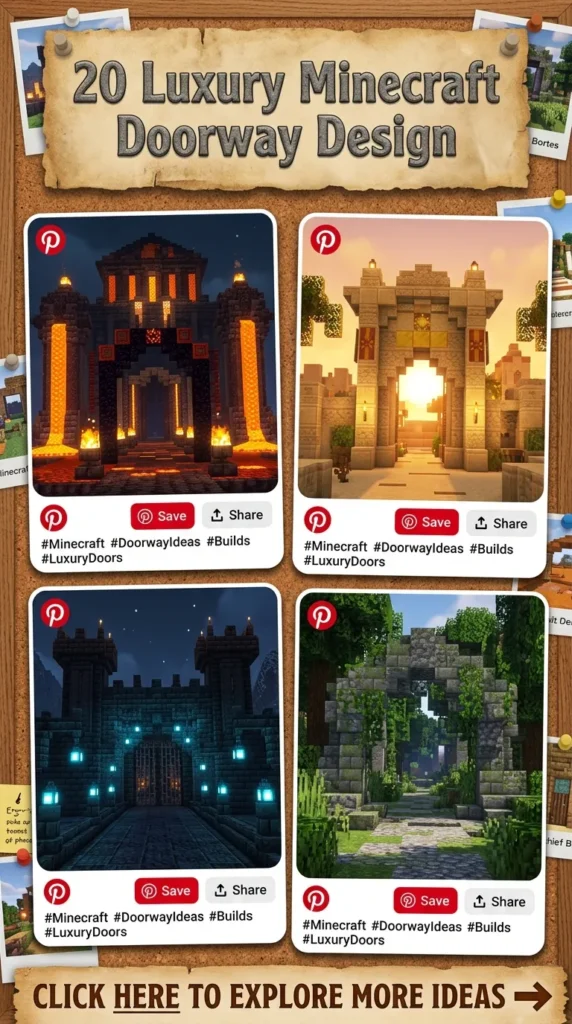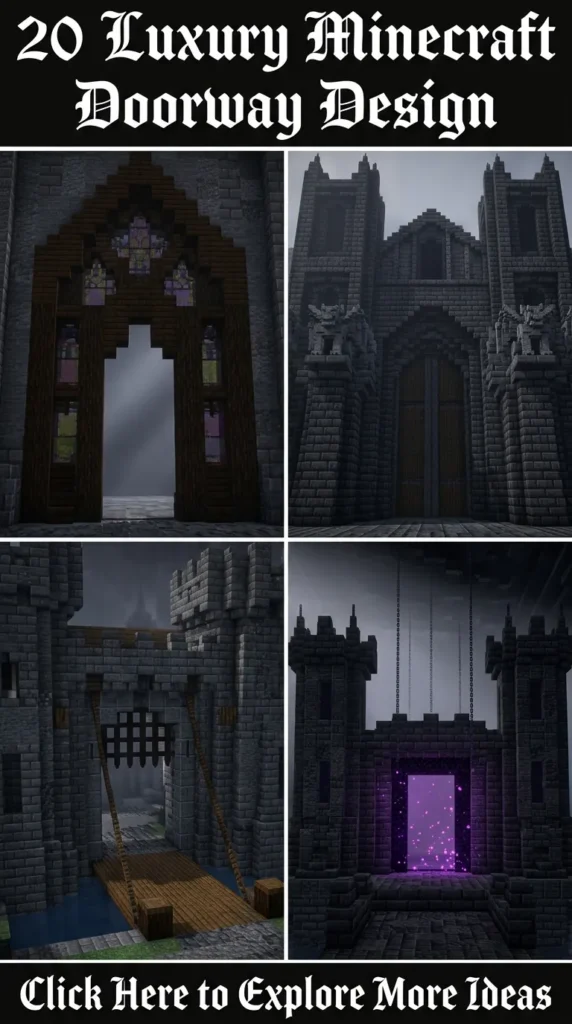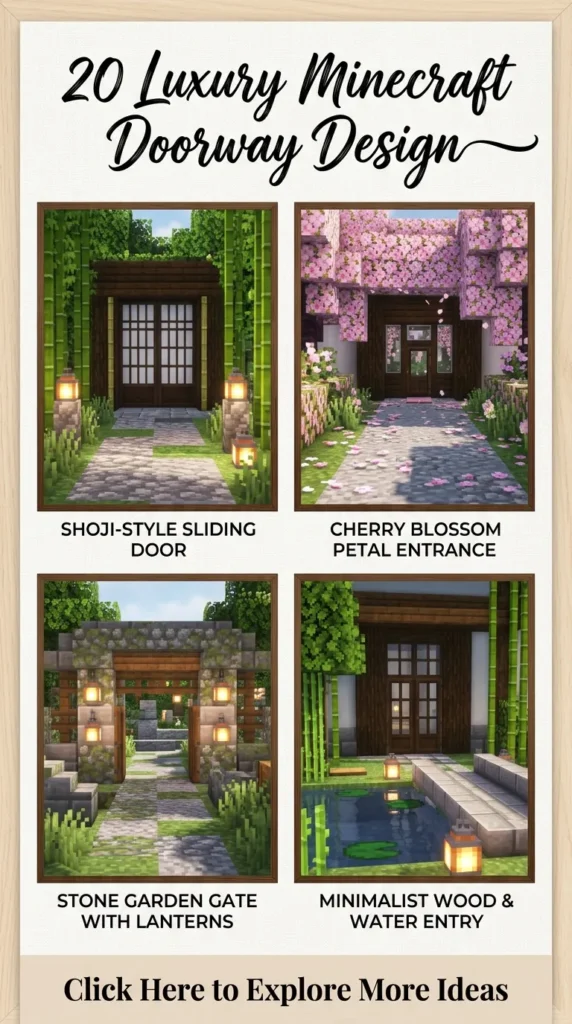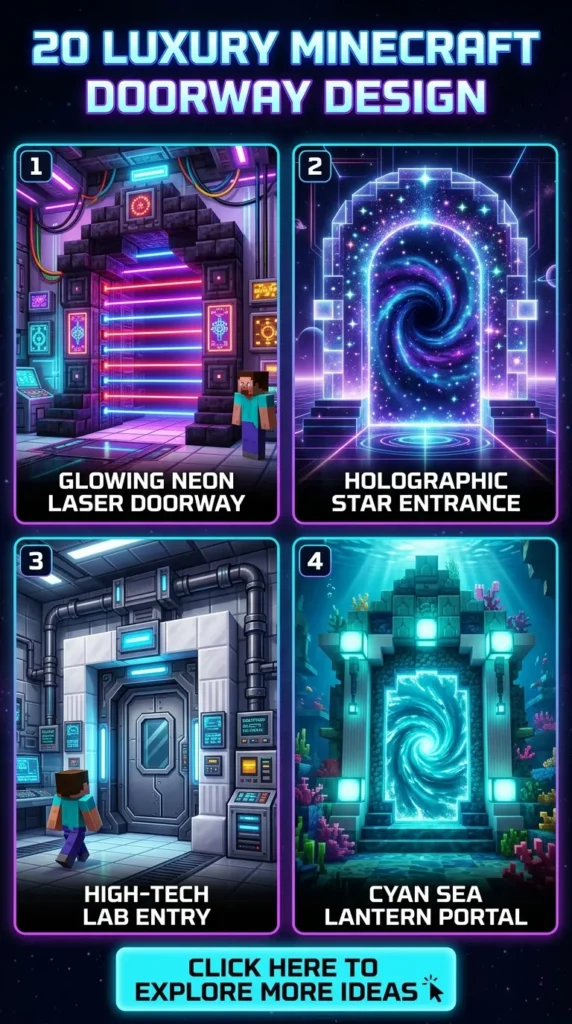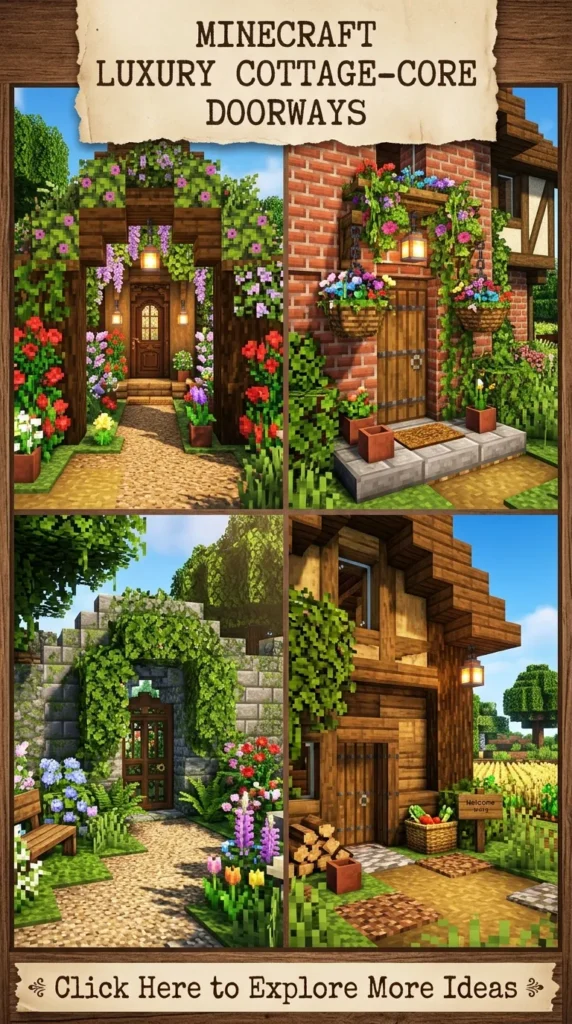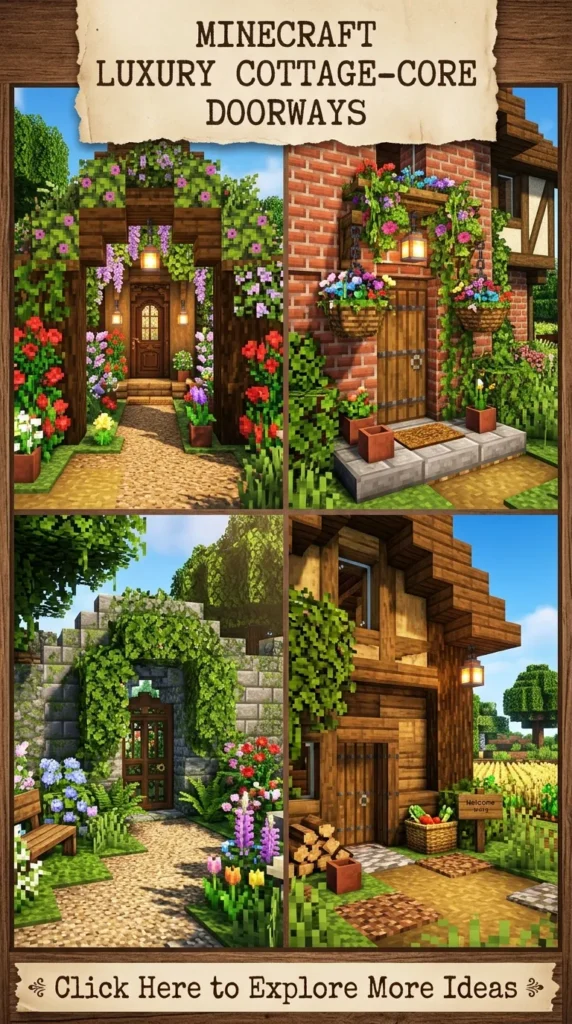
The doorway of a structure is its signature statement, setting the tone for everything that lies beyond. In Minecraft, transitioning from the outside world into a meticulously crafted interior offers builders an incredible opportunity to showcase creativity, depth, and luxury. Whether you are constructing a grand castle, a modern urban mansion, or a mystical fantasy sanctuary, an extraordinary entrance elevates the entire build. This comprehensive guide explores twenty luxury Minecraft doorway design ideas, complete with detailed breakdowns, step-by-step construction steps, material checklists, and curated design variations.
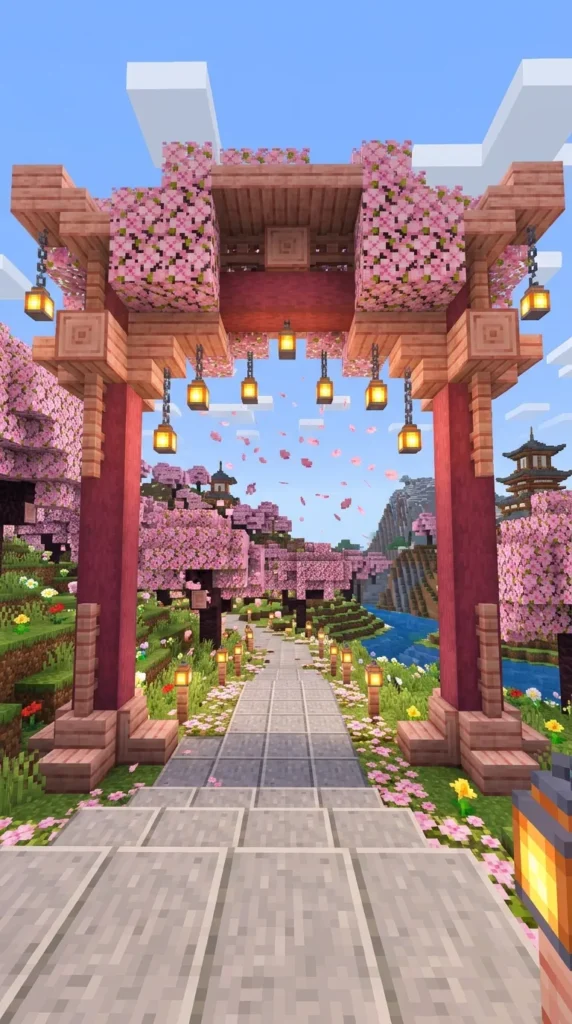
1. Grand Cherry Blossom Archway
Introduction
Framed by the soft pink hues of the cherry biome, a grand cherry blossom archway welcomes visitors with breathtaking natural elegance and serene traditional charm.
What This Idea Means
This doorway design represents tranquility, grace, and welcoming hospitality. It blends organic floral elements with structured timber framing, creating a stunning portal that feels both open and intimate.
How to Make It
- Step 1: Foundation Pillars. Build vertical pillars using stripped cherry logs on both sides of the entrance path.
- Step 2: Arch Construction. Layer cherry wood stairs and slabs to form an upward-curved structural archway.
- Step 3: Floral Accents. Decorate the upper corners and pillars with pink petals, cherry leaves, and hanging bamboo fences.
- Step 4: Pathway. Lay down smooth stone slabs and polished diorite along the ground leading up to the threshold.
Tips and Variations
- Hang lanterns from bamboo fence hooks beneath the arch for warm evening illumination.
- Swap cherry wood for mangrove wood for a richer, more dramatic red contrast.
Needs to Make That Thing
- Stripped Cherry Log
- Cherry Wood Stairs
- Pink Petals
- Cherry Leaves
- Bamboo Fence
- Lantern
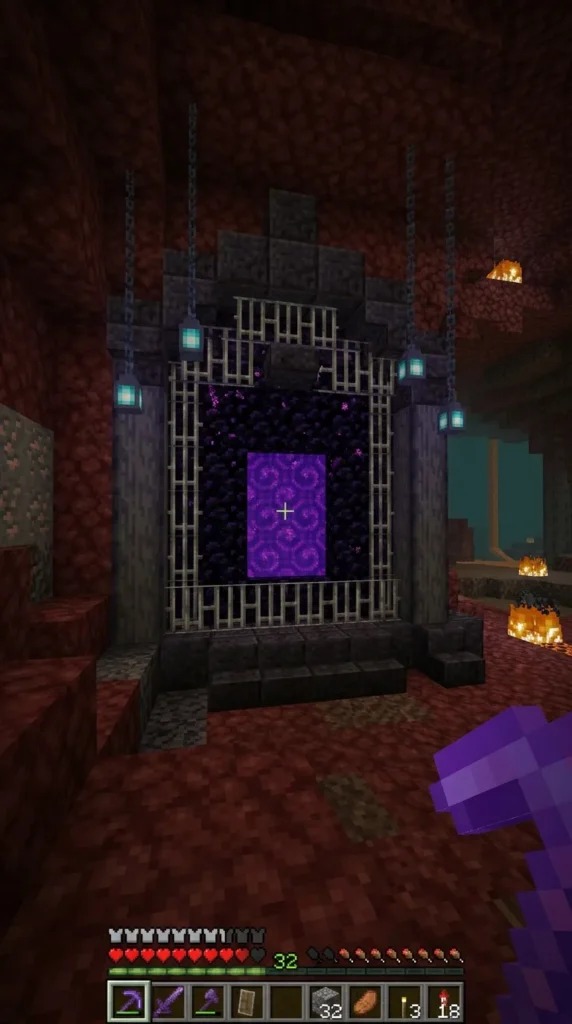
2. Obsidian Nether Portal Vault Door
Introduction
A daring and powerful statement, an obsidian Nether portal vault door combines dark purple mystique with high-end architectural reinforcement.
What This Idea Means
This concept symbolizes power, mystery, and mastery over dangerous dimensions. It transforms a standard utilitarian portal into an intimidating, luxurious gateway.
How to Make It
- Step 1: Portal Frame. Construct a standard or custom-shaped Nether portal using weeping obsidian and crying obsidian blocks.
- Step 2: Heavy Reinforcement. Encase the portal frame in polished basalt, blackstone stairs, and chiseled nether bricks.
- Step 3: Iron Accents. Add iron bars and chains across the top and sides to create an industrial vault locking mechanism.
- Step 4: Floor Integration. Embed magma blocks and soul fire lanterns into the stone threshold for an eerie glow.
Tips and Variations
- Use tinted glass panes around the outer edges to deepen the dark shadows.
- Add a button-activated iron door system in front of the portal for functional security.
Needs to Make That Thing
- Crying Obsidian
- Polished Basalt
- Blackstone Stairs
- Iron Bars
- Iron Chain
- Soul Lantern
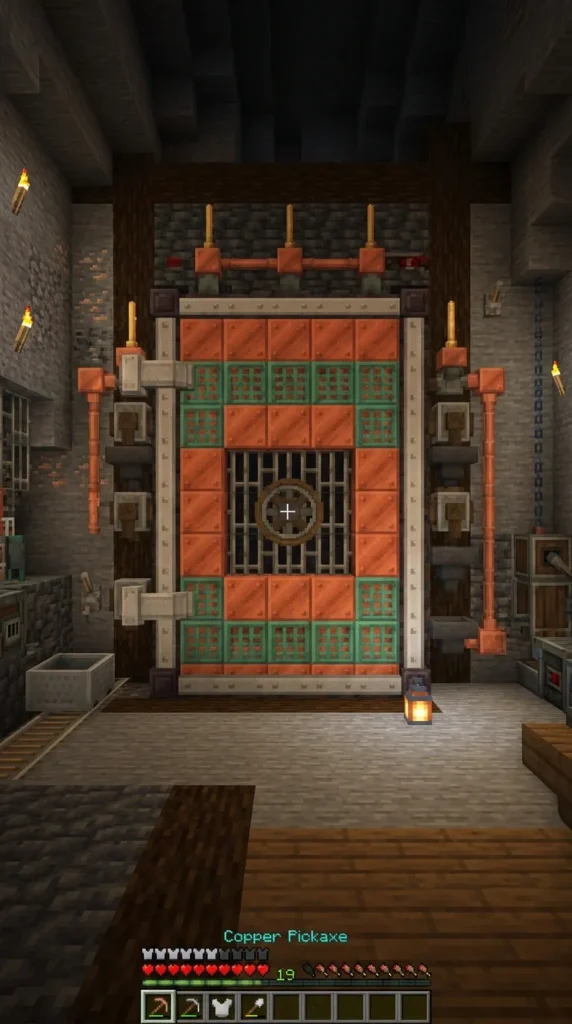
3. Steampunk Copper & Iron Vault Door
Introduction
Industrial, rugged, and mechanically intricate, a steampunk copper and iron vault door brings retro-futuristic engineering right to your workshop or base entrance.
What This Idea Means
This design celebrates inventive genius, heavy machinery, and structural durability. It tells the story of an industrious builder who values security and mechanical style.
How to Make It
- Step 1: Outer Framework. Build a heavy circular or rectangular frame using cut copper blocks and oxidized copper grates.
- Step 2: Mechanical Details. Insert grindstones, hoppers, and tripwire hooks around the door frame to simulate gears and valves.
- Step 3: Sliding Mechanism. Use iron trapdoors and vertical iron bars to create layered mechanical door panels.
- Step 4: Lighting. Cap the entrance pillars with lightning rods and copper bulbs casting amber light.
Tips and Variations
- Allow the copper to weather naturally over time for an authentic aged patina look.
- Add chains hanging down from the upper lintel.
Needs to Make That Thing
- Cut Copper
- Oxidized Copper Grate
- Grindstone
- Hopper
- Iron Bars
- Lightning Rod
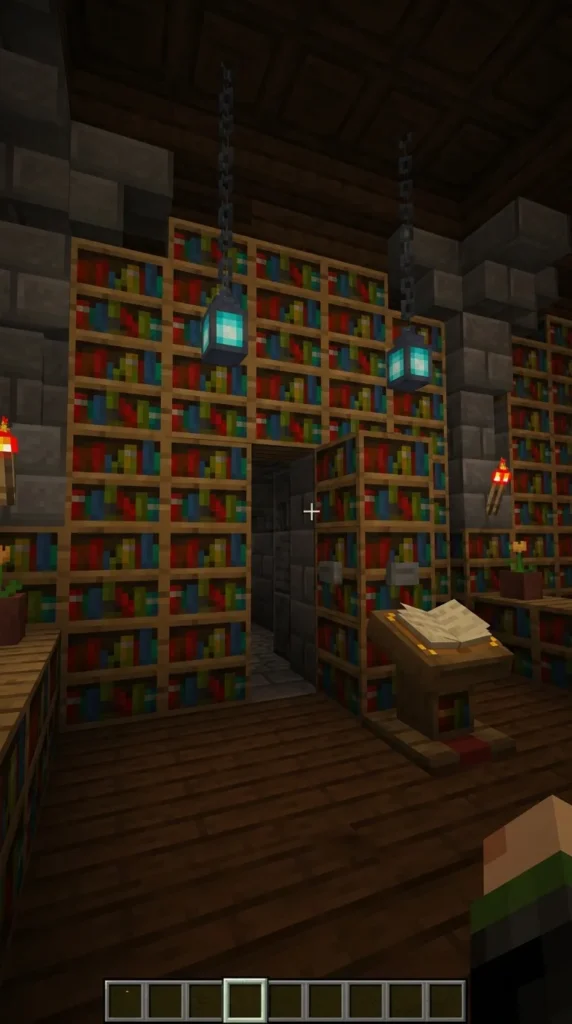
4. Dark Academia Bookshelf Hidden Door
Introduction
Tucked away behind towering walls of leather-bound volumes, a dark academia bookshelf hidden door offers secret passage into a scholarly sanctuary.
What This Idea Means
This doorway represents intellectual mystery, hidden knowledge, and refined scholarly taste. It merges functional utility with sophisticated interior design.
How to Make It
- Step 1: Wall Framing. Build a sturdy wall using dark oak logs, bookshelves, and chiseled bookshelf blocks.
- Step 2: Hidden Passage. Design a 2×2 or 1×2 opening integrated seamlessly into the bookshelf pattern.
- Step 3: Lectern Switch. Place a lectern holding an enchanted book near the entrance to serve as the secret activation trigger.
- Step 4: Ambient Lighting. Hang soul lanterns from iron chains above the bookshelf archway.
Tips and Variations
- Use item frames containing clocks and compasses to decorate the surrounding shelves.
- Add tinted glass windows nearby to cast moody, dramatic light.
Needs to Make That Thing
- Bookshelf
- Chiseled Bookshelf
- Dark Oak Log
- Lectern
- Iron Chain
- Soul Lantern
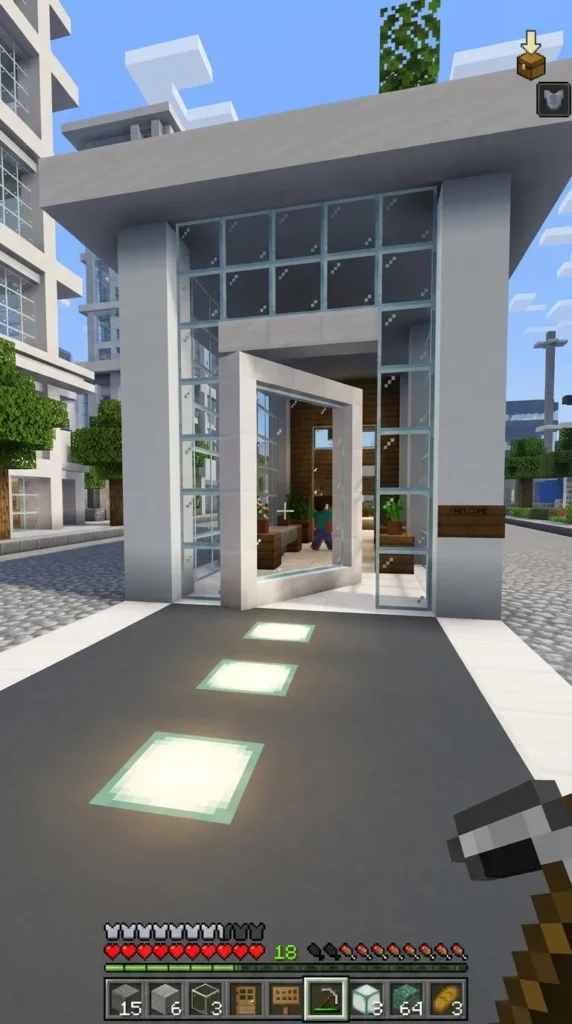
5. Modern Quartz & Glass Pivot Door
Introduction
Crisp, clean, and ultra-contemporary, a modern quartz and glass pivot door redefines minimalist architectural luxury for high-end urban mansions.
What This Idea Means
This style emphasizes clarity, geometric precision, and an open, sophisticated lifestyle. It relies on stark contrasts between pristine white quartz and transparent glass.
How to Make It
- Step 1: Quartz Pillars. Erect a bold, rectangular entrance frame using smooth quartz blocks and white concrete pillars.
- Step 2: Glass Panels. Install large clear glass panes or tinted glass blocks within the center pivot area.
- Step 3: Minimalist Lighting. Hide sea lanterns beneath the stone slab threshold for clean upward illumination.
- Step 4: Landscaping. Frame the entryway with manicured grass squares and geometric stone pathways.
Tips and Variations
- Use black concrete for accent trim around the quartz frame for a striking monochrome contrast.
- Add a flat overhead overhang with minimalist drop lighting.
Needs to Make That Thing
- Smooth Quartz Block
- White Concrete
- Glass Pane
- Sea Lantern
- Black Concrete
- Stone Slab
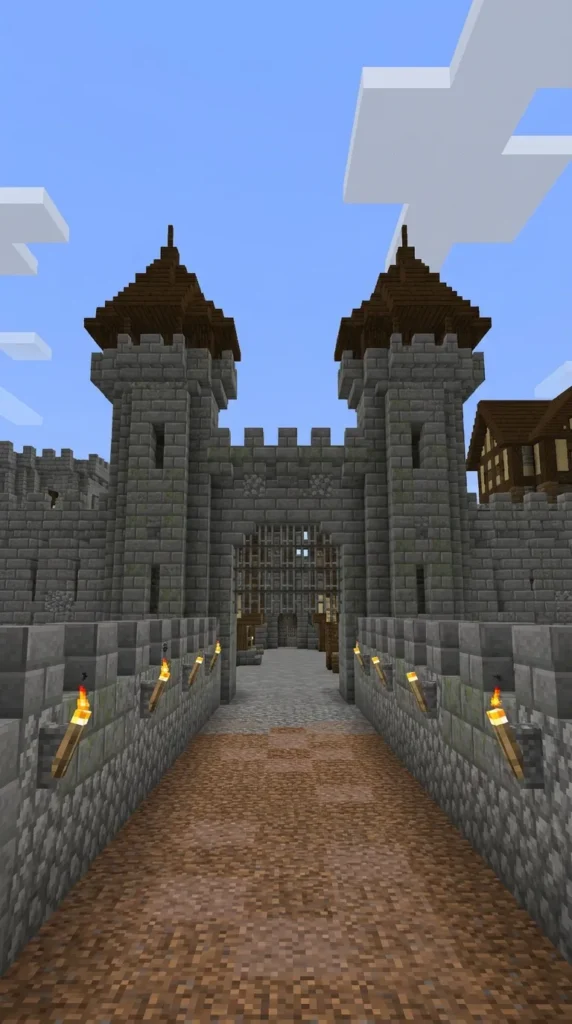
6. Medieval Castle Portcullis Gateway
Introduction
Imposing and heavily fortified, a medieval castle portcullis gateway projects unmatched strength, authority, and classic fortress heritage.
What This Idea Means
This doorway symbolizes protection, royal prestige, and historical defense engineering. It stands ready to bar entry to hostile forces while welcoming trusted allies.
How to Make It
- Step 1: Stone Archway. Build a massive arched entrance using stone bricks, cracked stone bricks, and cobble walls.
- Step 2: The Portcullis Grate. Construct the vertical dropping gate using vertical iron bars and spruce fences.
- Step 3: Watchtowers. Frame the gateway with twin defensive stone towers featuring arrow-slit windows made of glass panes.
- Step 4: Torch Brackets. Place wall torches and campfires on cobblestone brackets to illuminate the stone threshold.
Tips and Variations
- Use mossy stone bricks and vines to give the gateway an ancient, weathered appearance.
- Add oak trapdoors above the arch to simulate heavy wooden winching mechanisms.
Needs to Make That Thing
- Stone Bricks
- Cracked Stone Bricks
- Iron Bars
- Spruce Fence
- Cobblestone Wall
- Wall Torch
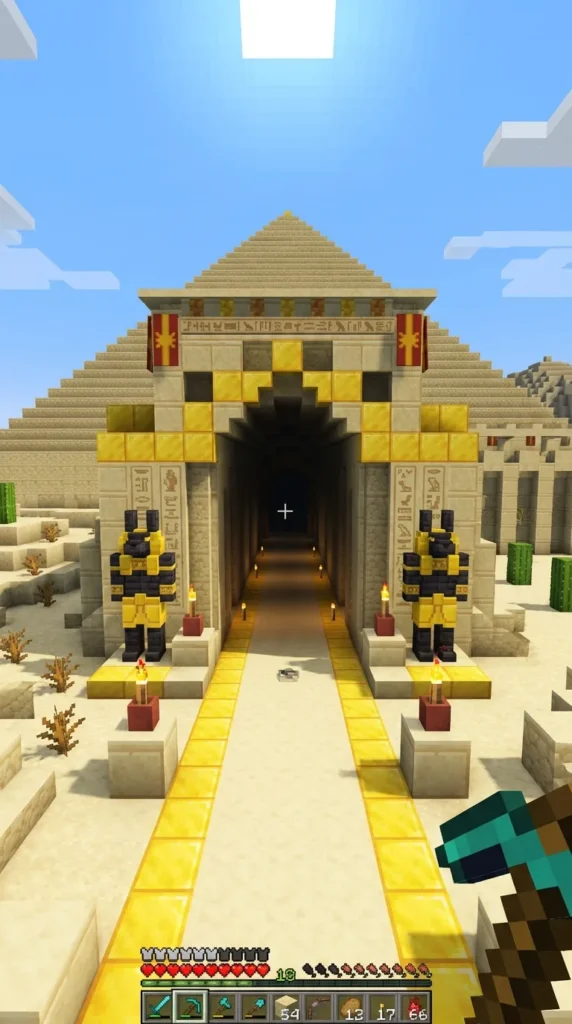
7. Golden Egyptian Pyramid Entrance
Introduction
Radiating sun-baked opulence, a golden Egyptian pyramid entrance dazzles with chiseled sandstone, gold blocks, and ancient pharaonic symbolism.
What This Idea Means
This design represents eternal legacy, divine royalty, and immense wealth. The warm yellow and gold color palette creates an unforgettable visual impact.
How to Make It
- Step 1: Sandstone Pyramid Face. Build sloping structural walls using smooth sandstone and chiseled sandstone stairs.
- Step 2: Golden Threshold. Construct the primary doorway frame using gold blocks and yellow terracotta.
- Step 3: Hieroglyphic Details. Use chiseled red sandstone and cut copper blocks to accent the upper lintel with intricate patterns.
- Step 4: Torch Flankers. Place glowing orange and yellow candles in sandstone pots on either side of the entry.
Tips and Variations
- Embed glowing magma blocks behind yellow stained glass for radiant interior light.
- Add sandstone slab steps leading up to the elevated platform.
Needs to Make That Thing
- Smooth Sandstone
- Chiseled Sandstone
- Gold Block
- Yellow Terracotta
- Candle
- Sandstone Stairs
8. Submerged Coral Reef Aquamarine Arch
Introduction
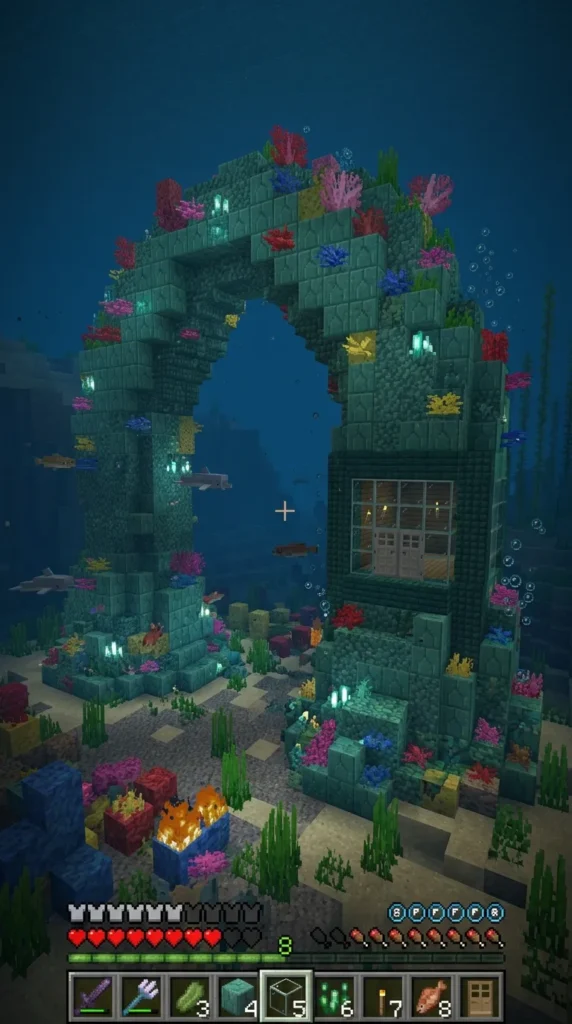
Surrounded by swaying kelp and vibrant aquatic life, a submerged coral reef aquamarine arch offers an ethereal underwater doorway for ocean bases.
What This Idea Means
This concept celebrates harmonious coexistence with marine ecosystems, futuristic aquatic exploration, and breathtaking ocean views.
How to Make It
- Step 1: Prismarine Frame. Build a grand curved entryway using dark prismarine, prismarine bricks, and sea lanterns.
- Step 2: Coral Landscaping. Adorn the sides of the arch with tube coral fans, brain coral blocks, and sea pickles.
- Step 3: Glass Airlock. Install clear glass panes across the center threshold to keep water out while maintaining a panoramic view.
- Step 4: Kelp Gardens. Plant tall seagrass and kelp stalks around the base of the entrance.
Tips and Variations
- Place a conduit block near the center of the arch to provide underwater breathing and night vision.
- Use prismarine stairs to create smooth, flowing curves.
Needs to Make That Thing
- Prismarine Bricks
- Dark Prismarine
- Sea Lantern
- Tube Coral Fan
- Glass Pane
- Sea Pickle
9. Mystical Amethyst Crystal Cavern Entry
Introduction
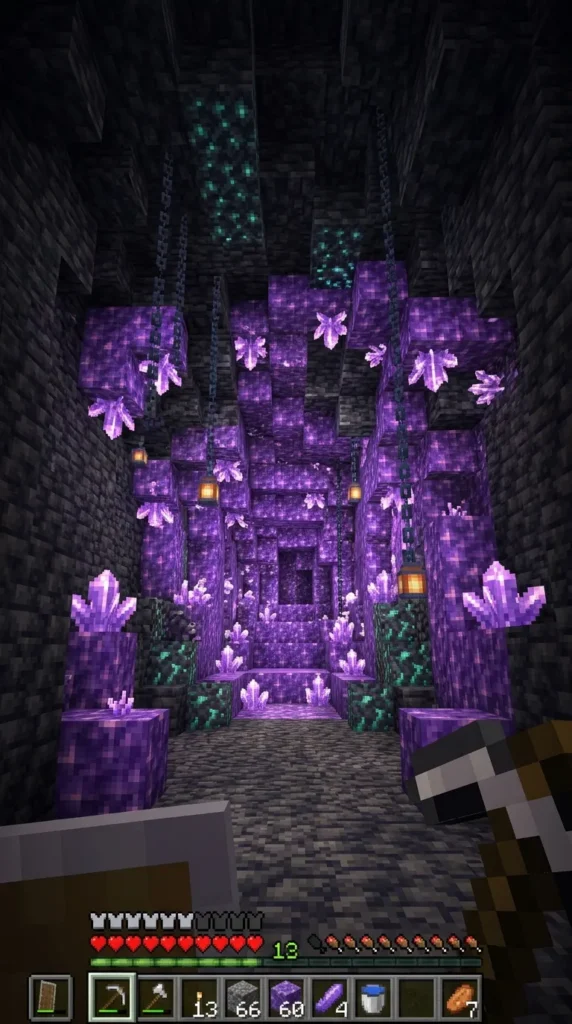
Sparkling with vibrant purple hues, a mystical amethyst crystal cavern entry enchants visitors with raw geological beauty and magical energy.
What This Idea Means
This doorway represents subterranean mystery, arcane magic, and raw natural wonder. It captures the joy of discovering hidden treasures deep underground.
How to Make It
- Step 1: Cave Excavation. Carve a jagged, organic entrance opening into deepslate and raw stone walls.
- Step 2: Crystal Lining. Line the entrance frame with budding amethyst, amethyst blocks, and glowing lichen.
- Step 3: Iron Chain Curtains. Hang iron chains and purple tinted glass panes across the doorway to simulate shimmering crystal curtains.
- Step 4: Ambient Glow. Place hidden sea lanterns behind amethyst blocks for a radiant purple backlighting effect.
Tips and Variations
- Add moss blocks and hanging roots around the perimeter to blend stone with cave flora.
- Use amethyst clusters of varying sizes for maximum textural depth.
Needs to Make That Thing
- Amethyst Block
- Budding Amethyst
- Deepslate Tiles
- Iron Chain
- Glowing Lichen
- Tinted Glass
10. Rustic Taiga Log & Lantern Gate
Introduction
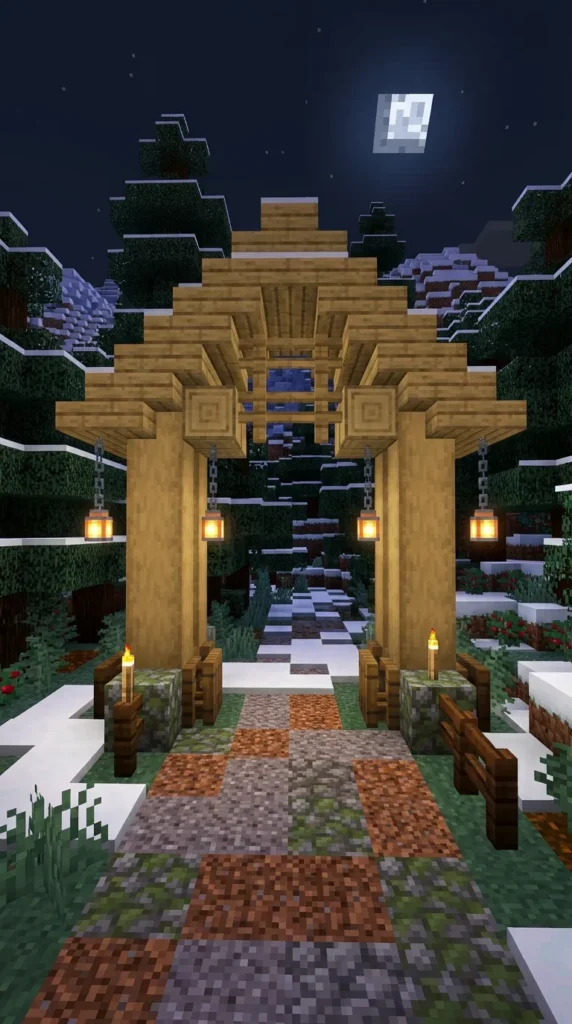
Warm, rugged, and deeply comforting, a rustic taiga log and lantern gate provides the ultimate welcoming entrance for forest cabins and mountain retreats.
What This Idea Means
This style embodies cozy survival living, forestry heritage, and rugged craftsmanship. It feels instantly like home after a long day of exploring.
How to Make It
- Step 1: Log Pillars. Erect thick structural columns using vertical stripped spruce logs.
- Step 2: Gable Arch. Construct an A-frame overhanging lintel using spruce stairs and spruce wood slabs.
- Step 3: Lantern Fixtures. Suspend glowing lanterns from iron chains attached to the center of the wooden overhang.
- Step 4: Foliage Accents. Place sweet berry bushes and coarse dirt along the ground bordering the gateway.
Tips and Variations
- Use spruce fence gates between the pillars to create a functioning entryway barrier.
- Add hanging vines along the eaves for an overgrown woodland look.
Needs to Make That Thing
- Stripped Spruce Log
- Spruce Stairs
- Spruce Slab
- Iron Chain
- Lantern
- Spruce Fence Gate
11. Japanese Torii Shrine Entrance
Introduction
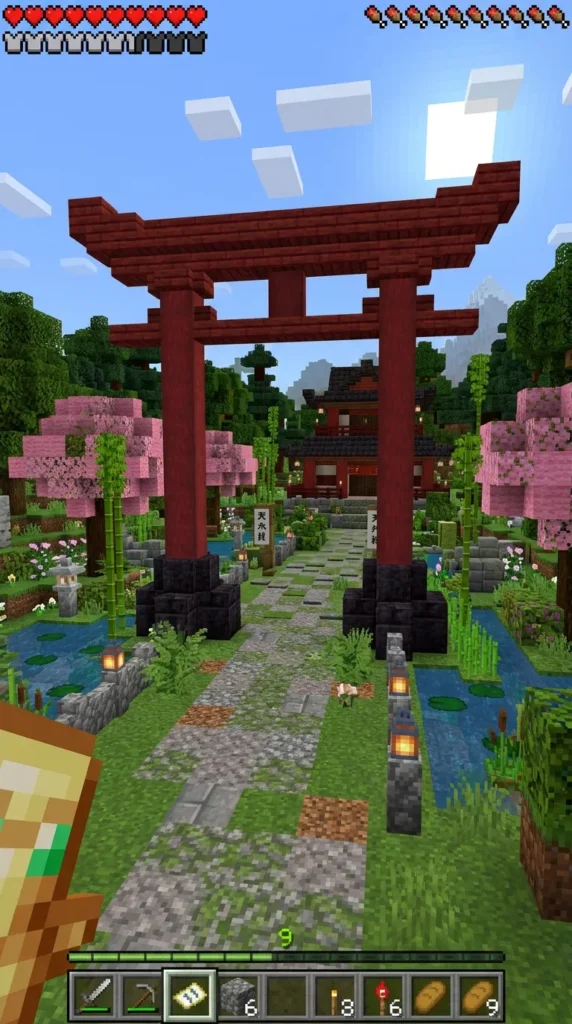
Strikingly vermilion against lush green backgrounds, a traditional Japanese torii shrine entrance offers a sacred and profoundly elegant threshold.
What This Idea Means
This architectural icon symbolizes the transition from the profane mundane world into a sacred, peaceful sanctuary. It is famous for its instantly recognizable silhouette.
How to Make It
- Step 1: Vermilion Pillars. Construct the main vertical columns using red nether brick blocks and red terracotta.
- Step 2: Curved Lintel. Build the double-layered upper lintel using red nether brick stairs and smooth stone slabs.
- Step 3: Black Accents. Use polished blackstone blocks for the base footings and central tie-beam.
- Step 4: Stone Pathway. Lay down mossy cobblestone and stone brick paths leading through the torii gate.
Tips and Variations
- Surround the gateway with cherry blossom trees and bamboo stalks.
- Place paper lanterns on fence posts adjacent to the structure.
Needs to Make That Thing
- Red Nether Brick
- Red Terracotta
- Polished Blackstone
- Smooth Stone Slab
- Mossy Cobblestone
- Lantern
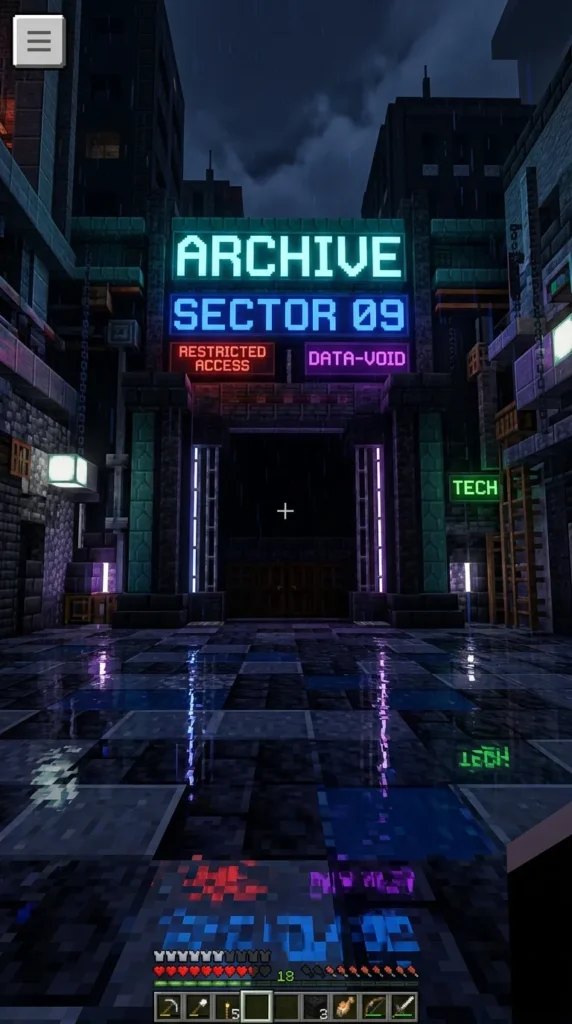
12. Cyberpunk Neon-Lit Industrial Door
Introduction
Pulsing with electric blues and vibrant magentas, a cyberpunk neon-lit industrial door brings high-tech dystopian flair to futuristic city builds.
What This Idea Means
This concept taps into sci-fi urbanity, high-energy nightlife, and cutting-edge industrial design. It relies on stark dark surfaces illuminated by glowing colors.
How to Make It
- Step 1: Dark Metal Frame. Build the threshold frame using black concrete, polished basalt, and iron grates.
- Step 2: Neon Lighting. Integrate sea lanterns, redstone lamps, and colored glass blocks to outline the doorway in bright hues.
- Step 3: Wet Pavement. Lay down polished blackstone slabs interspersed with blue glass to simulate rain-slicked reflective ground.
- Step 4: Electrical Details. Attach lightning rods and tripwire hooks across the metal framework.
Tips and Variations
- Use tinted glass for deep shadows to make the neon lighting pop vividly.
- Add vertical iron bars to create a high-security sliding gate effect.
Needs to Make That Thing
- Black Concrete
- Polished Blackstone Slab
- Sea Lantern
- Colored Glass
- Iron Bars
- Polished Basalt
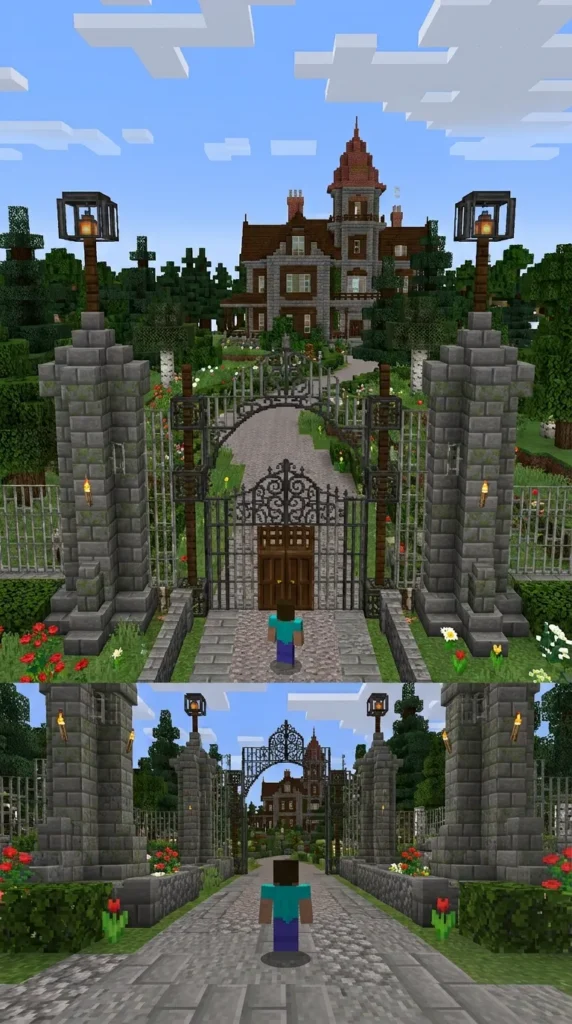
13. Victorian Wrought Iron Estate Gate
Introduction
Sophisticated, ornate, and remarkably refined, a Victorian wrought iron estate gate exudes historic aristocratic wealth and timeless European elegance.
What This Idea Means
This style represents luxury estate living, elite status, and classical ornamental design. It balances complex ironwork with sturdy stone masonry.
How to Make It
- Step 1: Stone Gateposts. Build towering entrance pillars using chiseled stone bricks, smooth stone, and polished diorite caps.
- Step 2: Wrought Iron Work. Construct elaborate decorative grates using iron bars, tripwire hooks, and iron trapdoors.
- Step 3: Double Gates. Install dark oak fence gates between the pillars to form the operable estate entrance.
- Step 4: Post Lanterns. Place iron lamp posts topped with glowing lanterns on top of the stone gateposts.
Tips and Variations
- Add rose bushes and manicured leaf hedges along the stone boundary walls.
- Use cobblestone walls for extended estate fencing.
Needs to Make That Thing
- Chiseled Stone Bricks
- Smooth Stone
- Iron Bars
- Dark Oak Fence Gate
- Lantern
- Tripwire Hook
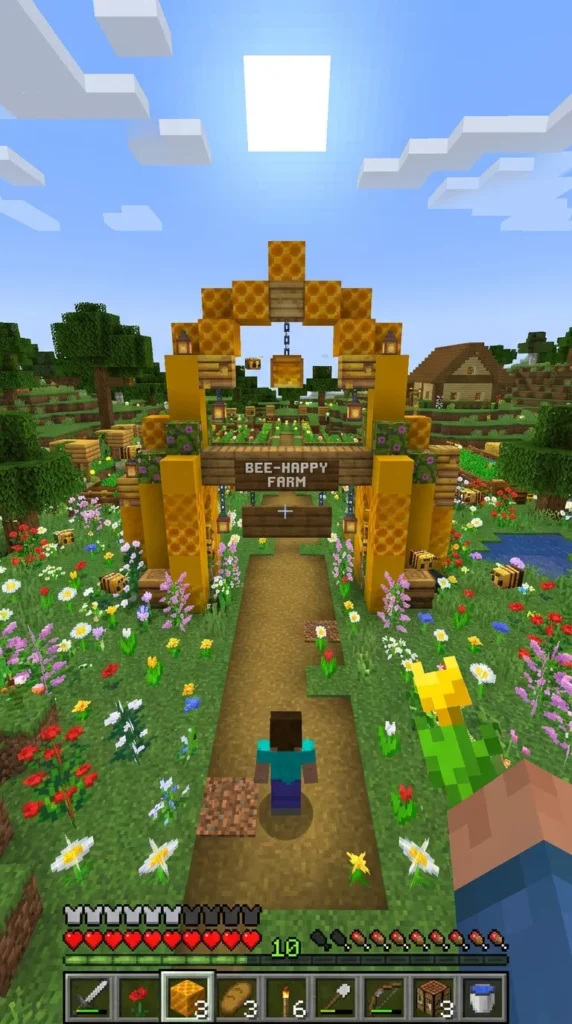
14. Honeycomb Bee-Themed Entrance
Introduction
Charming, sweet, and bursting with cheerful yellow warmth, a honeycomb bee-themed entrance brings playful joy and golden vibrancy to any farm or cottage.
What This Idea Means
This design celebrates agricultural abundance, pollination, and whimsical architecture. The hexagonal honeycomb motif creates an instantly delightful visual.
How to Make It
- Step 1: Hexagonal Frame. Build the doorway arch using yellow terracotta, honey blocks, and stripped oak logs.
- Step 2: Beehive Integration. Place functional beehives directly into the wall pillars alongside yellow wool accents.
- Step 3: Floral Surroundings. Plant vast beds of wildflowers, cornflowers, and azaleas around the threshold.
- Step 4: Amber Lighting. Install yellow stained glass window panes above the door to filter warm amber light.
Tips and Variations
- Add hanging lanterns from oak fences to simulate sweet honey drops.
- Keep bees buzzing around the entrance using flower-filled window boxes.
Needs to Make That Thing
- Yellow Terracotta
- Honey Block
- Stripped Oak Log
- Beehive
- Wildflowers
- Yellow Stained Glass
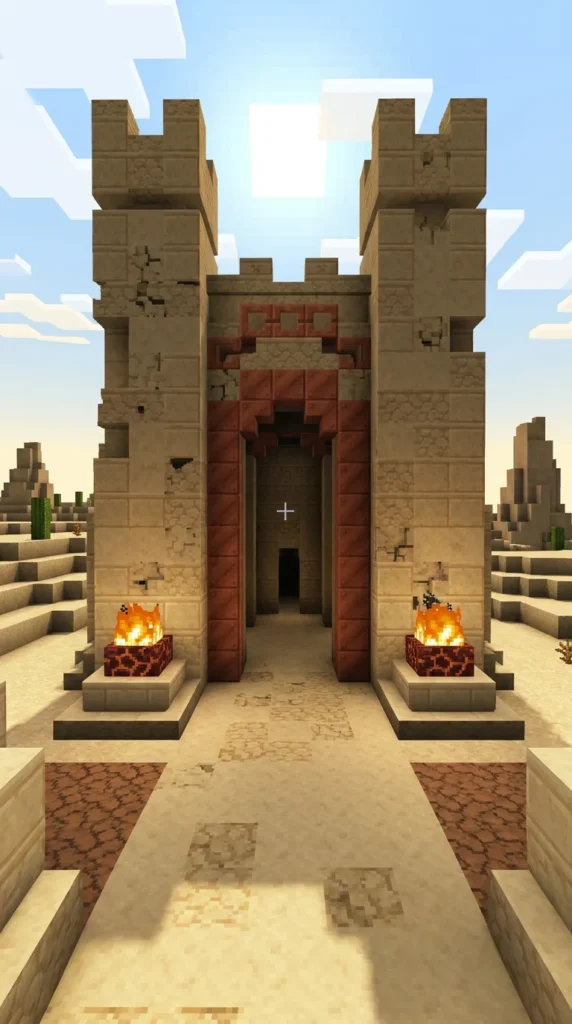
15. Ancient Sandstone Temple Gateway
Introduction
Carved with hieroglyphs and weathered by centuries of desert wind, an ancient sandstone temple gateway commands reverence and mystery.
What This Idea Means
This architecture represents deep historical legacy, sacred rituals, and lost desert civilizations. It is grand, imposing, and rich in textural detail.
How to Make It
- Step 1: Massive Pylons. Construct towering entrance pillars using smooth sandstone and chiseled sandstone blocks.
- Step 2: Recessed Archway. Build a deep vaulted entryway using sandstone stairs and slabs.
- Step 3: Decorative Lintels. Use cut copper and smooth red sandstone across the lintel to create contrasting color bands.
- Step 4: Fire Bowls. Place netherrack fires burning inside stone brick cauldrons on either side of the threshold.
Tips and Variations
- Hang weathered banners from iron bars above the doorway.
- Scatter cracked sandstone blocks and dead bushes around the base.
Needs to Make That Thing
- Smooth Sandstone
- Chiseled Sandstone
- Sandstone Stairs
- Cut Copper
- Cauldron
- Netherrack
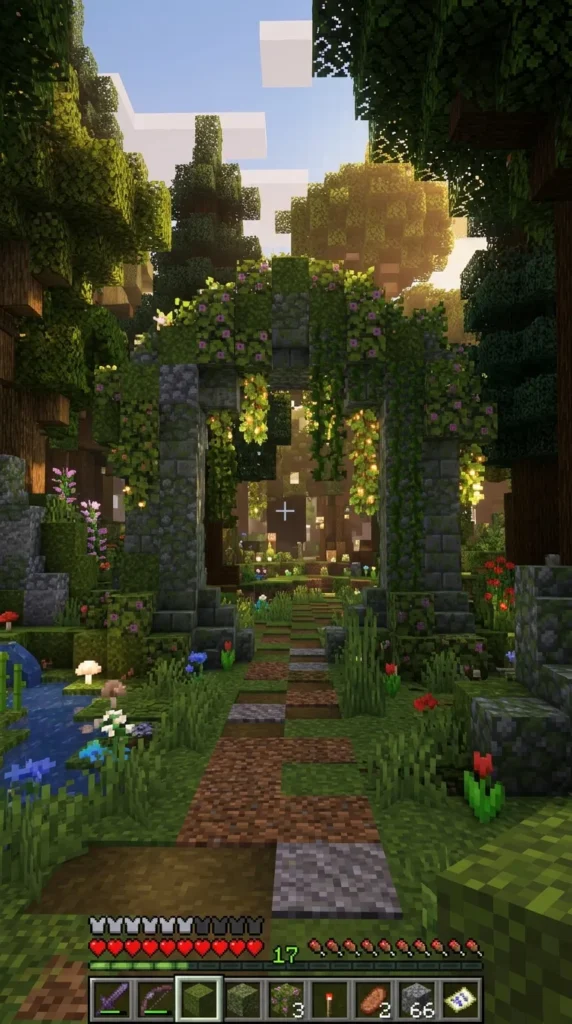
16. Fairy-Tale Mossy Stone Archway
Introduction
Draped in weeping vines and blooming azaleas, a fairy-tale mossy stone archway looks as though it was plucked straight from an enchanted forest folklore story.
What This Idea Means
This doorway symbolizes magic, timeless romance, and harmony with untamed woodlands. It invites travelers into a whimsical, peaceful realm.
How to Make It
- Step 1: Mossy Framework. Build a curving stone arch using mossy cobblestone, mossy stone bricks, and tuff blocks.
- Step 2: Floral Overgrowth. Adorn the arch structure with azalea leaves, flowering azalea leaves, and spore blossoms.
- Step 3: Hanging Vines. Let weeping vines cascade down from the top archway like green curtains.
- Step 4: Pathway. Lay down podzol and moss blocks along the approach, dotted with mushrooms.
Tips and Variations
- Place glowing glow berries on vines hanging above the entrance.
- Use oak fence gates covered in moss as a rustic garden door.
Needs to Make That Thing
- Mossy Cobblestone
- Mossy Stone Bricks
- Flowering Azalea Leaves
- Weeping Vines
- Moss Block
- Spore Blossom
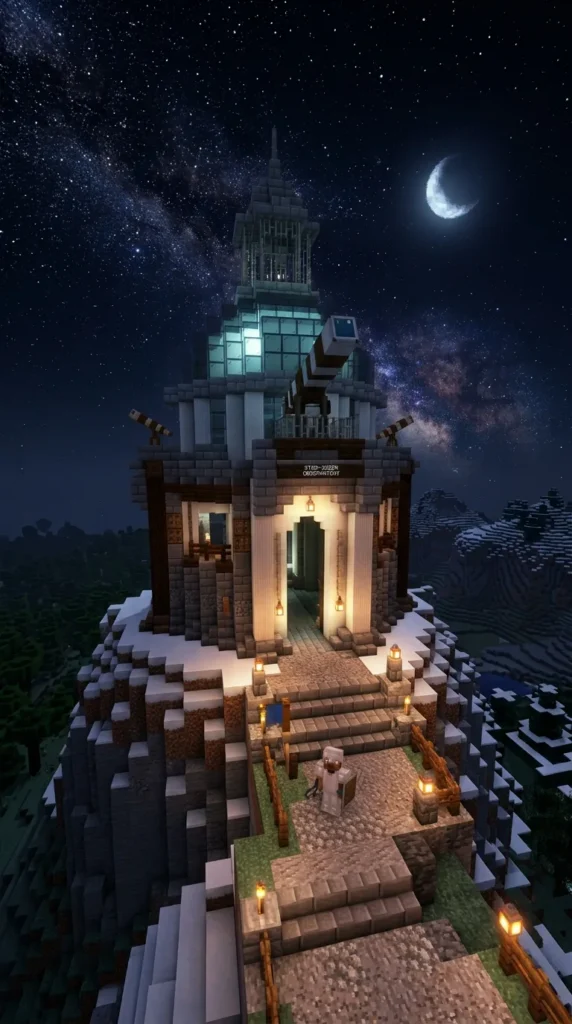
17. Celestial Star-Gazer Observatory Entry
Introduction
Capped with a sleek glass dome and brass detailing, a celestial star-gazer observatory entry reflects scientific curiosity and cosmic wonder.
What This Idea Means
This doorway represents astronomical discovery, intellectual pursuit, and stargazing ambition. It combines sturdy stone masonry with sleek futuristic glass.
How to Make It
- Step 1: Curved Stone Base. Build circular entrance pillars using smooth stone and deepslate tiles.
- Step 2: Glass Dome Lintel. Construct an overhead curving arch using tinted glass and black concrete.
- Step 3: Telescope Motif. Extend a polished basalt spyglass structure outward from the wall above the door.
- Step 4: Celestial Lighting. Place end rods on iron bar spikes flanking the entrance to mimic twinkling stars.
Tips and Variations
- Build this entryway on a high mountain peak above cloud level.
- Use lecterns holding written star charts just inside the door.
Needs to Make That Thing
- Smooth Stone
- Deepslate Tiles
- Tinted Glass
- Polished Basalt
- End Rod
- Iron Bars
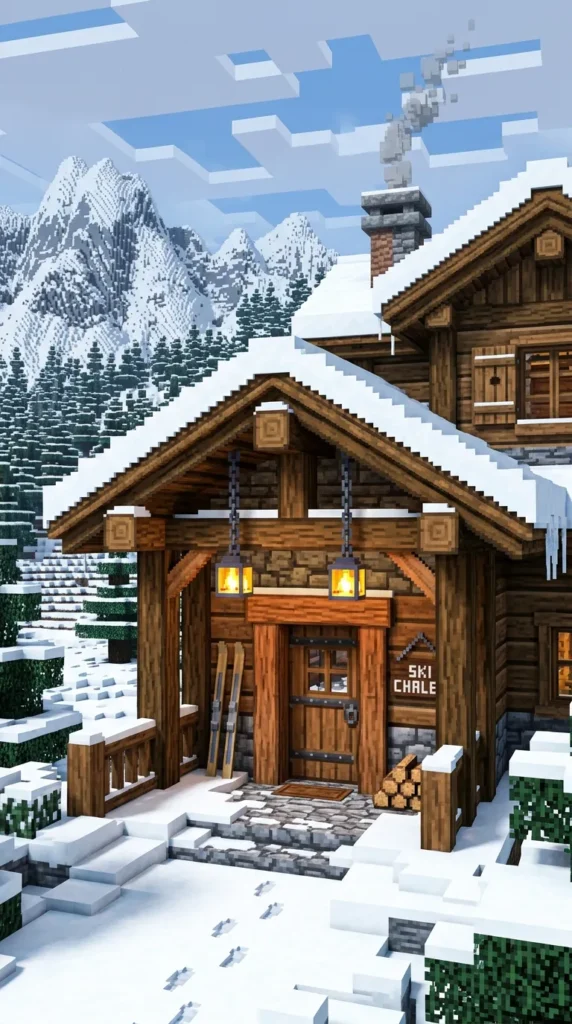
18. Alpine Ski Chalet Timber Doorway
Introduction
Thick-beamed and snow-capped, an alpine ski chalet timber doorway provides a hearty, welcoming refuge from freezing mountain winter conditions.
What This Idea Means
This style embodies winter luxury, cozy mountain hospitality, and rugged durability against heavy snowfall.
How to Make It
- Step 1: Timber Frame. Construct sturdy structural door jambs using thick horizontal spruce logs.
- Step 2: Snow-Laden Overhang. Build a steep overhanging porch roof using spruce stairs, layered with white snow blocks.
- Step 3: Stone Hearth Base. Build the ground threshold using cobblestone and coarse dirt.
- Step 4: Ski Gear Details. Place iron bars and wooden items next to the door to simulate ski racks.
Tips and Variations
- Scatter powder snow blocks around the exterior porch steps.
- Hang lanterns from iron chains above the wooden door lintel.
Needs to Make That Thing
- Spruce Log
- Spruce Stairs
- Snow Block
- Cobblestone
- Iron Chain
- Lantern
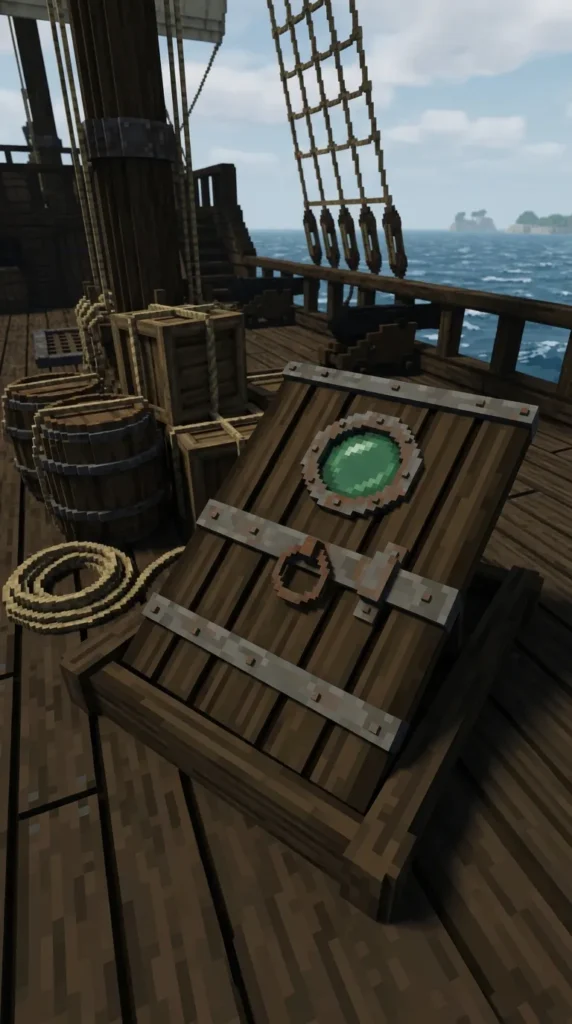
19. Pirate Galleon Ribbed Wood Hatch
Introduction
Crafted from weather-beaten ship timbers and iron reinforcement, a pirate galleon ribbed wood hatch delivers high-seas nautical adventure.
What This Idea Means
This design celebrates seafaring exploration, pirate lore, and rugged maritime craftsmanship. It feels ready to weather any ocean storm.
How to Make It
- Step 1: Ribbed Wood Frame. Construct curved structural door framing using dark oak wood and stripped spruce logs.
- Step 2: Iron Reinforcement. Use iron trapdoors and chains across the wooden planks to simulate ship hull plating.
- Step 3: Porthole Windows. Install small circular windows made of iron bars and glass panes beside the door.
- Step 4: Maritime Accents. Place barrels, chests, and a ship’s bell near the entrance threshold.
Tips and Variations
- Hang tattered banners on poles above the hatchway.
- Position the doorway into the side of a rocky sea stack or stone ship hull.
Needs to Make That Thing
- Dark Oak Wood
- Stripped Spruce Log
- Iron Trapdoor
- Iron Chain
- Barrels
- Glass Pane
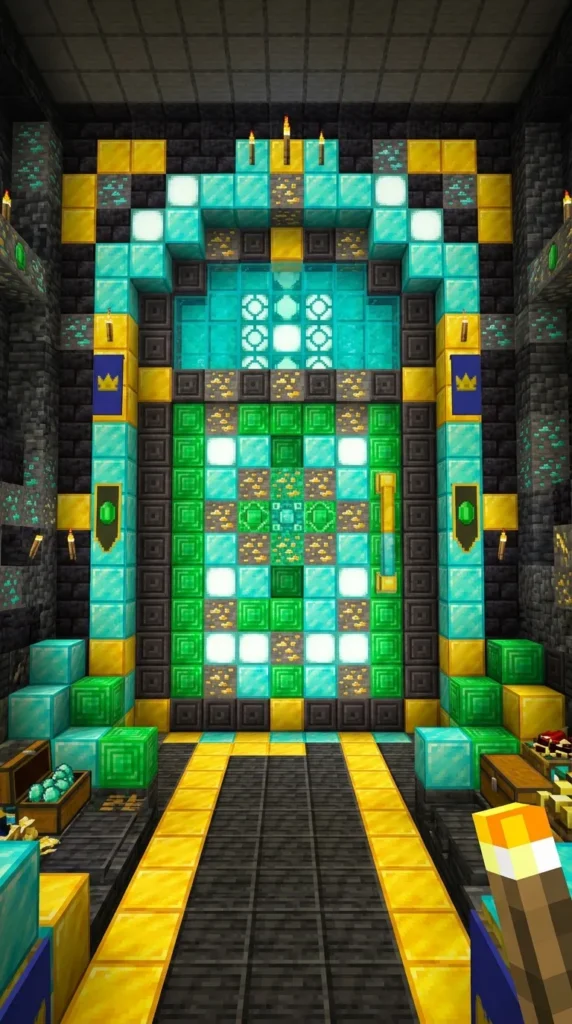
20. Emerald & Diamond Royal Vault Door
Introduction
The ultimate symbol of absolute wealth and prestige, an emerald and diamond royal vault door gleams with precious gem blocks and royal majesty.
What This Idea Means
This doorway represents supreme achievement, royal treasury security, and ultimate endgame luxury in Minecraft.
How to Make It
- Step 1: Vault Wall. Build massive reinforced walls using diamond blocks, emerald blocks, and netherite blocks.
- Step 2: Gemstone Archway. Construct the doorway frame using chiseled stone bricks inlaid with gold and diamond ore blocks.
- Step 3: Secure Mechanism. Install heavy iron door mechanisms combined with tripwire hooks and redstone lamps.
- Step 4: Radiant Lighting. Place sea lanterns behind cyan and green stained glass blocks for a luxurious gem glow.
Tips and Variations
- Use beacons shooting bright light beams upward behind the vault structure.
- Add ornate iron bars across the gem inlay for security detail.
Needs to Make That Thing
- Diamond Block
- Emerald Block
- Chiseled Stone Bricks
- Gold Block
- Sea Lantern
- Iron Bars