Designing a compact bathroom is a creative challenge: limited square footage demands smart planning, clever storage, and a refined eye for proportion and light. When done well, a small bathroom can feel luxurious, efficient, and surprisingly spacious. Below are ten design secrets—each presented as a clear idea with practical steps, styling tips, and small DIY suggestions—to help you transform even the tiniest bathroom into a calm, functional, and Pinterest‑worthy retreat.
1. Embrace Vertical Thinking
When floor area is scarce, vertical space becomes your best friend. Think tall, slim, and layered.
How to apply it
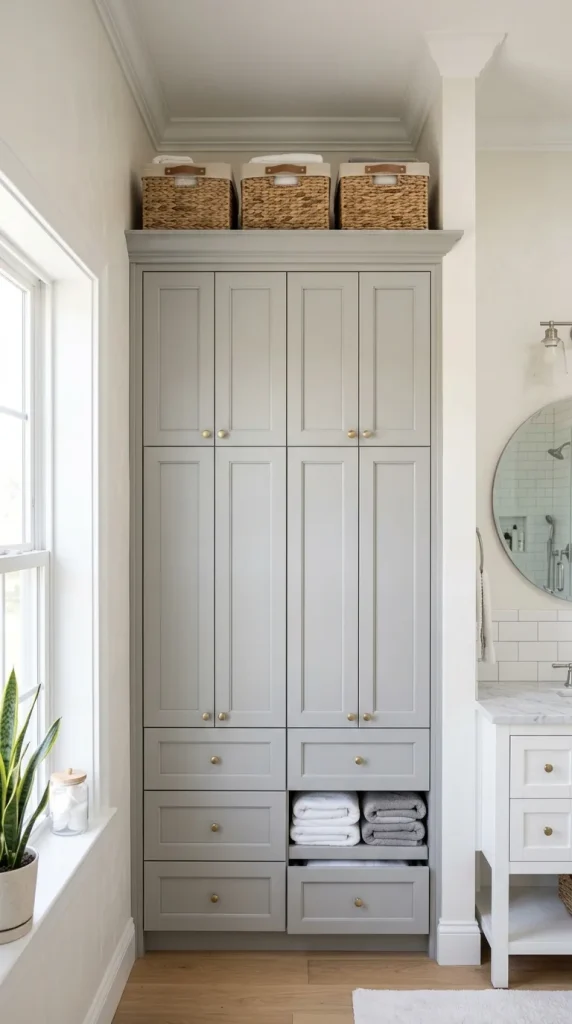
- Install floor‑to‑ceiling cabinetry or a tall linen tower to store towels, toiletries, and cleaning supplies. Use the highest shelves for seasonal items.
- Add narrow open shelving above the toilet or door for decorative baskets, plants, or rolled towels.
- Hang hooks and rails vertically rather than horizontally to maximize usable wall area.
Styling tips
- Keep upper shelves visually light by using matching baskets or uniform jars.
- Paint tall cabinets the same color as the wall to make them recede visually.
- Use a slim ladder shelf for towels and a few curated objects to add texture without bulk.
Why it works Vertical storage frees up floor space, reduces clutter, and draws the eye upward, making the room feel taller.
2. Choose a Floating Vanity
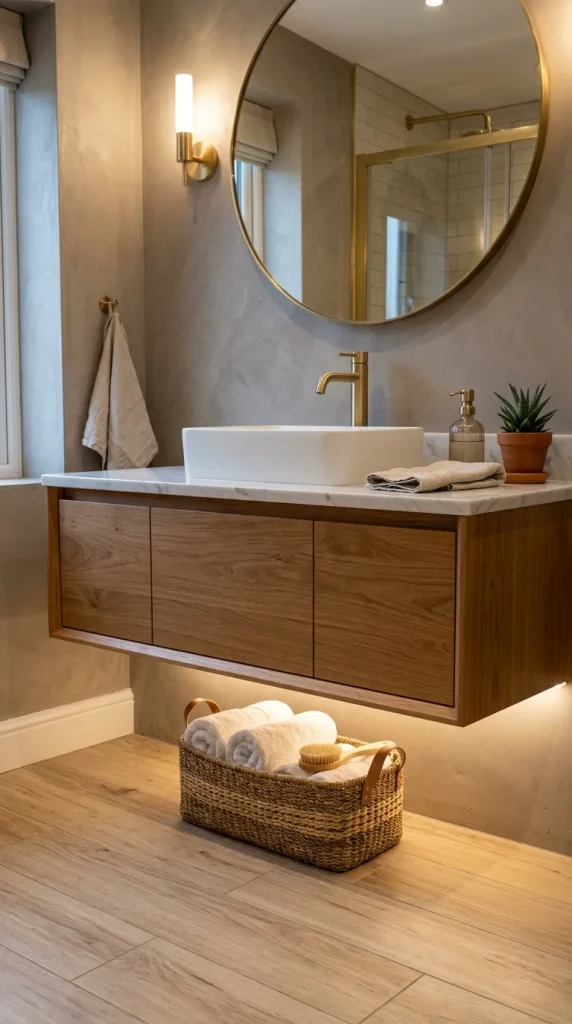
A floating vanity creates the illusion of more floor space and offers practical storage without visual heaviness.
How to apply it
- Select a wall‑mounted vanity with drawers or a recessed niche beneath for baskets.
- Keep the vanity shallow if the bathroom is narrow—depths of 14–18 inches can be surprisingly functional.
- Use soft‑close drawers and internal organizers to maximize efficiency.
Styling tips
- Leave the floor visible beneath the vanity to enhance the sense of openness.
- Use a continuous floor material under the vanity to create a seamless flow.
- Add a slim, decorative stool or a woven basket beneath for extra storage without crowding.
Why it works Floating vanities reduce visual clutter and make cleaning easier while providing essential storage.
3. Opt for a Curbless or Glass‑Enclosed Shower
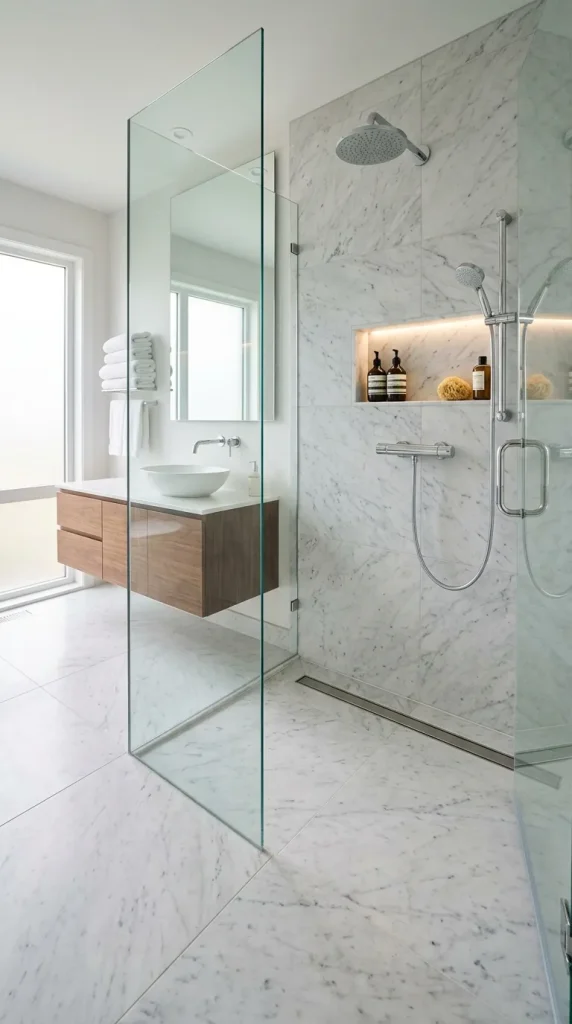
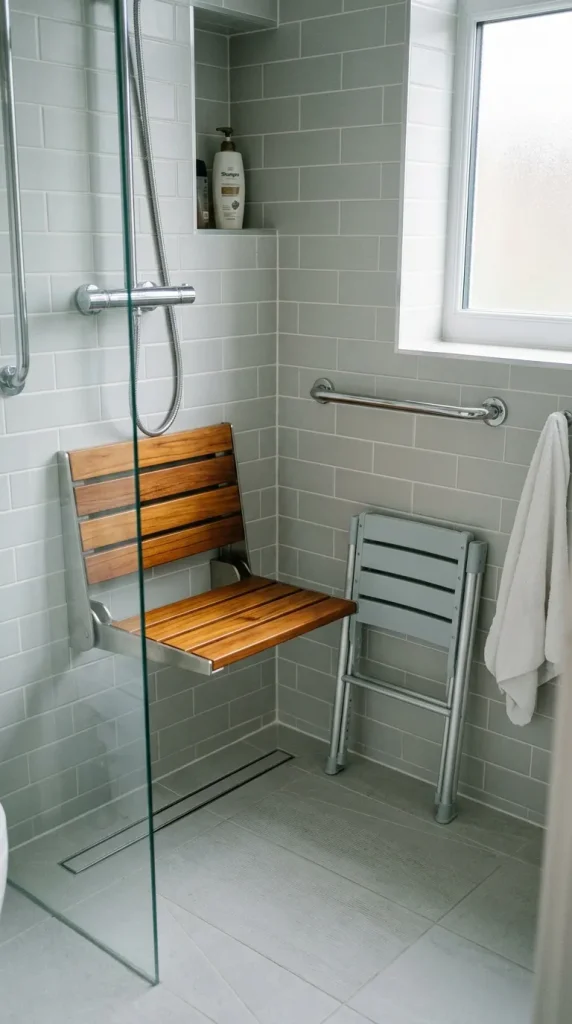
A curbless shower or a clear glass enclosure visually expands a small bathroom by removing barriers and allowing uninterrupted sightlines.
How to apply it
- Install a linear drain and slope the floor gently toward it for a curbless shower.
- Use frameless or minimal‑frame glass panels to keep the space open.
- If privacy is a concern, use a single fixed glass panel and a shower curtain on the inside for flexibility.
Styling tips
- Extend the same tile from the shower into the rest of the bathroom to create continuity.
- Choose large format tiles to reduce grout lines and create a cleaner visual field.
- Add a recessed niche in the shower wall for toiletries to avoid clutter.
Why it works Removing visual barriers makes the room feel larger and more cohesive, while glass keeps light flowing.
4. Use Light and Reflective Surfaces Strategically
Light is the most powerful tool for making a small bathroom feel airy. Reflective surfaces amplify both natural and artificial light.
How to apply it
- Install a large mirror or a mirrored cabinet above the sink to double perceived space.
- Choose glossy or semi‑gloss tiles for the backsplash and shower walls to reflect light.
- Use glass or polished chrome fixtures to add small reflective accents.
Styling tips
- Position mirrors to reflect natural light from windows or skylights.
- Consider a mirrored ceiling panel above the vanity for a dramatic, space‑opening effect in very small bathrooms.
- Keep countertops clutter‑free so reflective surfaces can do their work.
Why it works Reflections and glossy finishes bounce light around the room, reducing shadows and creating depth.
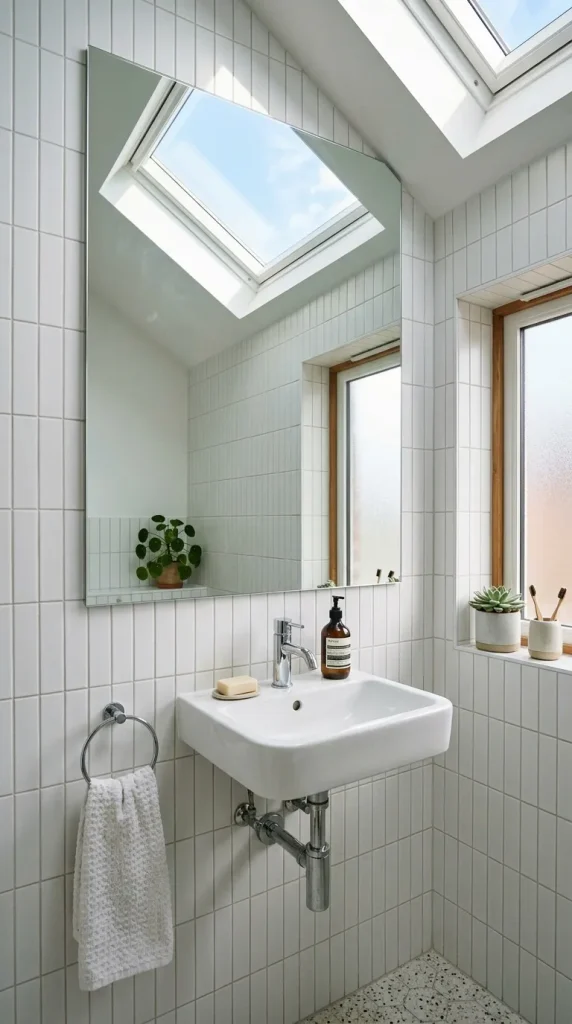
5. Keep the Palette Light with Strategic Contrast
A mostly light palette opens a small space, but well‑placed contrast adds depth and personality.
How to apply it
- Use a base of soft neutrals—warm white, pale gray, or soft beige—on walls and large surfaces.
- Introduce contrast with a dark vanity, matte black fixtures, or a single accent wall behind the mirror or shower.
- Use patterned or textured tiles sparingly—on a backsplash or shower niche—to add interest without overwhelming.
Styling tips
- Repeat the accent color in small accessories (towels, soap dispensers, a rug) to create cohesion.
- Keep large surfaces light and use darker tones for smaller, intentional elements to avoid visual heaviness.
- Consider a two‑tone cabinet: light upper cabinets and a darker lower cabinet to ground the space.
Why it works Light colors expand the visual field while contrast provides definition and a curated, designer feel.
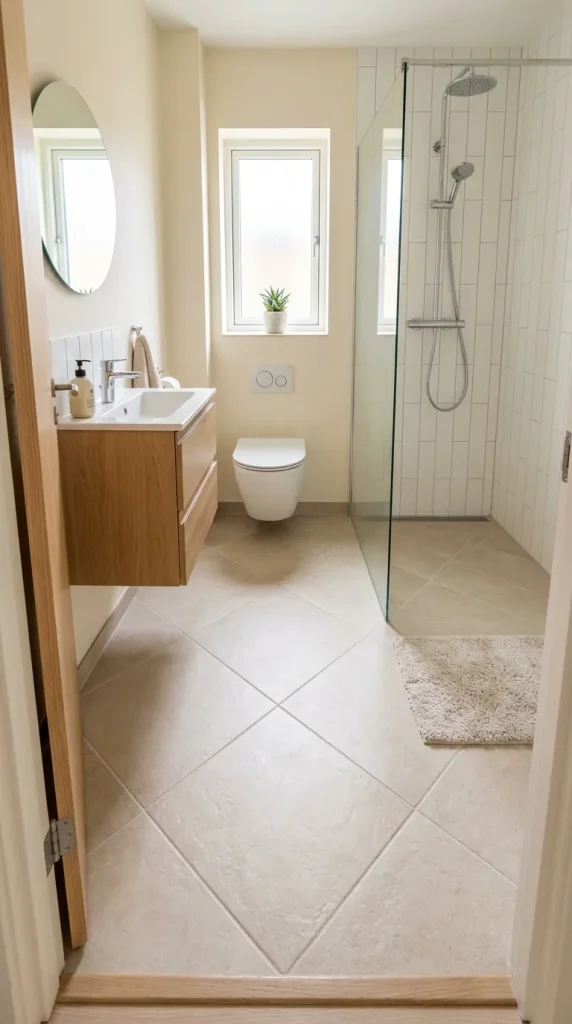
6. Prioritize Multi‑Functional Fixtures
In a compact bathroom, every element should pull double duty.
How to apply it
- Choose a vanity with integrated laundry hamper or pull‑out hampers to hide clutter.
- Install a mirror cabinet with built‑in lighting and storage for medicines and cosmetics.
- Use a combination towel‑warmer and radiator to heat the room and dry towels.
Styling tips
- Opt for slimline fixtures—narrow toilets, compact bidets, and wall‑hung faucets—to save space.
- Use recessed medicine cabinets and niches to keep surfaces clear.
- Consider a fold‑down seat in the shower for accessibility and convenience.
Why it works Multi‑functional fixtures reduce the number of separate items needed, freeing up space and simplifying the layout.
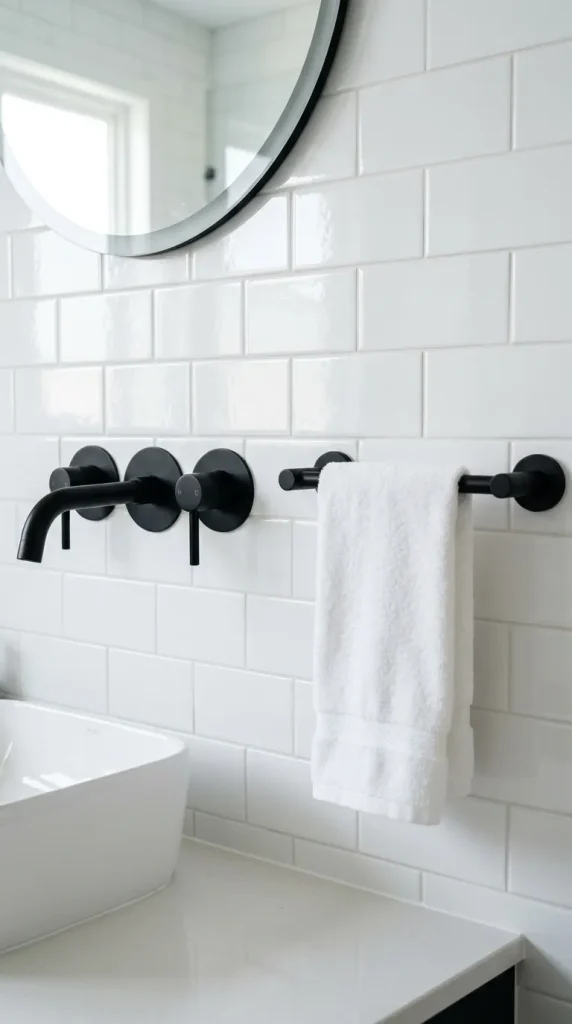
7. Create Illusion of Depth with Tile Layout
Tile patterns and placement can visually lengthen or widen a room.
How to apply it
- Lay floor tiles diagonally to make a square bathroom feel larger.
- Use long, rectangular tiles laid horizontally to widen a narrow room, or vertically to emphasize height.
- Extend wall tiles to the ceiling in the shower to draw the eye upward.
Styling tips
- Choose grout colors that blend with the tile for a seamless look, or contrast for a graphic effect—use sparingly.
- Use a single tile across the floor and shower to create continuity.
- Add a vertical accent strip behind the vanity to create a focal point without clutter.
Why it works Tile direction and continuity manipulate perception of scale, making compact spaces feel more expansive.
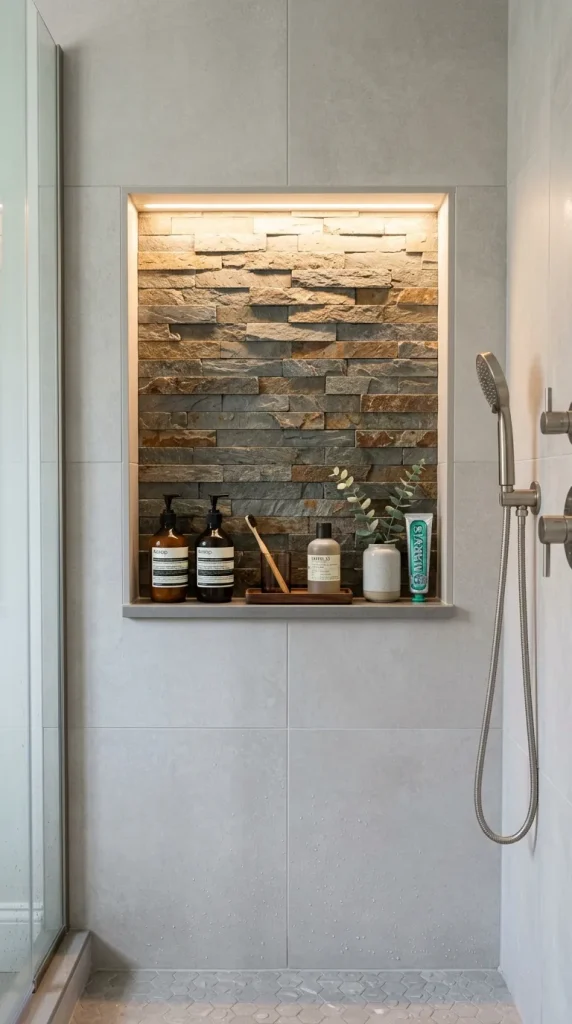
8. Smart Lighting Layers and Dimmers
Lighting should be layered and adjustable to serve tasks and set mood.
How to apply it
- Combine ambient ceiling lighting, task lighting at the mirror, and accent lighting in niches or under cabinets.
- Install dimmers to control brightness for morning routines or relaxing baths.
- Use warm color temperature (2700–3000K) for a cozy, flattering glow.
Styling tips
- Place sconces on either side of the mirror at eye level for even, shadow‑free illumination.
- Add LED strips under floating vanities or behind mirrors for soft, indirect light.
- Use small recessed spotlights to highlight textured tiles or artwork.
Why it works Layered lighting improves functionality and creates a sense of depth and luxury in a small footprint.
9. Conceal and Curate Storage
Clutter makes a small bathroom feel cramped. Concealed storage keeps essentials out of sight while curated displays add personality.
How to apply it
- Use recessed niches in the shower and recessed medicine cabinets to hide toiletries.
- Install drawers with internal dividers for cosmetics, hair tools, and grooming supplies.
- Use a shallow wall cabinet above the toilet for extra storage without intrusion.
Styling tips
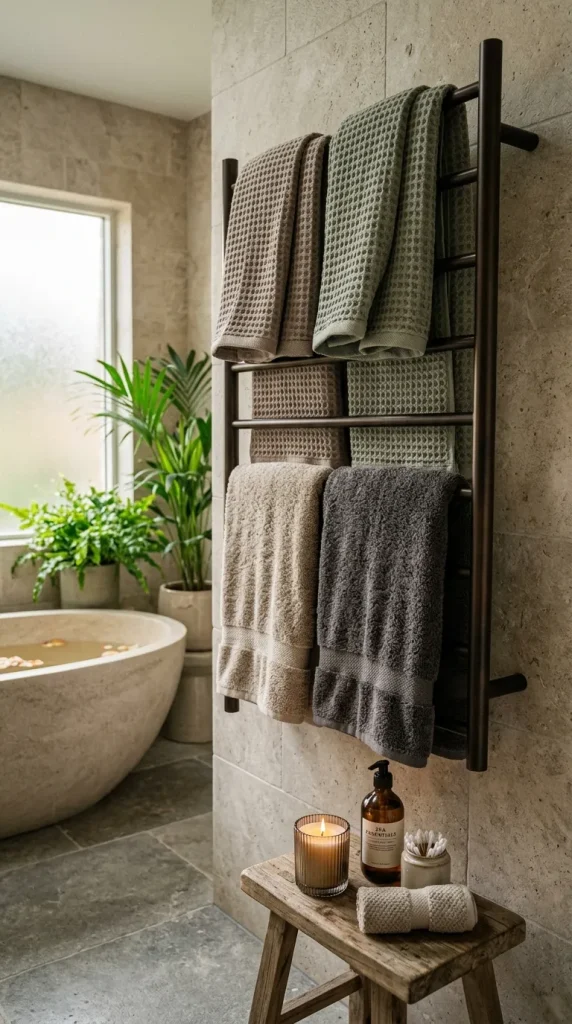
- Keep open displays minimal: a small tray with a candle and a plant, or a stack of neatly folded towels.
- Use matching containers and labels for visible storage to maintain a tidy aesthetic.
- Rotate items seasonally to keep the space feeling fresh and intentional.
Why it works Concealed storage reduces visual noise; curated displays provide warmth without clutter.
10. Add a Touch of Luxury with Textures and Details
Small bathrooms benefit from a few luxe details that elevate the experience.
How to apply it
- Choose high‑quality towels, a textured bath mat, and a stylish soap dispenser to add tactile richness.
- Install a statement faucet or a sculptural mirror to create a focal point.
- Consider heated floors or a towel warmer for comfort that feels indulgent.
Styling tips
- Layer textures—matte tiles, glossy accents, woven baskets—to create depth.
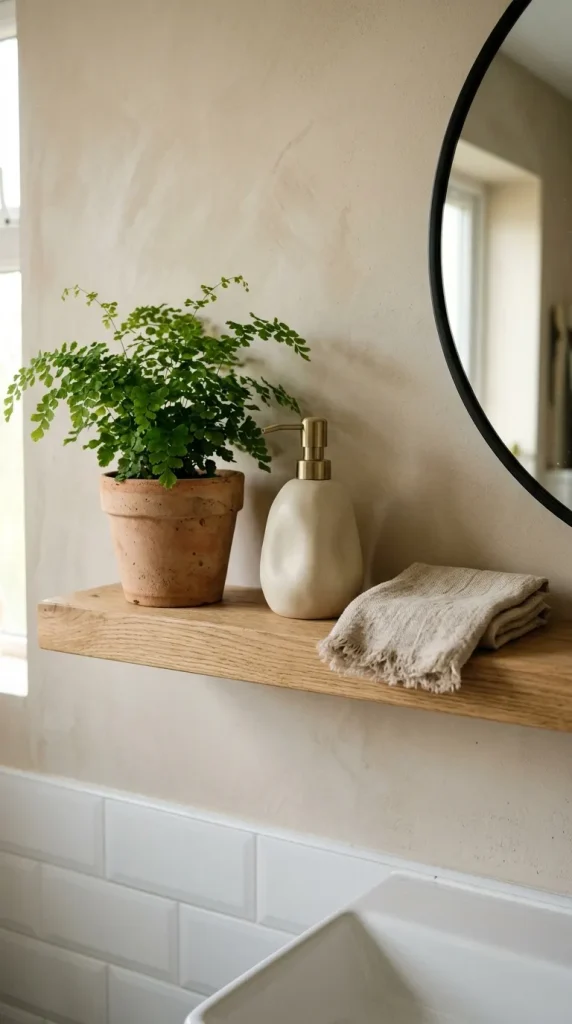
- Use plants that thrive in humidity (ferns, pothos) to add life and softness.
- Keep hardware finishes consistent (brass, matte black, or polished chrome) for a cohesive look.
Why it works Thoughtful details make a compact bathroom feel intentional and pampering, turning everyday routines into small rituals.
Practical Planning Checklist
Turning these secrets into a finished bathroom is easier with a plan. Use this checklist to guide your project:
- Measure precisely: note ceiling height, door swing, and clearances for fixtures.
- Create a priority list: decide what must fit (washer, tub, storage) and what can be sacrificed.
- Mock up the layout: use painter’s tape on the floor to visualize fixture placement.
- Choose durable finishes: moisture‑resistant paint, porcelain tiles, and corrosion‑resistant hardware.
- Plan plumbing and electrical early: moving drains or adding wiring is costly later.
- Invest in quality lighting: good light improves function and perceived space.
- Hire pros for structural changes: curbless showers, moving walls, or adding ventilation require expertise.
- Declutter and edit: keep surfaces minimal and rotate decorative items seasonally.