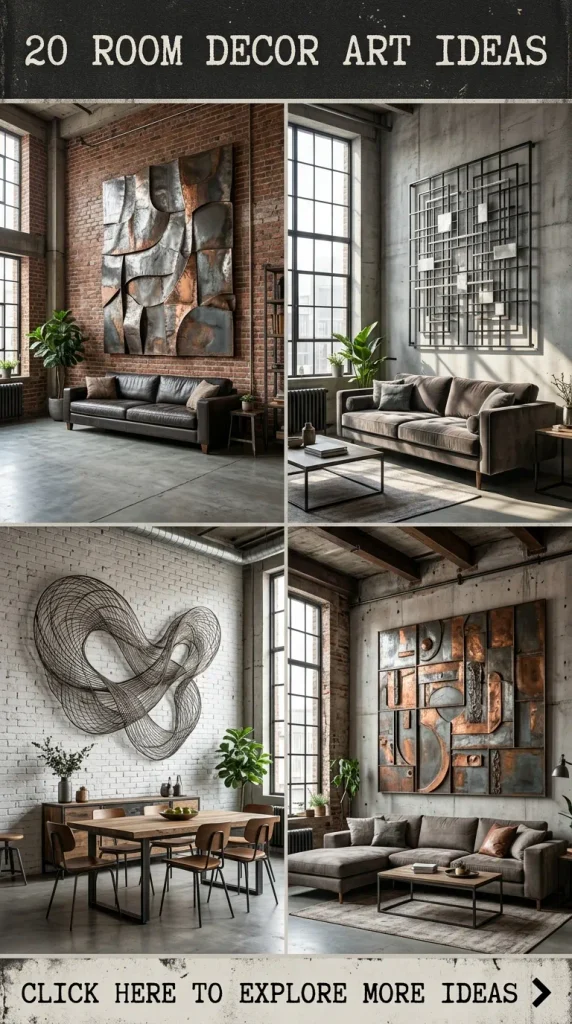
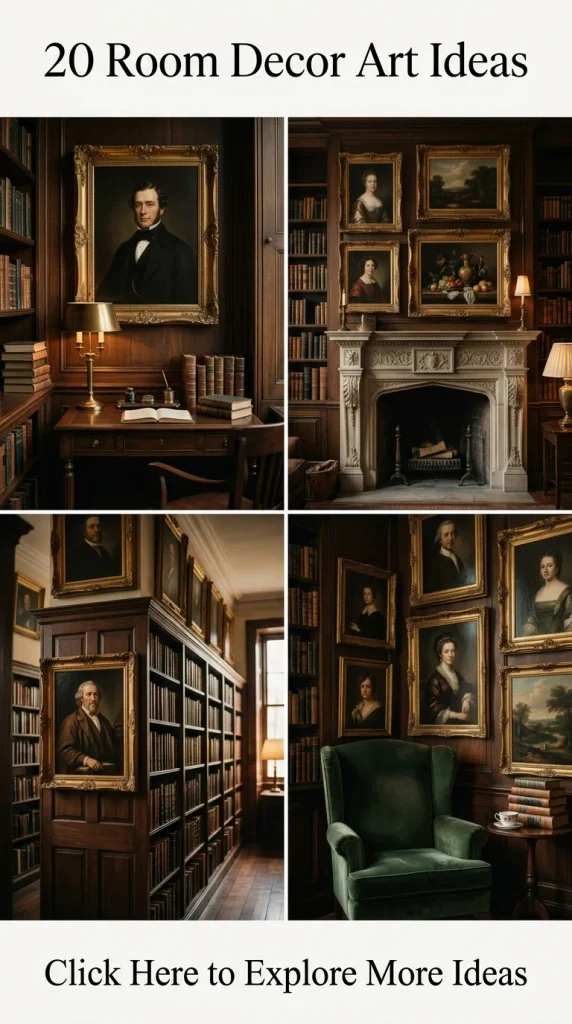
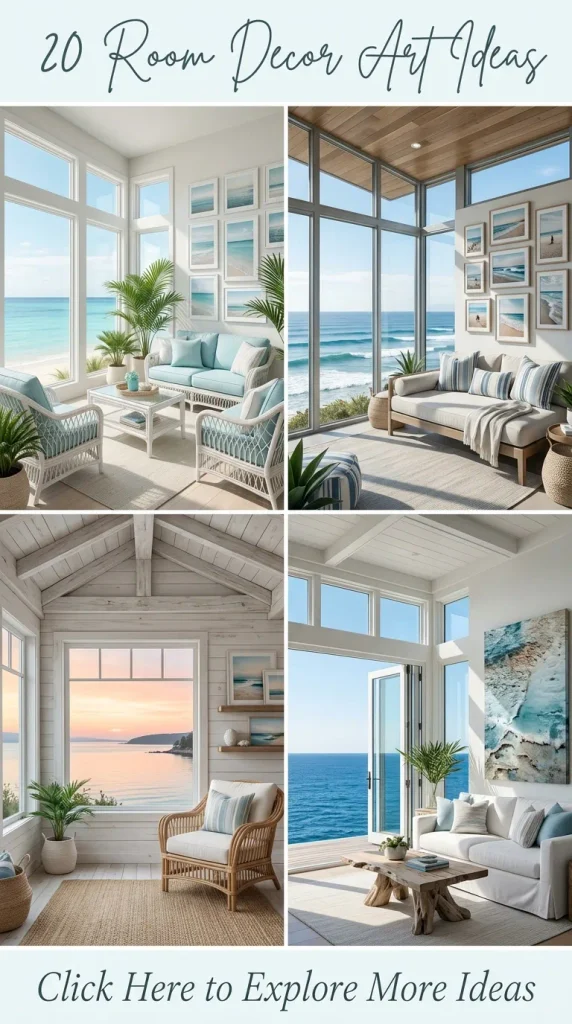
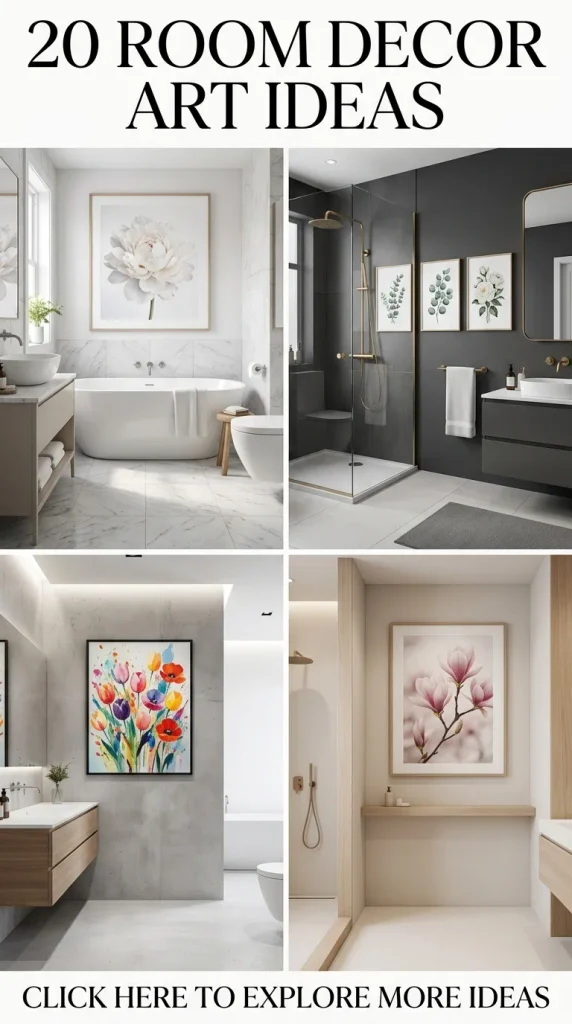
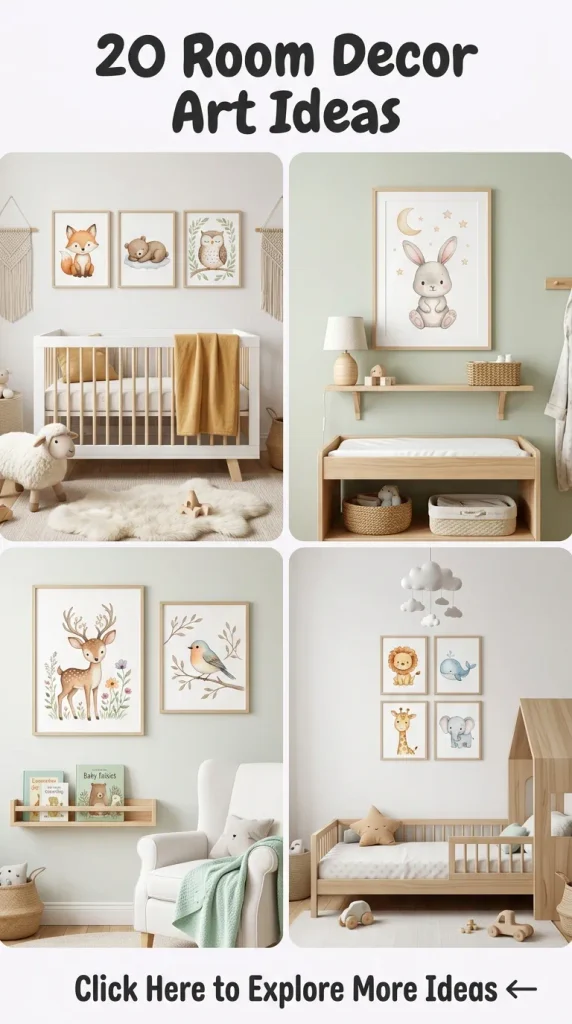
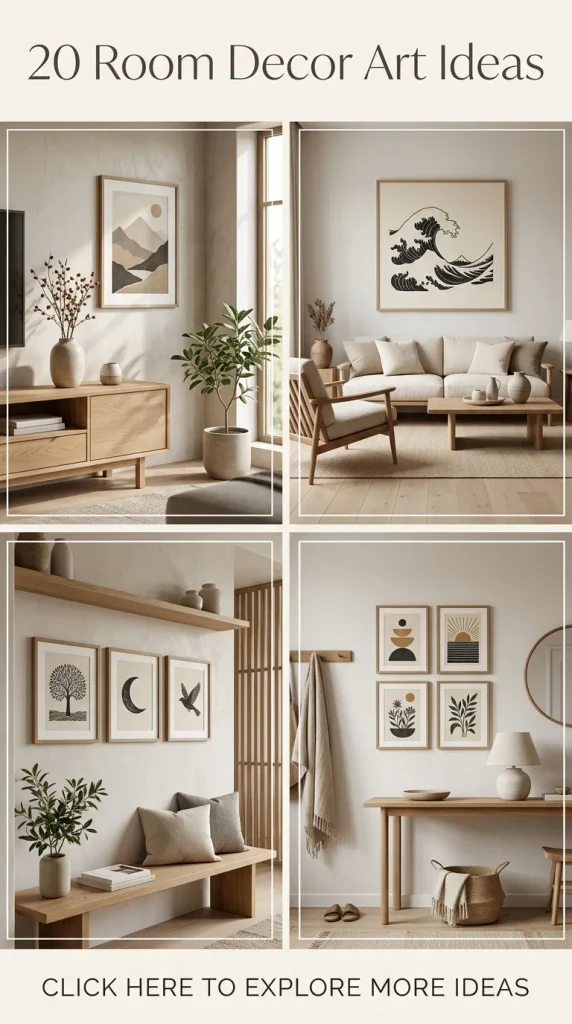
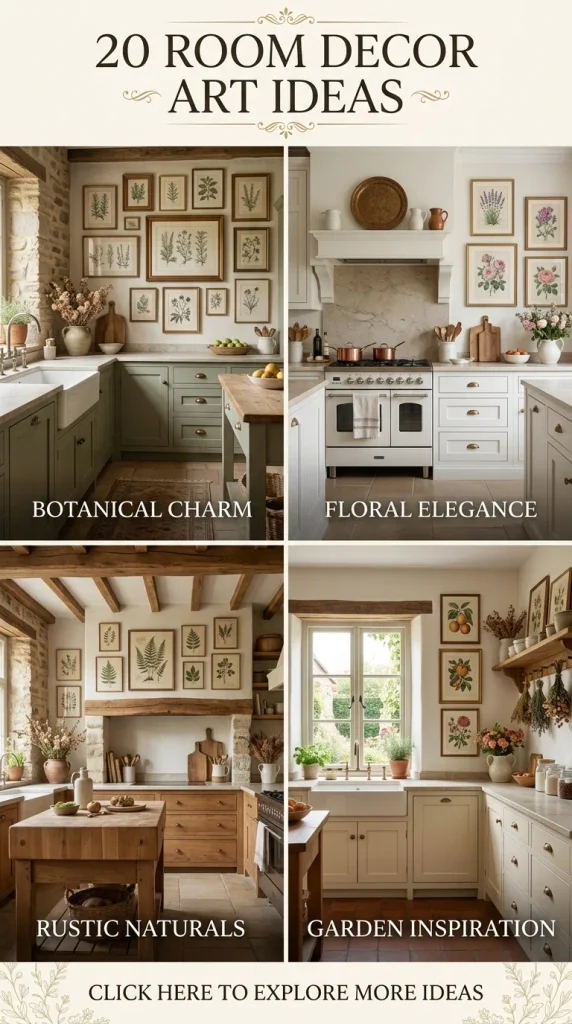
Creating an inspiring living environment begins with artistic expression. The decor in your personal sanctuary influences your mood, productivity, and sense of peace. Incorporating handcrafted, curated art elevates interior styling from standard to breathtaking.
Here are 20 aesthetic room decor art concepts with complete design briefs, step-by-step creation methods, and styling variations.
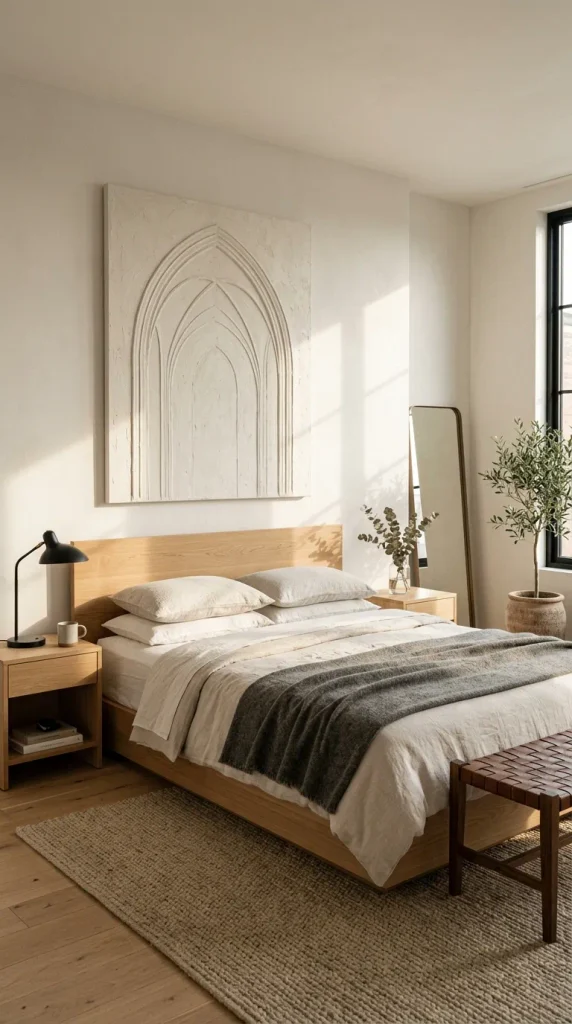
1. Textured Plaster Arch Wall Canvas
Introduction & What This Idea Means
The textured plaster arch wall canvas bridges high-end architectural elements with minimalist tactile art. It features sculptural, curved plaster reliefs across a sturdy canvas, bringing depth and soft, organic modernism into contemporary bedrooms and living areas.
How to Make It
- Supplies: Stretched gallery-wrapped canvas, joint compound or drywall spackle, notched trowel or comb scraper, acrylic primer, warm neutral paint, drop cloth.
- Step 1: Lay the canvas flat on an even work surface protected by a drop cloth.
- Step 2: Apply a generous 0.5-inch layer of joint compound across the surface using a flat putty knife.
- Step 3: Use a curved notched trowel or custom cardboard comb to carve continuous rainbow-style arches from the bottom edge upward.
- Step 4: Allow the compound to cure completely for 24 to 48 hours in a low-humidity area.
- Step 5: Seal the cured plaster with acrylic gesso, then apply two coats of matte mineral paint in warm alabaster, beige, or soft clay.
Styling Tips & Variations
- Create a triptych using three sequential canvases to form a wide architectural focal point above a low-profile headboard.
- Mix fine marble powder into the compound to create an authentic limestone finish.

2. Botanical Pressed Floral Floating Glass Frames
Introduction & What This Idea Means
Botanical pressed glass framing preserves delicate garden blooms within double-pane transparent glass. This art style captures organic movement, suspended botanicals, and soft sunlight, making it ideal for cottagecore, Parisian modern, and biophilic spaces.
How to Make It
- Supplies: Double-glass floating frames with brass hardware, parchment paper, heavy books or wooden flower press, fresh blooms (delphiniums, ferns, cosmos, baby’s breath), tweezers, archival clear adhesive dots.
- Step 1: Select dry, fresh botanicals with thin petal profiles.
- Step 2: Arrange petals flat between parchment paper sheets within a heavy botanical press for 14 to 21 days until all moisture is removed.
- Step 3: Clean both interior surfaces of the floating frame with glass cleaner and a microfiber cloth.
- Step 4: Place the pressed flowers onto the base glass panel using precision tweezers, securing them with micro-dots of archival adhesive.
- Step 5: Lay the top glass pane down, latch the brass edge securely, and hang near natural, indirect light.
Styling Tips & Variations
- Group frames in odd numbers (sets of 3 or 5) containing monochromatic white botanicals against deep olive or charcoal accent walls.
- Mix delicate metallic gold leaf flakes between petals for subtle shimmer.

3. Woven Macramé & Driftwood Statement Tapestry
Introduction & What This Idea Means
A woven macramé driftwood tapestry merges raw coastal components with intricate bohemian fiber arts. Suspended from smooth, weathered coastal wood, multi-layered cotton cords add substantial warmth, acoustic dampening, and textural contrast.
How to Make It
- Supplies: Natural lake or ocean driftwood branch (3 to 4 feet long), 4mm single-strand unbleached cotton cord, brass hanging rings, measuring tape, sharp fabric shears.
- Step 1: Secure the driftwood horizontally to an anchor bar or clothing rack at eye level.
- Step 2: Cut 30 to 40 lengths of cotton cord to four times the desired finished drop length.
- Step 3: Attach cords to the branch using clean Lark’s Head knots across the timber.
- Step 4: Work downwards using alternating square knots, diagonal clove hitches, and berry knots to build geometric chevron patterns.
- Step 5: Trim the bottom hem into an organic V-shape, then brush out the lowest 6 inches with a wire pet comb to produce dense fringe.
Styling Tips & Variations
- Dip-dye the lower fringe in diluted terracotta, sage, or indigo dye baths to create an ombré gradient.
- Integrate chunky merino wool roving for varied texture.
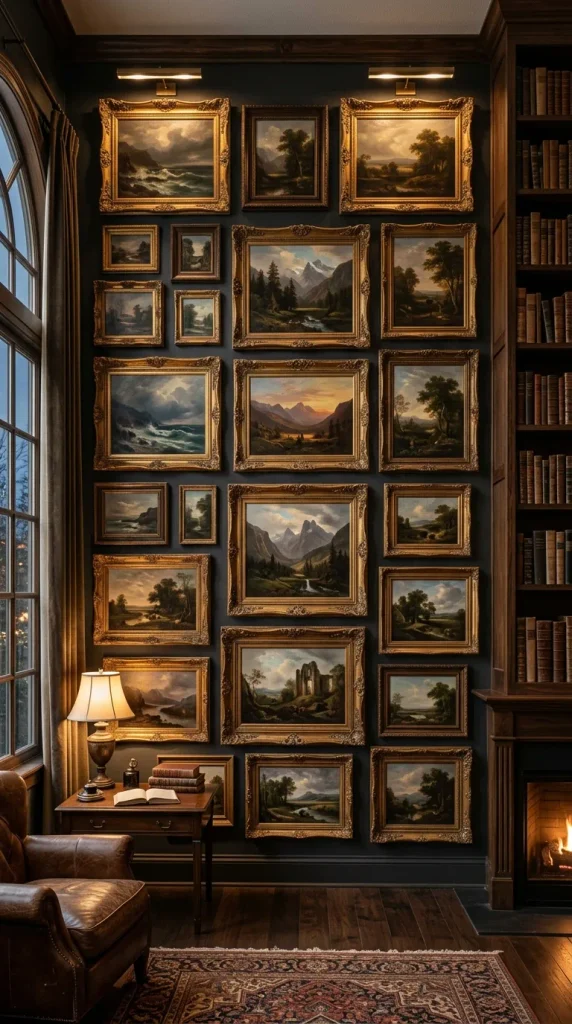
4. Vintage Moody Academic Gallery Wall
Introduction & What This Idea Means
The vintage moody academic gallery wall uses classical oil portraiture, dark landscapes, anatomical sketches, and thrifted antique brass frames to cultivate an intellectual, timeless aesthetic.
How to Make It
- Supplies: Assorted thrifted ornate frames, public-domain antique fine art digital prints, heavyweight textured matte paper, antique distressing wax, kraft paper roll, hanging nails, level.
- Step 1: Source high-resolution public-domain fine art scans from museum archives.
- Step 2: Print the chosen artworks on heavy cotton rag or linen-textured cardstock to replicate vintage canvases.
- Step 3: Restore thrifted frames using rub-and-buff antique gold or dark walnut wax.
- Step 4: Cut kraft paper to each frame size and tape them to the wall using painter’s tape to balance the layout before drilling.
- Step 5: Replace paper templates with the actual frames, keeping spacing between 1.5 and 2.5 inches for a cohesive salon hang.
Styling Tips & Variations
- Mix in unique 3D items like small brass wall sconces, dried herb wreaths, or an antique oval mirror.
- Keep all framing tones warm (brass, gilded wood, dark walnut) to maintain a cohesive vintage palette.
5. Modern Ceramic Disc Hanging Mobile
Introduction & What This Idea Means
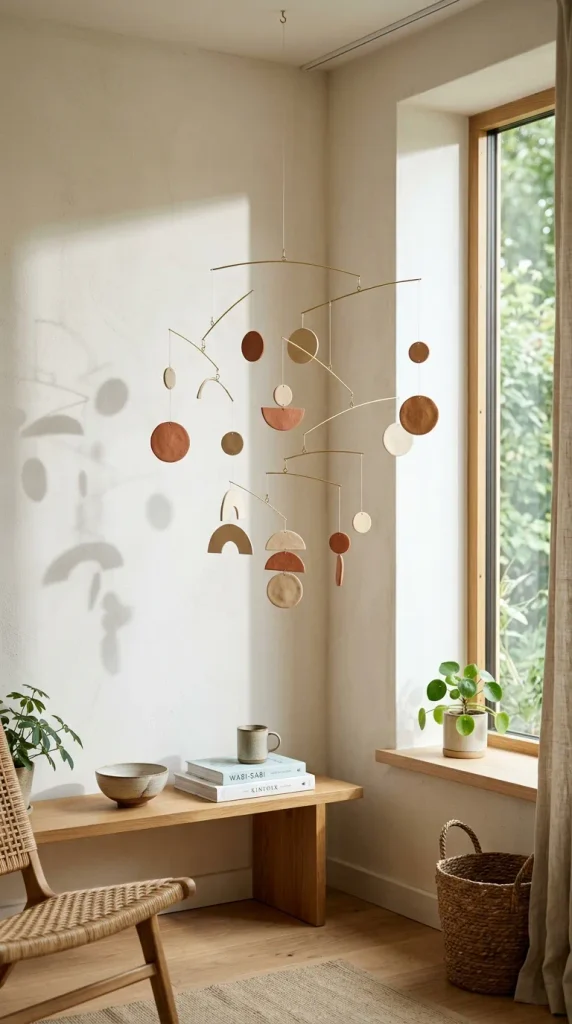
A modern ceramic disc hanging mobile brings balance, kinetics, and tactile geometry into calm corners. Suspended near windows or reading nooks, its slow, floating movement adds subtle visual rhythm to interior spaces.
How to Make It
- Supplies: Air-dry clay or polymer clay in muted tones (sand, terracotta, cream, charcoal), circular cookie cutters, rolling pin, brass rods, clear monofilament wire, acrylic sealant.
- Step 1: Roll out the clay onto a smooth tile surface to a uniform 4mm thickness.
- Step 2: Cut out various disc sizes (ranging from 1.5 to 4 inches in diameter) and punch two small holes on opposite edges before drying.
- Step 3: Let discs air-dry for 48 hours, then gently sand the edges with fine 400-grit sandpaper.
- Step 4: Seal each ceramic disc with an ultra-matte protective varnish.
- Step 5: Balance horizontal brass rods using monofilament line, suspending discs to form an asymmetrical, balanced mobile.
Styling Tips & Variations
- Replace two clay discs with polished brass discs to catch and reflect incoming daylight.
- Use arch, crescent moon, and semi-circle shapes to create a mid-century modernist motif.
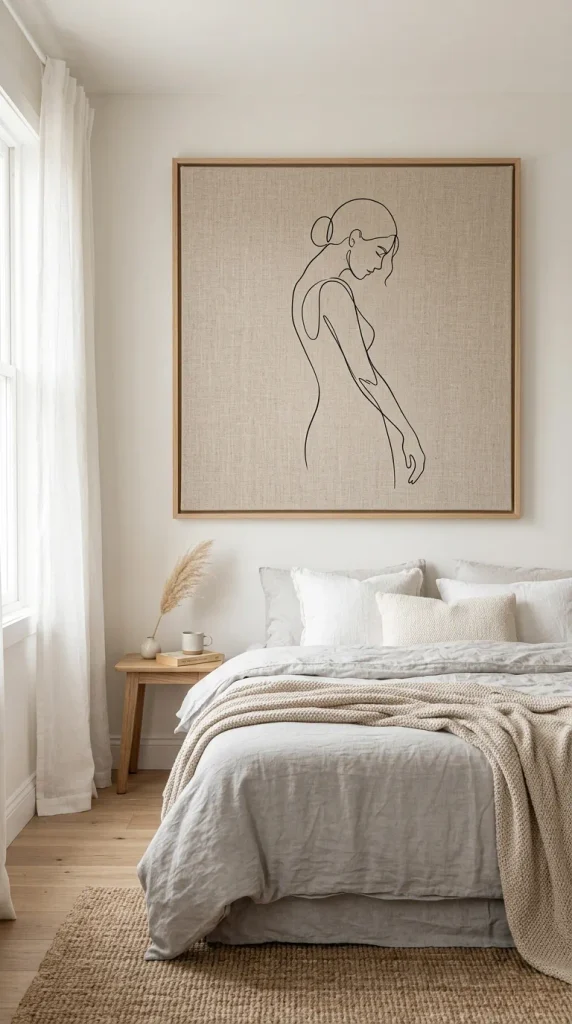
6. Minimalist Line Art on Raw French Linen
Introduction & What This Idea Means
Minimalist line art on unbleached French linen showcases continuous contour drawings over the organic texture of natural flax. This piece complements Scandinavian, Japandi, and organic minimalist design concepts.
How to Make It
- Supplies: Raw 100% Belgian or French flax linen fabric, wooden canvas stretcher bars, staple gun, opaque fabric screen printing ink or matte acrylic paint, fine round brush (#2), iron.
- Step 1: Iron the linen fabric to remove sharp creases while preserving the natural textured grain.
- Step 2: Stretch the linen tightly over wooden artist stretcher bars, securing the reverse side with heavy-duty staples.
- Step 3: Lightly trace a single continuous line figure or abstract botanic silhouette using tailor’s chalk.
- Step 4: Paint over the chalk guide with opaque black or espresso brown fabric ink using smooth, confident strokes.
- Step 5: Let the paint set for 24 hours, then mount directly into an oak float frame.
Styling Tips & Variations
- Leave the outer edges frayed and clamp the linen between magnetic hanging wood rails rather than traditional stretched frames.
- Use cream or warm white paint on charcoal-dyed linen for high-contrast drama.


7. Handcrafted Paper Mâché Organic Vessel Sconces
Introduction & What This Idea Means
Paper mâché wall vessels combine sustainable craft with contemporary sculpture. Mounted directly to the wall, these hollow forms carry dried floral arrangements and ornamental branches with a rustic, stone-like aesthetic.
How to Make It
- Supplies: Balloon or cardboard structure base, newspaper strips, flour and water paste or cellulose paper clay, drywall joint compound, sand texture additive, matte stone paint.
- Step 1: Construct a half-vessel armature by slicing an inflated balloon or cardboard cone flat against a backing board.
- Step 2: Apply 4 to 6 layers of paper strips dipped in paste, allowing each pair of layers to dry completely.
- Step 3: Smooth a layer of lightweight paper clay or joint compound over the exterior to build volume.
- Step 4: Blend sand texture additive into matte lime-wash paint, then coat the vessel to mimic sculpted limestone.
- Step 5: Drill a small keyhole mount into the back and install it using wall anchors to display dried botanicals.
Styling Tips & Variations
- Create an asymmetric grouping of three vessels at staggered heights along an entryway wall.
- Add deep carved ridges before the final drying stage for an ancient Mediterranean earthenware look.
8. Mirror Tile Disco Mosaic Wall Panel
Introduction & What This Idea Means
A mirror tile disco panel plays with vibrant reflections, dynamic light beams, and modern glam aesthetics. It catches afternoon sunlight and throws playful patterns across the room, adding energetic charm to eclectic spaces.
How to Make It
- Supplies: 1/2-inch real glass mosaic mirror square sheets, birch plywood backboard cut to desired dimensions, industrial adhesive (liquid nails), silicone grout, grout float, hanging D-rings.
- Step 1: Sand and wipe down the plywood base board, securing heavy D-ring picture hangers to the back.
- Step 2: Apply adhesive evenly across the front wood panel using a fine-toothed trowel.
- Step 3: Lay down flexible glass mirror sheets, pressing down firmly to ensure smooth alignment.
- Step 4: Let the adhesive bond for 12 hours.
- Step 5: Apply neutral grey or white silicone tile grout across the seams, wiping away residue with a damp sponge.
Styling Tips & Variations
- Frame the perimeter with a high-gloss neon pink or electric blue lacquer border for an eclectic retro-pop look.
- Mount inside a floor-length arch frame for a full reflective accent installation.
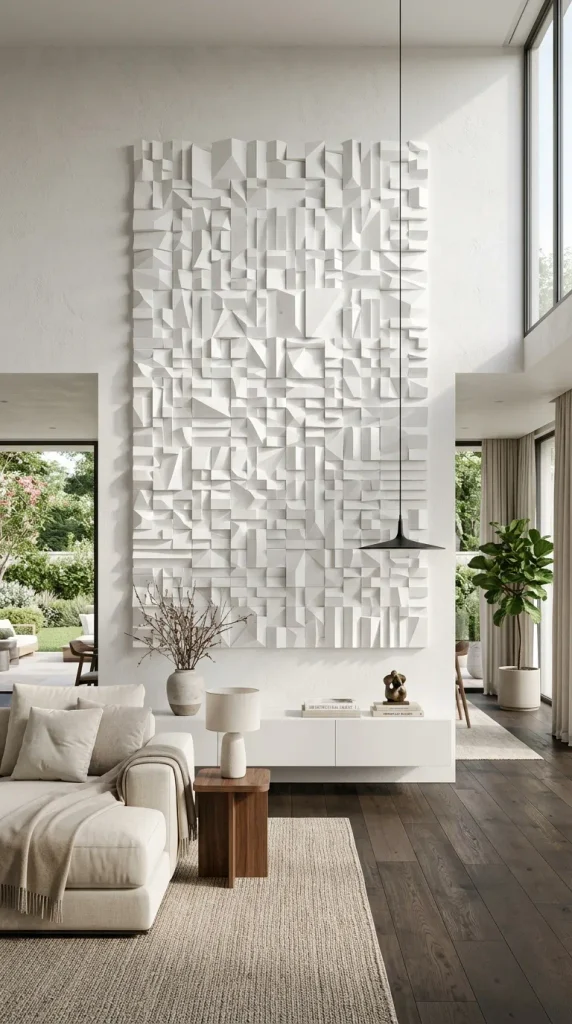
9. Monochromatic 3D Wood Block Abstract Relief
Introduction & What This Idea Means
Monochromatic wood relief art uses clean timber blocks arranged at varying elevations to catch light and cast geometric shadows. Painted entirely in one matte shade, the artwork relies on light and form rather than color shifts.
How to Make It
- Supplies: Square basswood or pine blocks (ranging from 1×1 to 3×3 inches, cut to varying heights from 0.5 to 2.5 inches), MDF mounting backer board, wood glue, primer, ultra-matte furniture paint.
- Step 1: Cut the MDF backer board to size and install a sturdy rear hanging cleat.
- Step 2: Arrange wooden blocks of varying heights into a geometric or rhythmic wave pattern on a table.
- Step 3: Apply wood glue to each block base and press firmly onto the MDF board.
- Step 4: Allow the glue to cure under weight for 8 hours.
- Step 5: Spray the entire piece with two coats of high-build primer, followed by three even coats of matte white, slate, or olive paint.
Styling Tips & Variations
- Arrange blocks diagonally at a 45-degree angle to create diamond patterns that cast deep diamond shadows.
- Leave every fourth block unfinished with natural oak wax to introduce natural wood warmth.
10. Floating Acrylic Pressed Fern & Gold Leaf Triptych
Introduction & What This Idea Means
This sleek art piece sandwiches real, dried woodland fern leaves and floating flakes of 24k gold foil between thick polished acrylic sheets. Held together with modern brass standoff mounts, it offers a refined botanical focal point.
How to Make It
- Supplies: Clear 5mm acrylic sheets (cut in matching pairs), architectural brass wall standoff screws, pressed wild fern fronds, imitation gold leaf flakes, micro-tweezers, acrylic cleaner.
- Step 1: Drill matching mounting holes in the four corners of each pair of acrylic sheets.
- Step 2: Remove protective film and thoroughly clean all faces using anti-static acrylic cleaner.
- Step 3: Arrange pressed fern fronds on the base acrylic sheet using micro-tweezers.
- Step 4: Place lightweight gold leaf flakes around the fern leaves using a dry brush.
- Step 5: Sandwich the top acrylic sheet over the base and anchor directly to the wall using brass standoff hardware.
Styling Tips & Variations
- Hang across a wall painted in dark jewel tones (emerald, sapphire, or deep plum) to make the green ferns and gold leaf pop.
- Use minimalist pressed eucalyptus stems instead of ferns for a clean, Scandinavian look.
11. Large-Scale Chunky Yarn Tufted Wall Hanging
Introduction & What This Idea Means
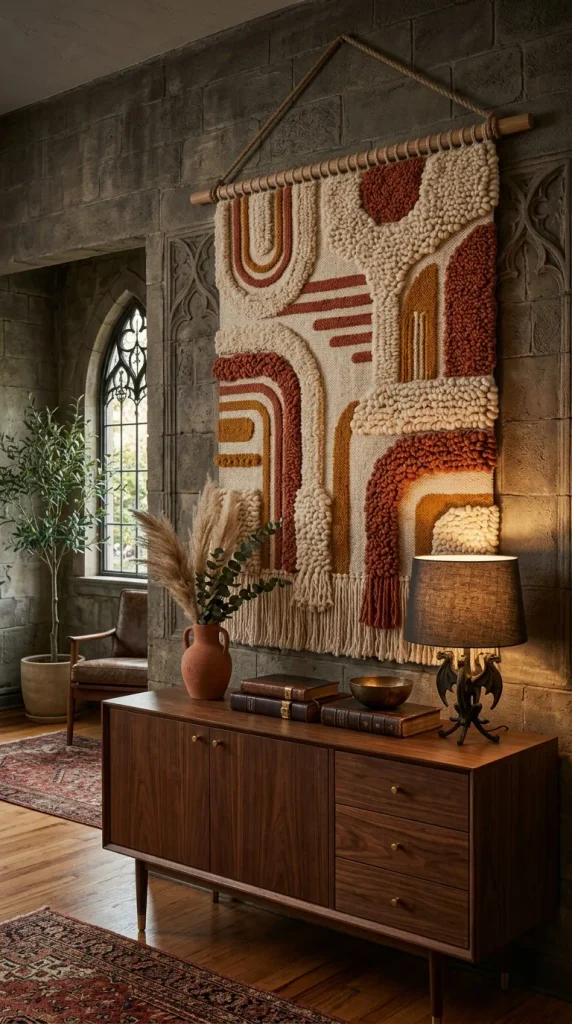
Chunky tufted textile art brings cozy warmth and artisanal craftsmanship to bare walls. Using varying loop heights and soft wool textures, tufted tapestries offer tactile richness, visual volume, and sound absorption.
How to Make It
- Supplies: Tufting cloth stretched on a primary frame, punch needle or manual tufting gun, heavy-ply New Zealand wool yarn, carpet latex adhesive, sturdy felt backing, wooden frame clamp.
- Step 1: Trace your desired abstract organic pattern onto stretched primary backing cloth.
- Step 2: Thread the tufting tool with double-stranded wool yarn in your base color.
- Step 3: Punch loops into the cloth, varying stitch density to create distinct heights across sections.
- Step 4: Coat the back of the work with carpet adhesive and let cure for 24 hours.
- Step 5: Trim the piece from the frame, glue felt backing to the underside, and mount onto a hidden wooden cleat.
Styling Tips & Variations
- Carve clean diagonal valleys between yarn colors using precision carpet sheering scissors to create clear 3D definition.
- Combine matte wool alongside shiny bamboo silk yarns to create subtle surface sheen.
12. Celestial Resin & Mica Geode Wall Slices
Introduction & What This Idea Means
Celestial resin geode art mimics natural crystals, agates, and quartz slices. Combining high-gloss epoxy, pearlescent mica powders, crushed glass, and genuine quartz points, it produces a dynamic crystalline centerpiece.
How to Make It
- Supplies: Custom-cut MDF geode silhouette board, clear casting epoxy resin, mica powders (metallic bronze, pearl white, deep indigo), raw crushed quartz crystals, heat gun, silicone mixing cups.
- Step 1: Seal the wood base with acrylic primer to prevent bubbles in the resin.
- Step 2: Mix epoxy resin thoroughly in equal parts according to manufacturer guidelines.
- Step 3: Separate resin into multiple cups and blend in mica powders and metallic pigments.
- Step 4: Pour colored resin in flowing, organic bands from the outside edges inward.
- Step 5: Embed crushed quartz crystals along the central vein, then run a heat gun gently across the resin to pop bubbles and create smooth cellular lacing.
Styling Tips & Variations
- Run warm, dimmable LED strip lights behind the back panel to create a back-lit glowing halo effect.
- Paint fine metallic gold paint lines along the crystalline margins to define each band.
13. Sunburst Raffia & Rattan Wall Medallion
Introduction & What This Idea Means
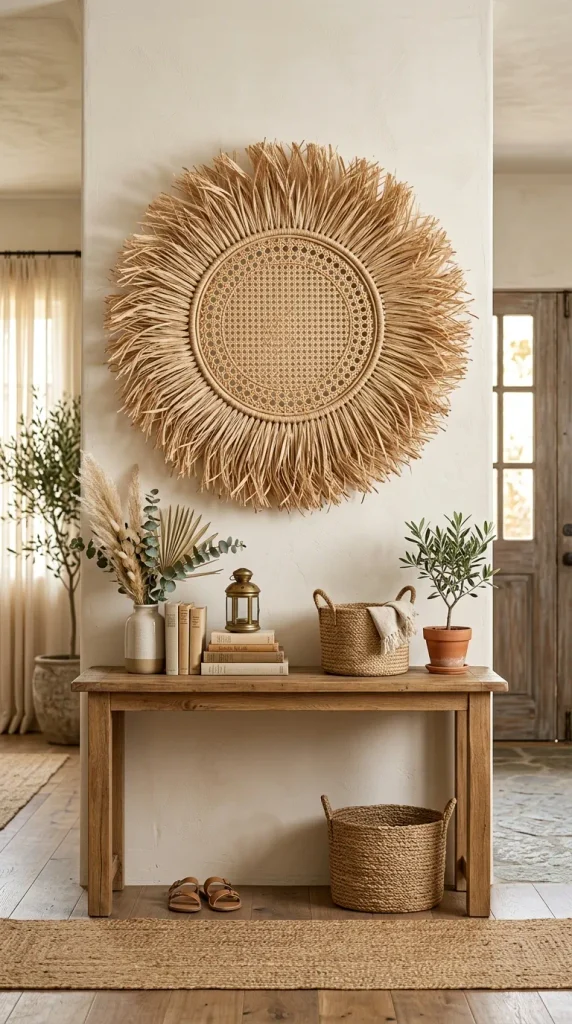
The sunburst raffia medallion incorporates raw coastal grasses, woven centers, and sunburst flares. It brings earthy, bohemian texture to bedrooms, over-the-mantel placements, and bright reading nooks.
How to Make It
- Supplies: Natural bundled raffia grass fibers, woven rattan cane center core, circular embroidery hoop, hot glue gun, sharp fabric scissors, steam iron.
- Step 1: Disassemble the inner ring of a 10-inch wooden embroidery hoop.
- Step 2: Loop 12-inch lengths of raffia around the hoop using Lark’s Head knots until completely covered.
- Step 3: Glue a circular woven cane or wicker coaster over the center ring using hot glue.
- Step 4: Lay the piece flat and trim the raffia fringe into a neat, radiating circle using scissors.
- Step 5: Lightly steam the raffia fibers flat using a garment steamer, then allow to cool.
Styling Tips & Variations
- Layer two concentric hoops of different sizes together for added density and fringe dimension.
- Add dark jute or dyed black raffia along the outer edge for a sharp modern contrast.
14. Minimalist Raw Terracotta Slab Reliefs
Introduction & What This Idea Means
Raw terracotta slab relief art utilizes unglazed, red-orange clay slabs imprinted with architectural geometric recesses. It grounds spaces with warm Mediterranean tones and natural clay textures.
How to Make It
- Supplies: High-fire terracotta clay body or rich air-dry terracotta clay, wooden guide rolling pins (1/2-inch thickness), wooden sculpting ribs, linen fabric work mat, ceramic kiln or matte fixative sealer.
- Step 1: Roll out the terracotta clay evenly over linen fabric to prevent sticking.
- Step 2: Trim the slab into a crisp 12×18 inch rectangle using a ruler and craft knife.
- Step 3: Carve deep, stepped recesses, semi-circles, and clean grooves into the clay using wooden modeling tools.
- Step 4: Slow-dry the slab between weighted drywall sheets for 7 days to keep it completely flat.
- Step 5: Fire in a pottery kiln to cone 04 (or cure air-dry clay), and mount inside an unvarnished raw oak frame.
Styling Tips & Variations
- Paint subtle white slip accents inside the carved grooves prior to final curing to emphasize depth.
- Create a set of three vertical tiles displaying progressive geometric phase patterns.



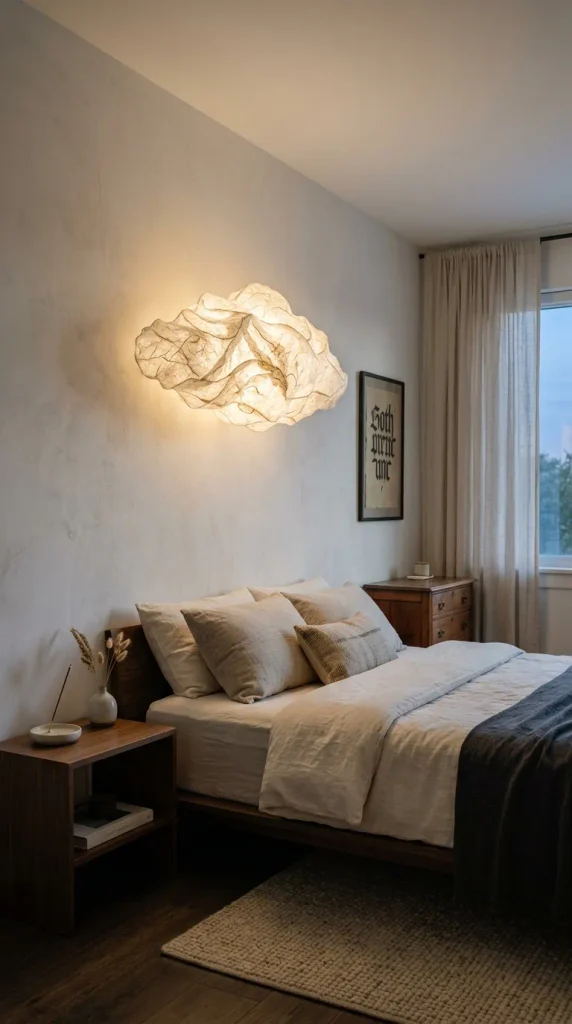
15. Sculptural Japanese Washi Paper Cloud Pendant / Wall Art
Introduction & What This Idea Means
Sculptural paper art uses traditional Japanese mulberry washi paper over delicate bamboo ribbing. It provides an airy, floating aesthetic with soft light diffusion, bringing peace and tranquility to meditative rooms.
How to Make It
- Supplies: Unbleached mulberry washi paper sheets, flexible bamboo framing reed (2mm), wheat starch paste, fine brass wire, small natural wood wall bracket.
- Step 1: Form flexible bamboo reed strips into asymmetrical, cloud-like 3D wire structures, fastening the joints with fine wire.
- Step 2: Tear washi paper by hand into medium-sized organic shapes to preserve feathery edges.
- Step 3: Brush wheat starch paste onto the paper edges and wrap them smoothly over the bamboo framework.
- Step 4: Layer torn washi pieces until the frame is fully covered with a translucent paper skin.
- Step 5: Let dry for 24 hours until the paper tightens naturally, then mount onto the wall or hang from above.
Styling Tips & Variations
- Insert low-voltage, cool-running micro LED fairy lights inside the structure to create a gentle glowing wall lamp.
- Mix warm beige and off-white washi papers together to form delicate gradient effects.
16. Antique Map Decoupage on Distressed Raw Wood Planks
Introduction & What This Idea Means
Antique map decoupage brings wanderlust and historic character into home studies and living areas. Aged cartographic prints mounted onto distressed reclaimed wood provide rustic warmth and heritage charm.
How to Make It
- Supplies: High-resolution vintage nautical or regional map prints on archival parchment, reclaimed pine boards, matte decoupage medium (Mod Podge), dark walnut wood stain, sandpaper.
- Step 1: Cut and sand reclaimed pine boards, joining them side-by-side using rear support battens.
- Step 2: Distress the timber edges using light hammer marks, followed by an application of dark walnut stain.
- Step 3: Carefully tear the outer edges of the map print to create an authentic deckled look.
- Step 4: Coat the wood board with matte decoupage medium, place the map down, and smooth out any air pockets with a brayer.
- Step 5: Seal the surface with two coats of protective matte sealant for an aged finish.
Styling Tips & Variations
- Mark significant locations on the map using small antique brass map pins.
- Mix several local regional maps across a multi-panel wooden triptych.
17. Abstract Gold Leaf & Black Ink Fluid Canvas
Introduction & What This Idea Means
Combining deep black ink with genuine gold leafing captures high-contrast modern sophistication. The organic flow of dynamic ink blooms paired with reflective metallics works well in contemporary and transitional interiors.
How to Make It
- Supplies: Heavyweight synthetic yupo paper or gesso-primed deep canvas, black acrylic ink, 99% isopropyl alcohol, gilding size (leaf adhesive), genuine or imitation gold foil sheets, soft mop brush.
- Step 1: Flood the surface with a light layer of isopropyl alcohol.
- Step 2: Drop black acrylic ink directly into the alcohol pool, using a hair dryer on cool to push and feather the ink edges.
- Step 3: Let the layered ink layers dry for 4 to 6 hours.
- Step 4: Paint fine lines of gilding size along the edges of the ink formations and wait 15 minutes until it becomes tacky.
- Step 5: Lay gold leaf sheets gently over the tacky areas, smoothing down and brushing away excess foil with a soft mop brush.
Styling Tips & Variations
- Seal the completed work with high-gloss liquid glass resin to add rich visual depth.
- Introduce deep charcoal and smoky grey washes behind the black ink for added dimension.
18. Vintage Embroidered Linen in Clustered Wooden Hoops
Introduction & What This Idea Means
Embroidered linen wall clusters bring handmade craft and nostalgic charm to bedrooms, nurseries, and hallways. Multiple embroidery hoops holding floral motifs, botanicals, and delicate patterns create a textured wall installation.
How to Make It
- Supplies: Assorted natural beechwood embroidery hoops (ranging from 4 to 10 inches in diameter), oatmeal linen fabric, cotton embroidery floss, embroidery needles, tracing carbon paper, fabric scissors.
- Step 1: Trace vintage floral motifs and line silhouettes onto cut linen squares.
- Step 2: Stretch the linen securely inside each beechwood hoop, tightening the brass thumbscrew.
- Step 3: Stitch the design using french knots, satin stitches, and backstitches.
- Step 4: Trim the excess fabric from the back, leaving a 1-inch border.
- Step 5: Gather the back edge with a running stitch and cinch tightly to secure the back.
Styling Tips & Variations
- Incorporate tonal stitching by matching the thread color to the natural linen for a subtle textured finish.
- Paint the outer wooden hoops with dark walnut wood stain or soft matte sage paint before mounting.
19. Framed Architectural Textured Fluted Wood Panel
Introduction & What This Idea Means
Architectural fluted wood panels bring clean vertical rhythm and rich mid-century modern lines to walls. Built with dimensional half-round dowels set inside an oak frame, this piece adds clean geometric depth to modern rooms.
How to Make It
- Supplies: Solid half-round pine dowels (1/2-inch wide), backing plywood, solid oak outer frame molding, miter saw, wood glue, natural clear polyurethane or teak oil.
- Step 1: Cut the half-round dowels to uniform lengths using a miter saw.
- Step 2: Clean and sand all cut dowel pieces with fine 220-grit sandpaper.
- Step 3: Apply wood glue along the back of each dowel and place them tightly side-by-side across the plywood backer.
- Step 4: Frame the exterior edges with solid oak border trim, securing the corners with mitered joints.
- Step 5: Apply two coats of matte natural teak oil or matte furniture wax to enhance the natural grain.
Styling Tips & Variations
- Paint the fluted dowels in a deep matte hue (like obsidian black or forest green) while keeping the outer oak border natural.
- Arrange sections of dowels in alternating horizontal and vertical patterns to create a parquet look.
20. Layered Modern Paper Cut Shadow Box Art
Introduction & What This Idea Means
Paper cut shadow box art creates multi-dimensional depth using stacked, laser-cut or hand-carved cardstock layers. Spaced apart within a deep shadow box frame, light passes between each tier to cast soft, layered silhouettes.
How to Make It
- Supplies: Deep shadow box frame (1.5 to 2.5 inches deep), 300gsm heavyweight textured watercolor cardstock, precision craft knife (#11 blade) or digital craft cutter, acid-free foam core spacers, craft glue.
- Step 1: Design a layered scene (such as rolling hills, abstract topographic curves, or forest canopies) separated across 5 to 7 tiers.
- Step 2: Cut each cardstock layer carefully using a craft knife or digital vinyl/paper cutter.
- Step 3: Cut small foam core strips to match the perimeter dimensions of each paper layer.
- Step 4: Adhere foam core spacers between every sheet of cardstock to build uniform depth between tiers.
- Step 5: Clean the shadow box glass, insert the stacked paper assembly, and seal the back frame panel securely.
Styling Tips & Variations
- Use an ombré color palette, moving from light ivory on the front tier to deep terracotta or sage on the rearmost layer.
- Add a soft, warm backlight behind the rear cardstock tier to transform the piece into an evening mood light.