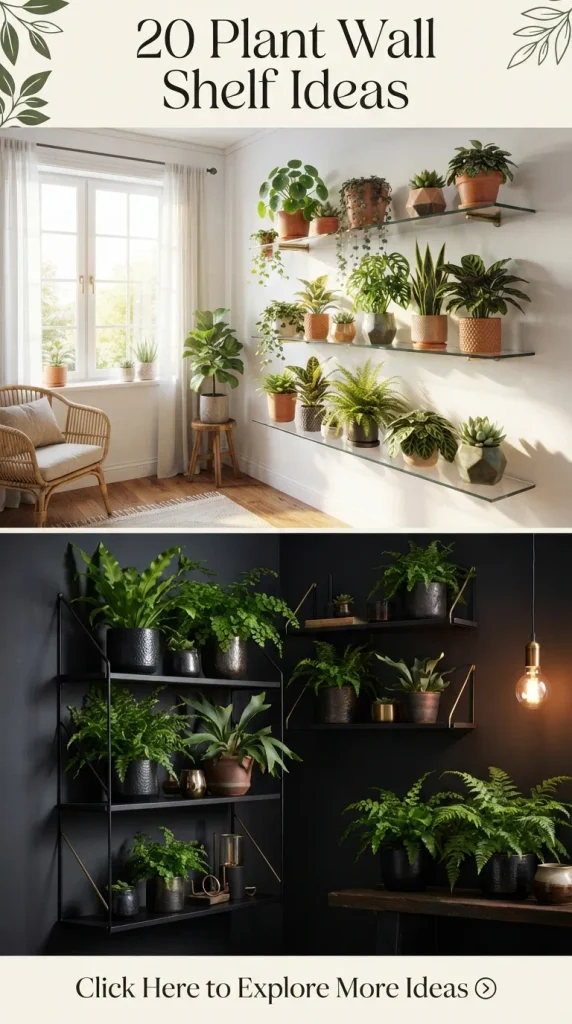
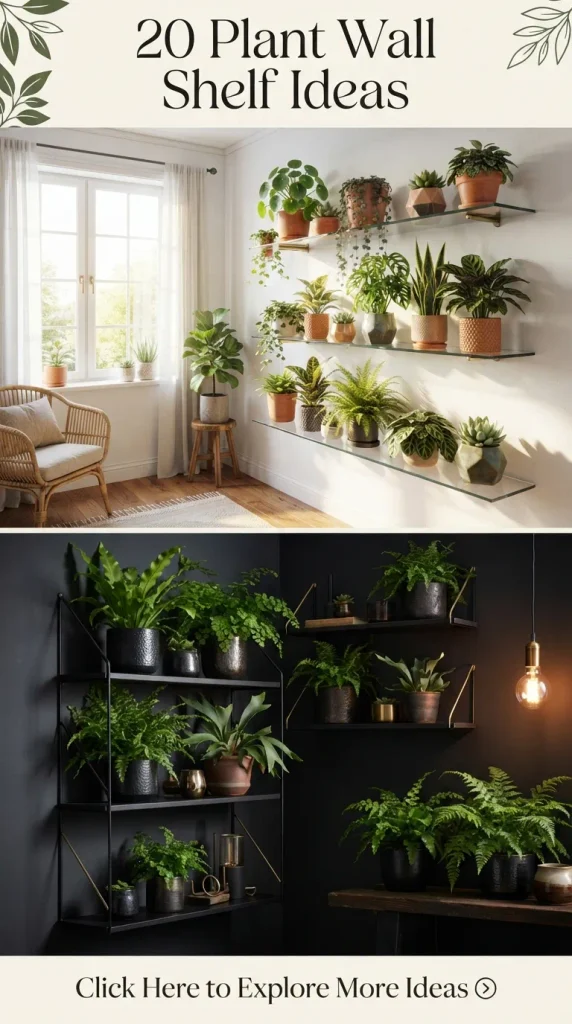
16. Vertical Pallet Wood Herb Garden Upcycle wooden shipping pallets into rustic vertical shelving units secured firmly to exterior patio walls or sunny indoor kitchen spaces. Plant culinary herbs like rosemary, thyme, and trailing oregano in the integrated pocket slats for a functional, aromatic display.
17. Rustic Ladder Rung Hanging Planters Suspend an antique wooden ladder horizontally from the ceiling near a bright window, or mount it flush against a vertical wall using heavy iron standoffs. Hang lightweight ceramic planters and glass propagation stations from the rungs at varying heights for a collected, rustic look.
18. Mirror-Backed Glass Floating Shelves Install floating glass shelves directly in front of a large wall-mounted decorative mirror. The mirrored reflection doubles the visual impact of your trailing greenery, bouncing natural light around the room and creating an immersive, jungle-like illusion.
19. Scalloped Edge Pastel Wooden Shelves Add a touch of whimsy with wooden wall shelves featuring delicate scalloped or fluted front edges, painted in soft sage green or muted terracotta. Pair these playful ledges with trailing succulents and tiny ceramic animal planters for a charming, curated aesthetic.
20. Full-Height Tension Cable Botanical Wall Run heavy-duty steel tension cables from floor to ceiling, clamping adjustable wooden shelf brackets at custom intervals. This architectural marvel creates an entire transparent green wall divider that separates open-plan living spaces while maintaining an airy, unobstructed flow of light.
How to Make a DIY Plant Wall Shelf: Step-by-Step Guide
Creating your own custom plant wall shelf ensures a perfect fit for your space and load requirements. Follow this comprehensive guide to build a sturdy, gorgeous two-tier wooden plant shelf.
- Tools and Materials Needed:
- Two kiln-dried hardwood boards (e.g., oak or pine, 1×8 inches, 36 inches long)
- Four heavy-duty metal wall brackets (rated for at least 50 lbs each)
- Wood stain or water-resistant clear polyurethane sealant
- Wall anchors and heavy-duty wood screws
- Stud finder, spirit level, drill, screwdriver, and measuring tape
- Step 1: Prep and Seal the Wood Sand your wooden boards thoroughly until smooth, wiping away all dust. Apply two coats of water-resistant polyurethane or wood stain, allowing adequate drying time between coats. This protects the wood from water damage caused by accidental spills or condensation from plant pots.
- Step 2: Locate Wall Studs Use an electronic stud finder to locate and mark the vertical wall studs behind your installation area. Securing brackets directly into studs is essential to support the substantial weight of soil, water, and ceramic planters.
- Step 3: Mount the Brackets Hold your first metal bracket against the wall at your desired height, aligning the screw hole with a marked stud. Use a spirit level to ensure the bracket is perfectly plumb. Drive heavy-duty screws securely through the bracket into the stud. Repeat for the remaining brackets, maintaining proper horizontal alignment.
- Step 4: Secure the Shelves Place your finished wooden boards across the installed brackets. Secure the boards from underneath by driving short wood screws upward through the pre-drilled holes in the bracket flanges directly into the bottom of the shelf boards.
- Step 5: Style and Maintain Arrange your favorite trailing and upright plants on the newly installed shelves. Place protective cork pads or plastic drip trays beneath each pot to prevent water rings and moisture damage to your freshly sealed wood.
Variations, Tips, and Essential Care
- Lighting Solutions: If your chosen wall location lacks natural sunlight, mount sleek, full-spectrum LED grow light strips directly underneath the upper shelf to nourish the plants below.
- Pot Selection: Opt for lightweight fiberglass or resin pots styled to look like heavy terracotta or stone to minimize structural weight on your wall anchors.
- Watering Strategy: Use a long-spout watering can or remove plants individually during watering days to prevent messy runoff down your walls.
- Pruning and Training: Regularly trim and guide trailing vines to maintain a balanced, intentional silhouette that complements your room’s overall decor.
more ideas to come in future addition